Install Java & IntelliJ
Follow either section depending on your operating system.
Instructions for Mac
We’ll be installing Java and IntelliJ. Mac users can use a helpful tool called Homebrew to install all of these in only a couple steps (you can install anything, really!).
First, install Homebrew if you have not yet:
/bin/bash -c "$(curl -fsSL https://raw.githubusercontent.com/Homebrew/install/HEAD/install.sh)"
Then, install Java and IntelliJ in this one command:
brew install --cask intellij-idea temurin
Instructions for Windows
-
Install Java. First, to run IntelliJ, a Java Runtime Environment (JRE) must be installed. You verify that you have the JDK 17 installed by running the java -version command (from the powershell in Windows or the terminal on Mac):
$ java -version
openjdk version "17.0.2" 2022-01-18
OpenJDK Runtime Environment (build 17.0.2+8-86)
OpenJDK 64-Bit Server VM (build 17.0.2+8-86, mixed mode, sharing)
You should see output similar to lines 2-4 above. Any higher version of Java will also work for this class.
If you do not have the JDK 17 or newer installed, you can download and install Java 17 from this site (after accepting the terms & conditions). Make sure to install the JDK version called “Java SE 17”.
-
Install IntelliJ. We recommend using the latest version of IntelliJ. Make sure you have completed Step 1 before installing IntelliJ.
- Visit the IntelliJ installer page.
- Click on the link for your platform on the right side of the screen (under “Download”) and unzip the downloaded file to extract the Installer.
- Run the IntelliJ Installer to install IntelliJ.
- Launch IntelliJ.
Getting an IntelliJ License
You may start using IntelliJ for free using their free 30-day trial, but we highly recommend signing up for a free student license using this form.
Installing Maven in IntelliJ
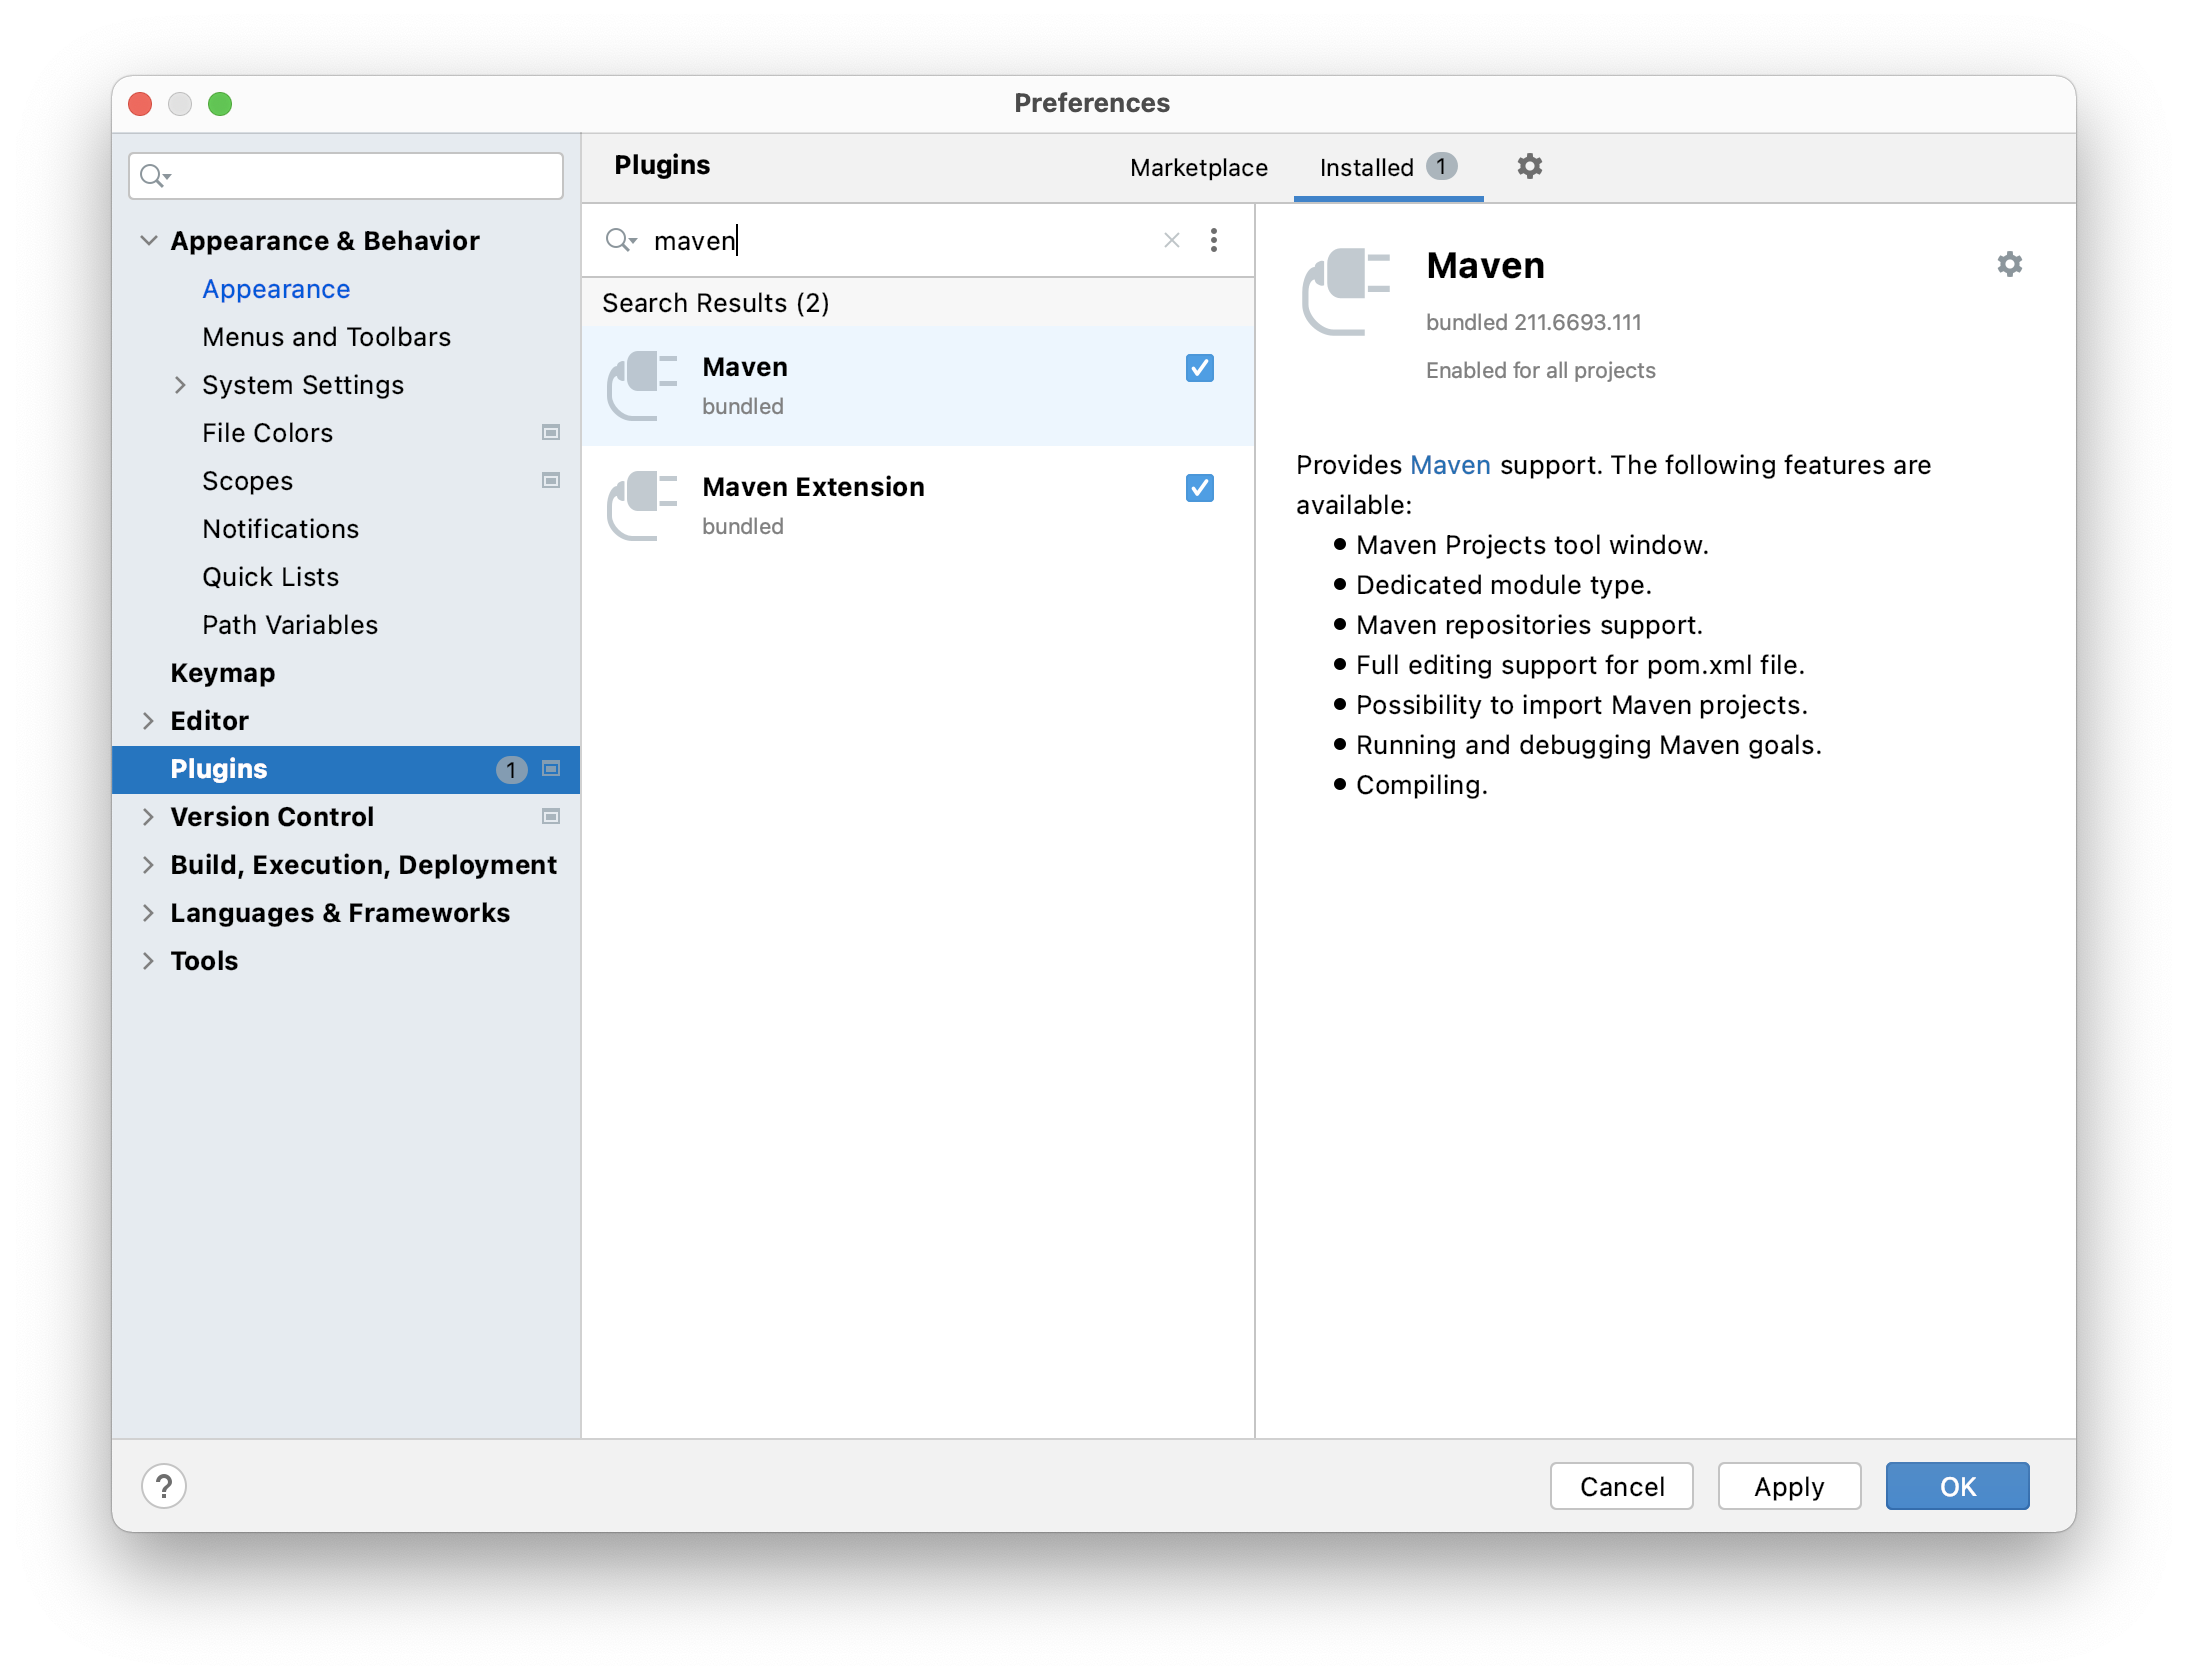
We use a tool called Maven to help setup your projects automatically. Sometimes IntelliJ has it enabled by default, other times it does not. To check if it is enabled, do:
- Open IntelliJ Preferences
- On the left sidebar, go to the “Plugins” tab.
- Go to “Installed” on the top.
- Search for “Maven”
- If Maven is enabled, you should see “Maven” and “Maven Extension” plugins.
See the below image as well.
- If these plugins are not enabled, search for those plugins in the Marketplace and install them before setting up a homework.
Setting up homework in IntelliJ
To setup one of the homeworks in IntelliJ:
- Download the zip archive off of the homework’s writeup page (for example,
hw06.zip). - Unzip that downloaded archive. This should create a folder called, e.g.,
hw06_local_temp. - Launch IntelliJ.
- Press File –> Open…
- Navigate to the unzipped archive downloaded created in step 2 and choose
the
pom.xmlfile from that directory. IntelliJ should prompt you with: “pom.xmlis a project file. Would you like to open the project?” (Say “Open as Project”). Then choose “Trust Project”.
After importing, your Package Explorer should look something like the following:

Running the Project
To run your project code, you can right-click on your the main class on the left
sidebar and run the main class. For example, this would be GUI for hw06
and then click on “Run ‘GUI.main()'”.
Running JUnit Tests
Unit testing is a method of testing source code that verifies that individual units are working properly. A unit of code refers to the smallest testable part of an application. In OCaml, this was a function, and in Java, this is a method. JUnit is a Java package that implements unit testing. IntelliJ provides tools to automate the creation of JUnit tests. It also provides a good interface for running the tests. Together these two tools make systematically testing your program very easy.
To run JUnit tests, right-click on the JUnit testing file that you want to run, then go down to “Run [name of test]”. For example, “Run ‘Image Test’” for Homework 6.
Running the Style Checker
Like OCaml, we have a Style Checker for Java that we will use to grade your code syntax and style. Luckily, you can use the same Style Checker that we have in Gradescope, locally. You can run the style checker by clicking the dropdown next to the Green Play button on the top bar. Then click on “Checkstyle”, then click the Green Play button.
Formatting your Code
To assist passing the Style Checker’s strict style guidelines, we have also provided a formatter in IntelliJ. Similarly to the style checker, this is done using a tool called “Format”, which we have provided to you in the project. It can be found in the same dropwdown menu as the Style Checker.
Using the IntelliJ debugger
For debugging Java code, the IntelliJ debugger can turn out to be more helpful than just using print statements, especially when you start having really complex code. We recommend reading and watching the following resources to learn how to use the IntelliJ debugger: