updated on 9/16/2021
1 Ensure Oxford Software interface is running
2 Ensure log in to the system
3 Vent chamber
4 Load a sample
5 Pump-down chamber
6 Load a recipe
7 Edit/review a recipe
8 Run a recipe
9 Unload sample from chamber
10 Pump-down and clean chamber
11 Troubleshooting
1. If software is not running, double-click the PC 2000 icon on the pc desktop to start the program.

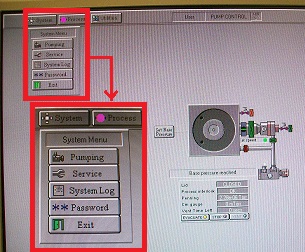
1. In the PC 2000 interface, click "System" in the menu bar at the top of the screen.
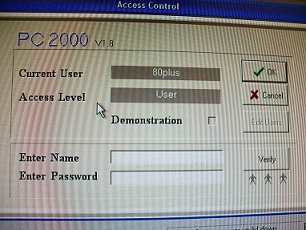
2. In the pull-down menu, select "Password", so that the following Access Control window pops up.
3. Type "user" in both "Name" and "Password" fields, then click "Verify".
4. Ensure that the access control window displays "user" as the current user and "user" for the access level, then click "OK".
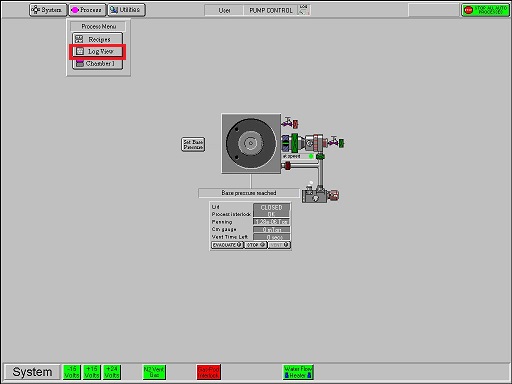
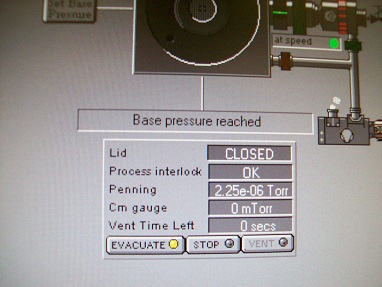
1. On the pump control screen (default screen), click "stop", then "vent". The chamber status display will read "venting start". This process will take ~6 min.
2. Once the chamber status display reads "venting finished", a sample may be loaded.
3. Go to Process tab. Open "Log View". Make sure that the chamber was cleaned.

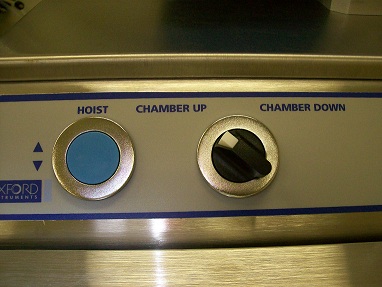
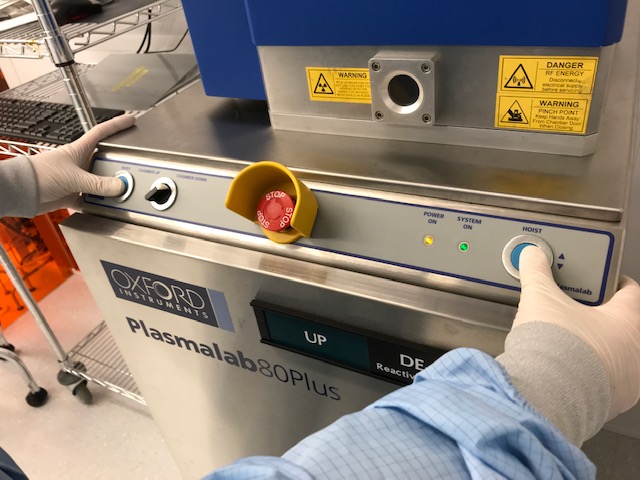
1. Turn the chamber up/down switch, located on the front of the tool, to "chamber up"
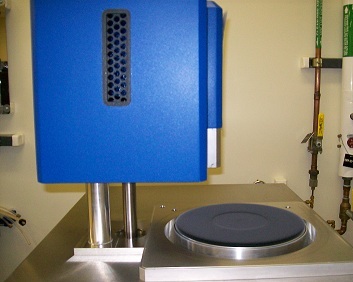
2. Press and hold the two "HOIST" buttons at the same time until the chamber cover rises, swings to the left, and comes to a stop.
3. Place the sample inside the circular depression in the graphite plate.
4. Turn the chamber up/down switch to "chamber down"
5. Press and hold the two "HOIST" buttons at the same time until the chamber cover returns to its original position, flush with the bottom of the chamber.
1. On the pump control screen, click "stop", then "evacuate".
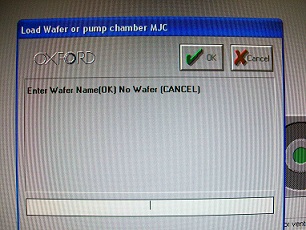
2. The "Load Wafer or pump chamber MJC" window pops up.
3. Enter a name for the sample being processed
4. Click "OK". (Chamber pump display will read "evacuating chamber").
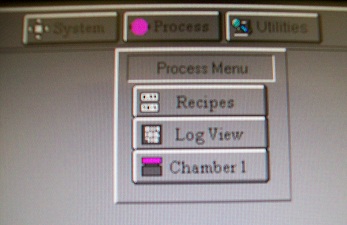
1. Click "Process" in the menu bar at the top of the screen.
2. In the pull-down menu, select "Recipes".
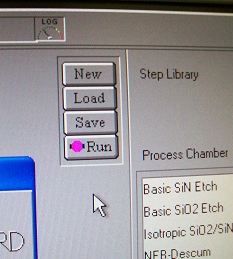
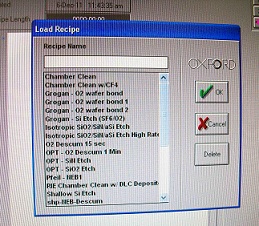
3. On the recipes screen, click "Load". If a recipe is already loaded, the load window will ask "overwrite current recipe (name)?"

4. If you click "yes", then "Load Recipe" window pops up.
4. Select the appropriate one from the recipe popup window and click "OK".
5. If no edits need to be made to the recipe's time settings, skip to step 9. Run a recipe.
* Note: Users should check the recipe time, so they know that it will be correct before they run it.
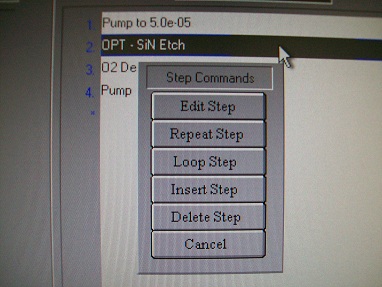
1. To edit/review the process time on a given step, click the step and select "Edit Step" from the drop-down menu.
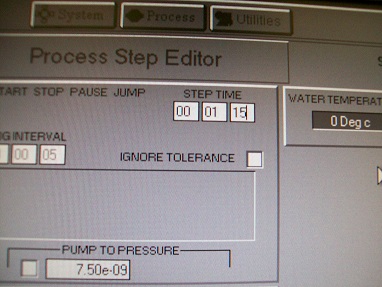
2. Inside the process step edit window, edit the desired time (HH:MM:SS) and click "OK". (The program will return to the recipe screen.)
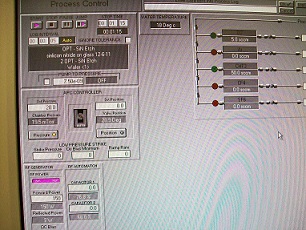
1. In the recipe screen, click "Run" to start the current recipe. The program will automatically return to the "Process Control" screen, and the wafer will be processed.
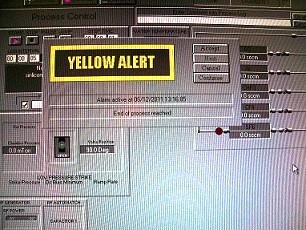
2. When the process is complete, "Yellow Alert" window pops up.
3. Click "Accept".
IMPORTANT: Do not log out of the tool through IRIS before the cleaning recipe has finished running. Logging out prematurely will engage the tool interlock and stop the process gas flow, causing a RED ALERT on the tool. This will leave the tool in an unusable state for the next researcher, until the alert can be addressed by Staff, and the next user will need to perform a chamber clean before they can process their samples.
a) The sample moves around during the etching process.
-> Fix the sample on the sample chuck with a Kapton tape.
b) "Red Alert" shows up in the middle of the process.
-> In most cases, this message shows up due to impedance mis-matching, which causes high reflected power. Capacitor 1 and 2 in RF automatch box should be optimized.
c) Gas flow error: Ususally, users are not logged into the IRIS system
Revision:
3/27/2018, by Keenan: added note regarding premature log-out through IRIS; deleted section on user log.
5/1/2017, by Hiro, added troubleshooting.
9/16/2021, by Hiro, revised.
