Updated on 3/16/2021
Note:
1 Check-in
2 Start Up
2.1 Cold Start
2.2 Sample Preparation
2.3 Log-in
2.4 Main Menu
2.5 Assign Jobs.
2.6 Recipe change.
3 Dice Wafer
3.1 Load Wafer
3.2 Alignment
3.3 Unload Wafer
4 Shot Down
5 Check Out
1. Log-in on the ISIS scheduler
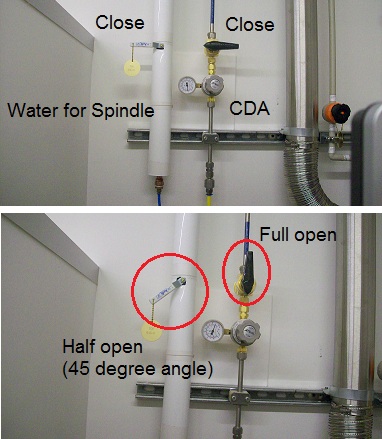
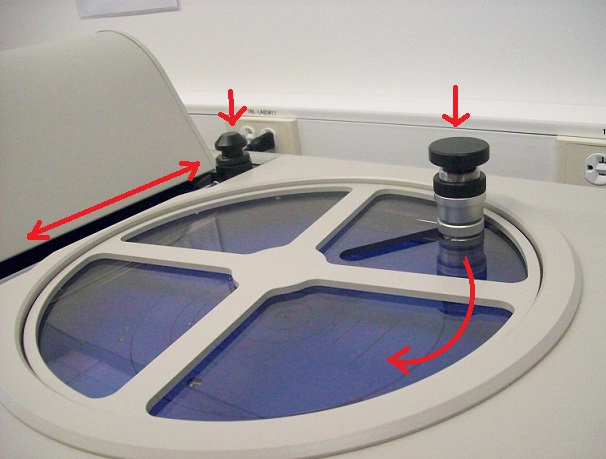
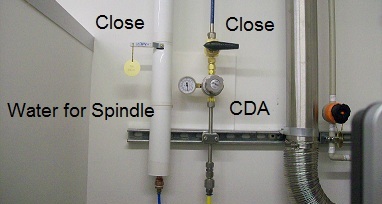
1. Open the valves of water for Spindle and clean dry air (CDA).
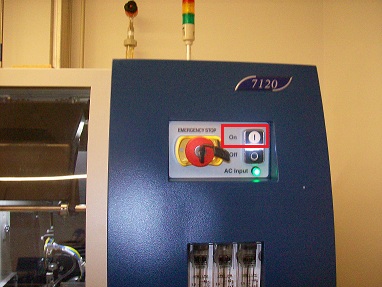
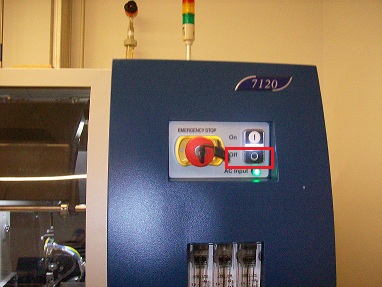
2. Turn on the main power.
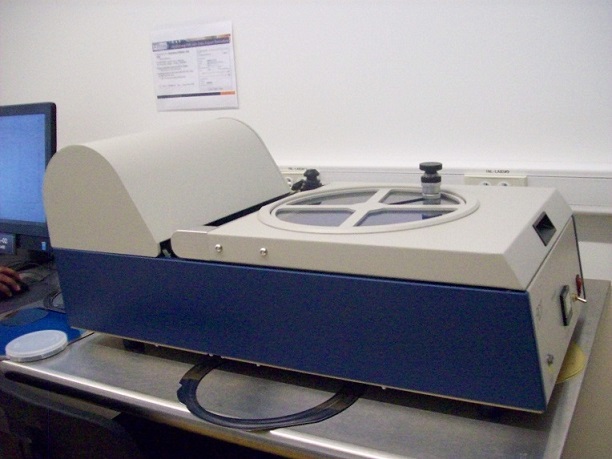
1. A wafer is mounted using WM 966 Manual Wafer Mounter shown below.
2. Turn on power and vacuum

3. Open a lid, A wafer and a metal ring are placed on the chuck. A top side of the wafer is placed on the bottom side.
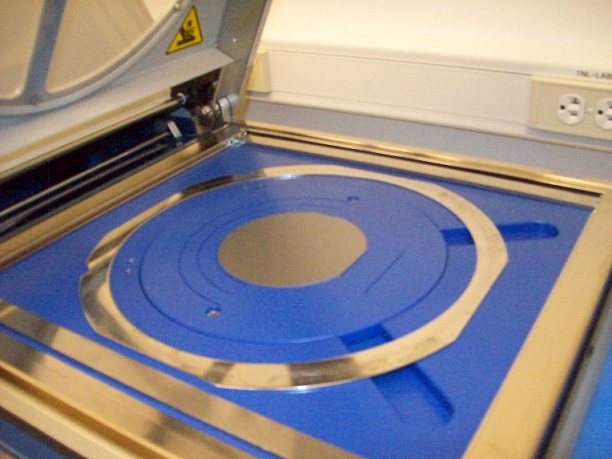
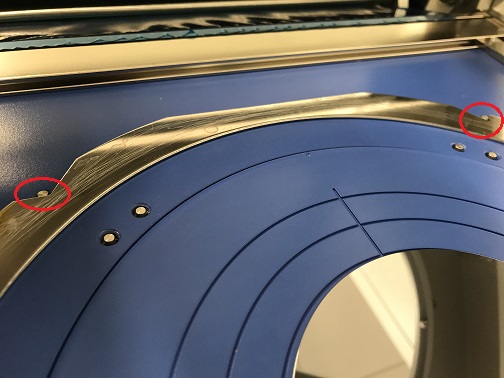
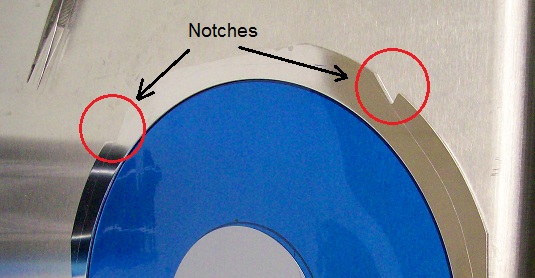
4. Make sure that stoppers are inserted into notches of the metal rings.
5. A blue tape is withdrawn, and attached to the metal frame.
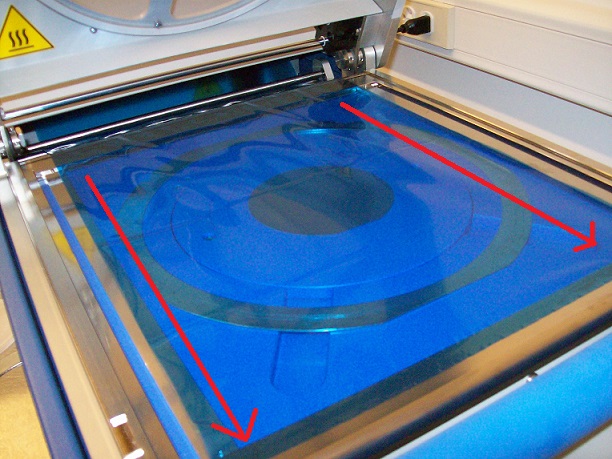
6. Close a lid. Then, a cutter on the holder is down, and rotates twice. The blue tape cutter should be cut from the center of the tape. The sample is removed from the tool.
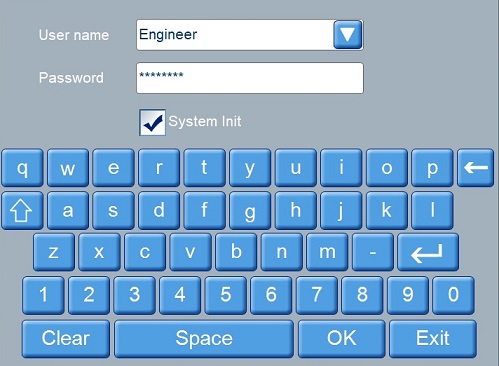
1. A log-in dialog box will appear.
2. Type User name and password, and click the "OK" button.
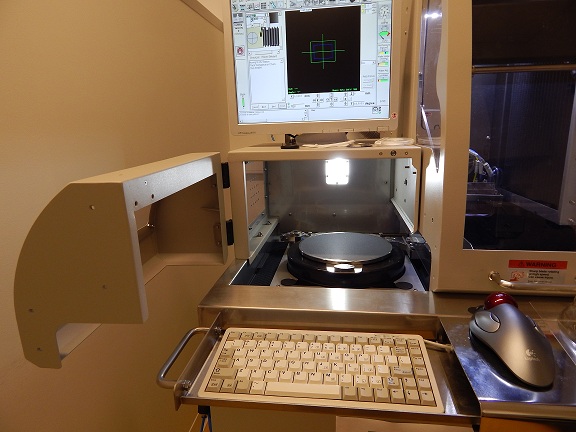
1. A main menu appears.
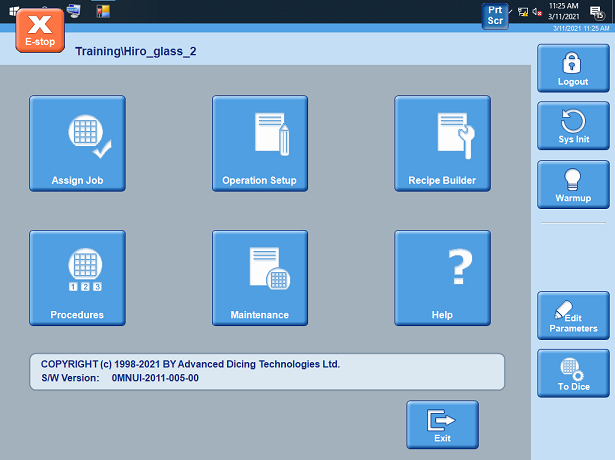
1. Click " Assign Jobs".
2. The following screen appears.
3. Choose the recipe, and assign it by clicking the "Assign" button.

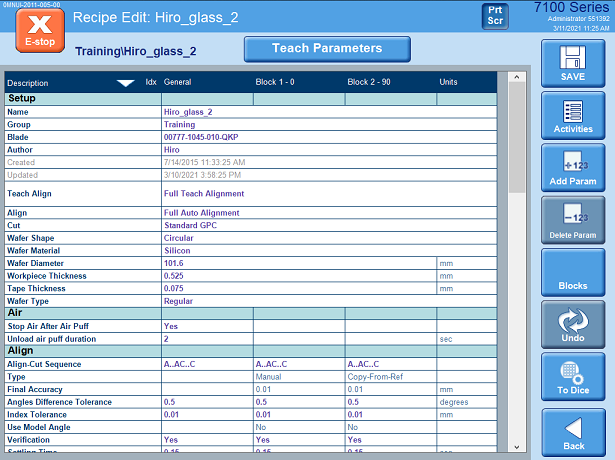
1. Click "Recipe Builder", and the following window appears.
2. Change the parameters, and save it.
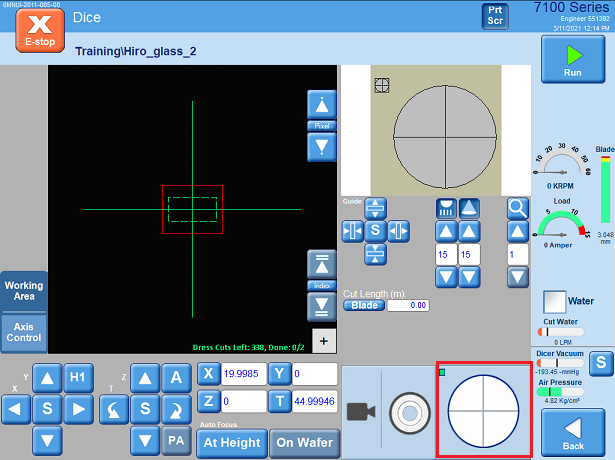
1. Click "To Dice" button on the right side.
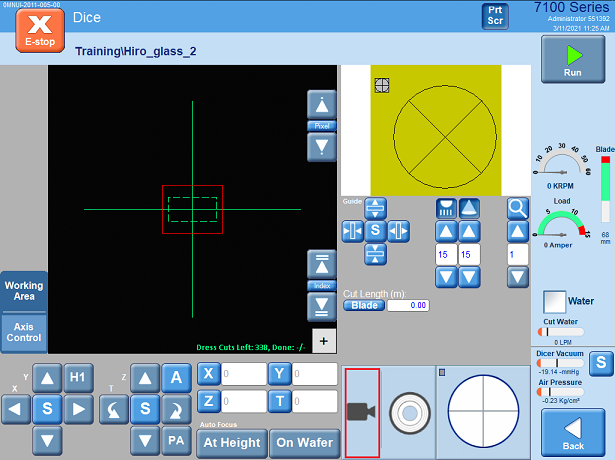
2. The following window appears.
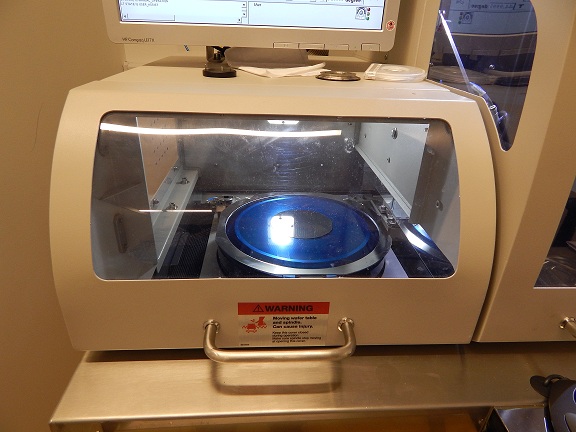
1. .Open the Load/Unload Cover.
2. Place a Workpiece on the Cutting Chuck by inserting stoppers into notches of the metal ring.
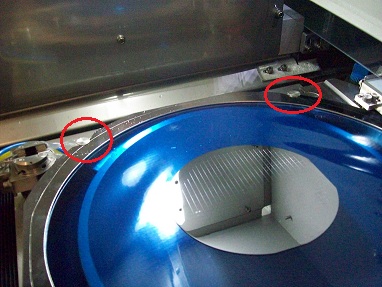
4. Close the Load/Unload Cover.
5. Move the cursor to the red area in the screen.

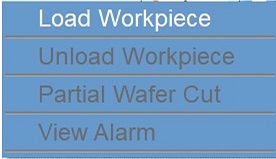
6. Choose the Load Workpiece" from the following drop down menu, and the workpiece is loaded into the tool.
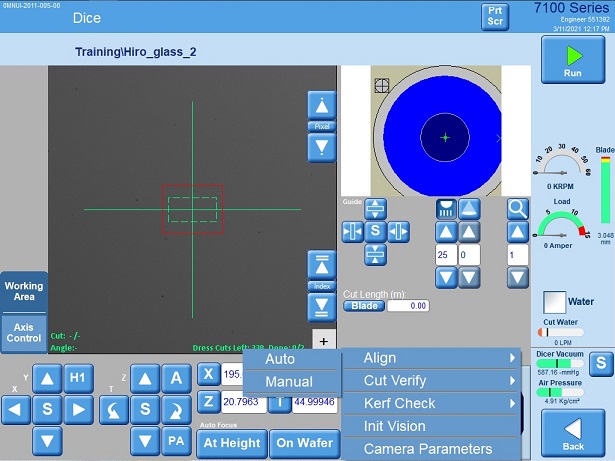
1. Move the cursor to the red area.
2. The following drop-down menu appears. Choose "Align", and "Auto".
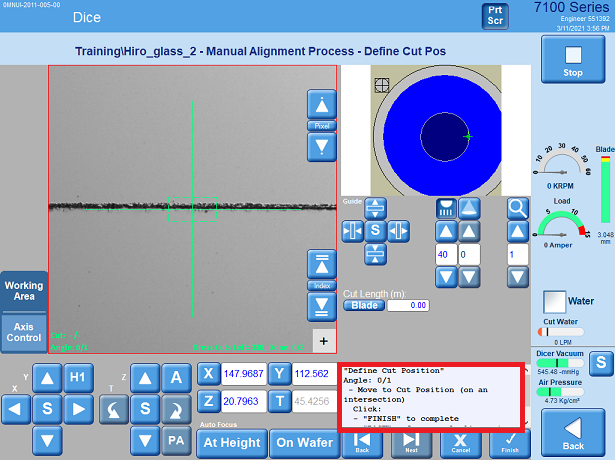
3. Align the right side.

4. Alignn the left side.
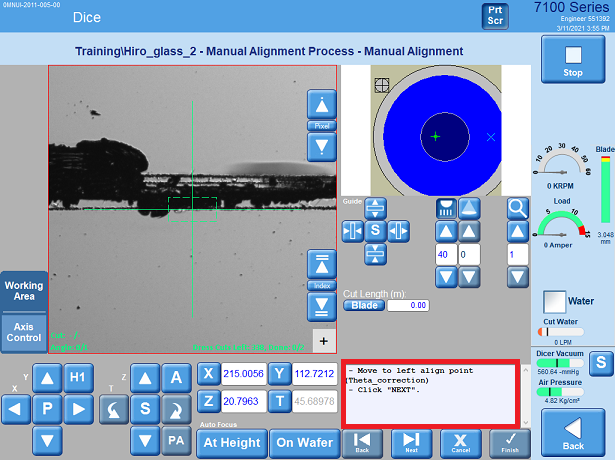
5. Designate the cut point.
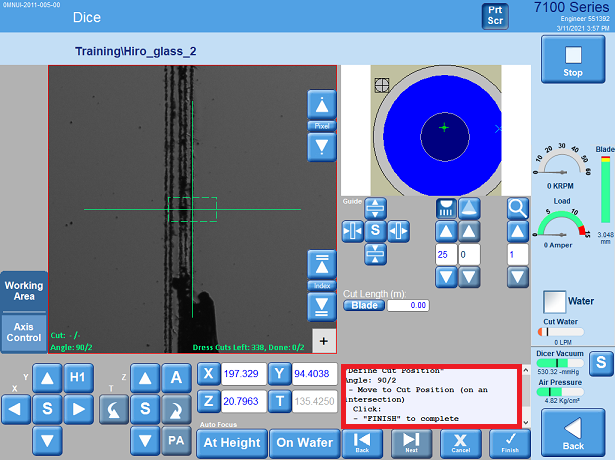
6. The sample is rotated at 90 degree. Designate the cut point.
7. Dicing a wafer starts.
1. Click "Unload Workpiece" in the drop-down menu of section 3.1, when dicing is finished.
2. Take the workpiece out of the tool.
1. Close the valves of water for Spindle and CDA.
1. Log-out the IRIS shceduler.
Revisions
3/16/2021, by Hiro, Renew Sop