1 Find Alignment Marks on The Top Wafer
2 Load Bottom Wafer
3 Alignment between The Top and Bottom Wafers
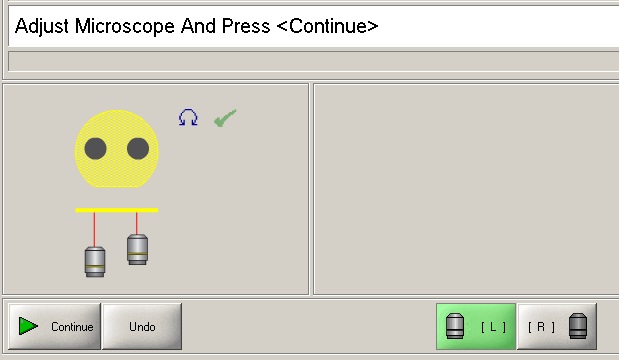
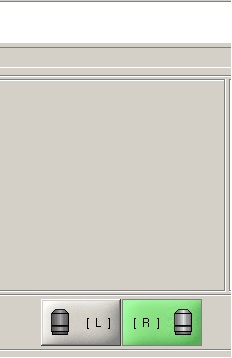
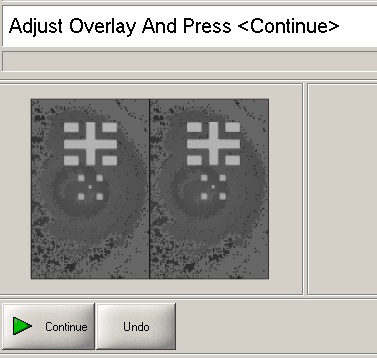
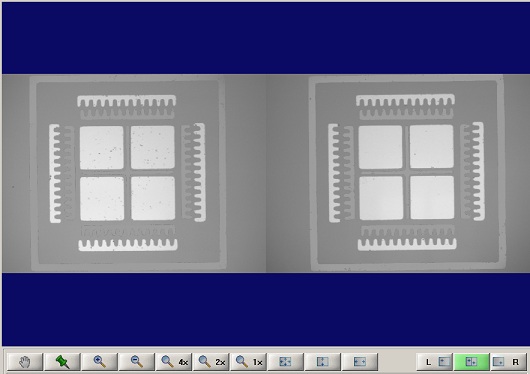
1. When the next message shows up, click the "L" (left) or "R" (right) microscope button to activate the left or right microscope.
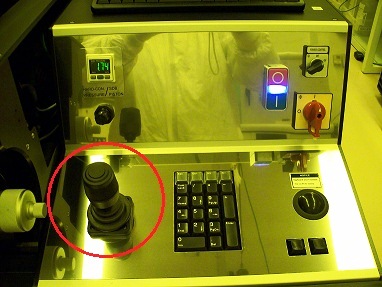
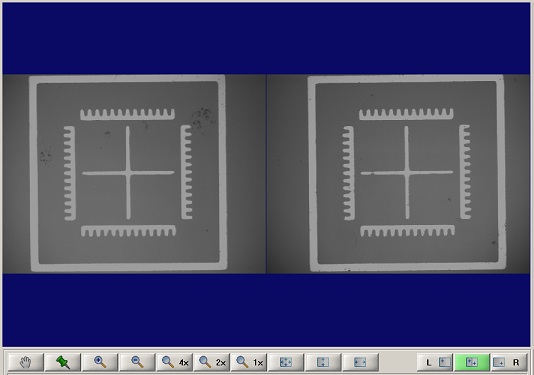
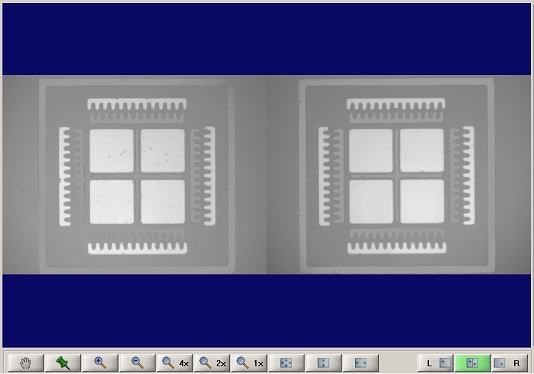
2. Find left and right alignment marks on the top wafer on the screen, using the joystick.
3. Click the "Continue" button.
4. When the next message shows up, click the "Continue" button to take a snapshot of the alignment marks on the top wafer.
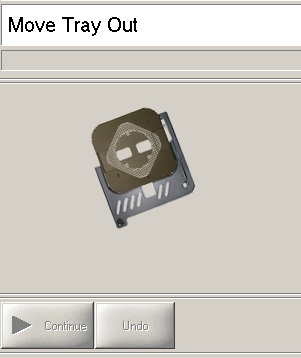
1. Move the tray out manually.
2. When the tray is in position, the next message shows up.
3. Load a bottom wafer in the same manner as the top wafer. The following messages show up:
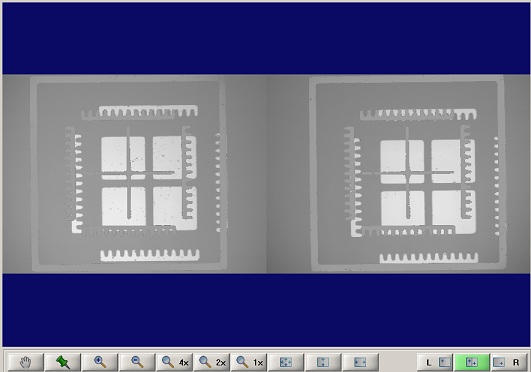
1. When the tray is in position, the following message shows up.
2. Find alignment marks on the bottom wafer, and pre-align them with those on the top wafer, using three X-, Y-, and theta-stage moving micrometers.
3. Click the "Continue" button.
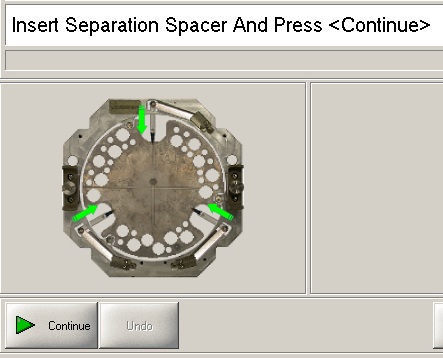
4. Insert the spacers, and click the "Continue" button.
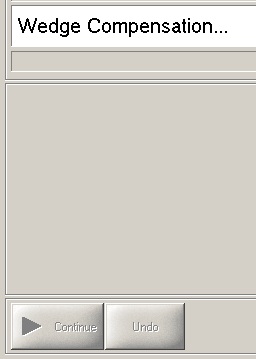
5. Wait until wadge compensation is done.
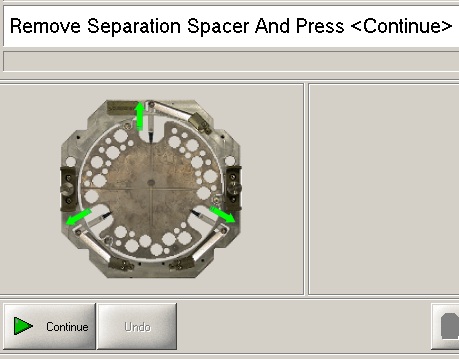
6. Remove the spacers, and click the "Continue" button.
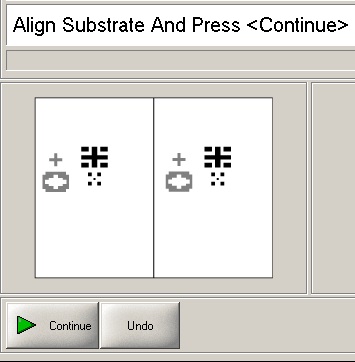
7. Align the marks on the bottom wafer with those on the top wafer, using three X-, Y-, and theta-stage moving micrometers.
8. Click the "Continue" button.
9. Insert the spacers again, and click the "Continue" button.
10. Check the alignment.

