Updated on 10/9/2014
1 The "Catalog" Window
2 Load Sample
3 Scan Surface Profile
3.1 Choose Recipe
3.2 Set Scan Parameters
3.3 View The Surface
3.4 Start Scan
3.5 Leveling
4 Analyze 3D surface profile on Apex application
5 Save the analysis on Apex Application
6 Save the measured result
7 Print the measured result
8 Unload Sample
9 Log-off PC
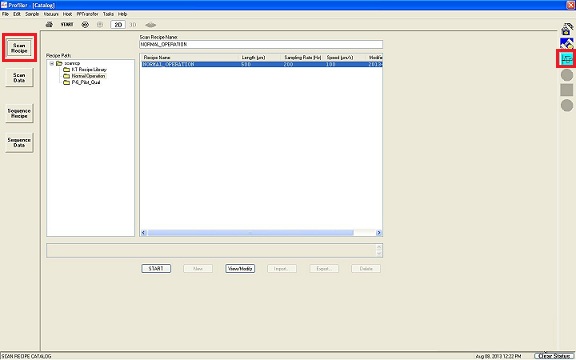
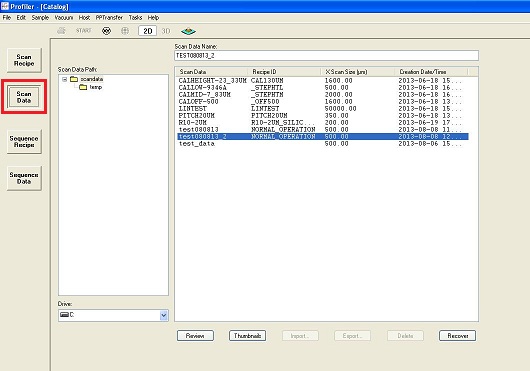
1. You will see the "Catalog" window.
2. Click the light-blue "Scan" icon on the right side, and the "Scan Recipe" button on the left side.
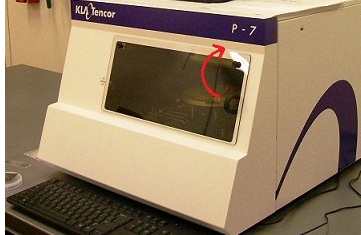
1. Open the front door.
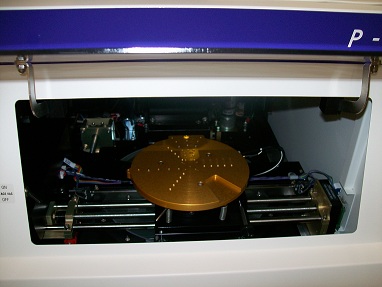
2. Ensure that a sample chuck is in a loading position (close to the window).
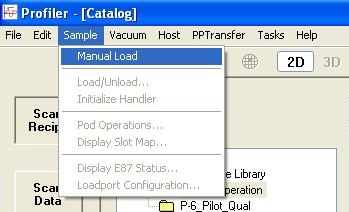
3. If not, choose and click "Manual Load" from the drop-down menu of "Sample" in the Menu.
4. The sample chuck is moved automatically to the loading position.
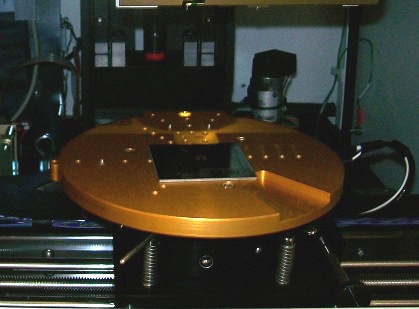
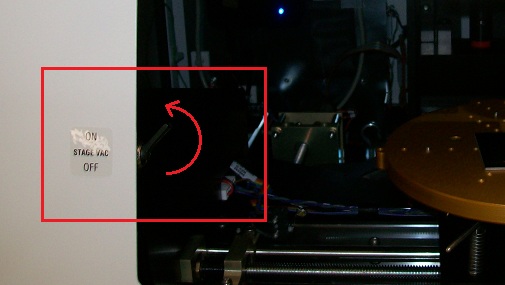
5. Load your sample on the sample chuck.
6. Turn on the stage vacuum if necessary.
7. Close the front door.
8. Choose and click "Manual Load" from the drop-down menu of "Sample" in the Menu again.
9. The sample chuck is moved automatically beneath the stylus.
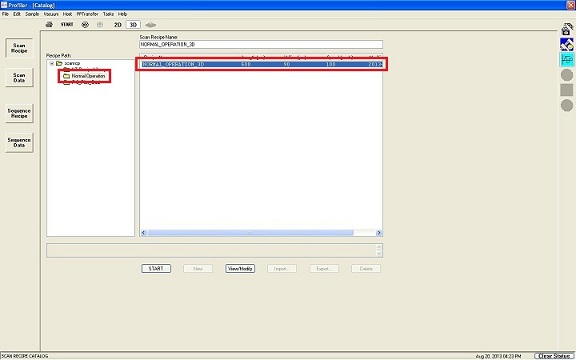
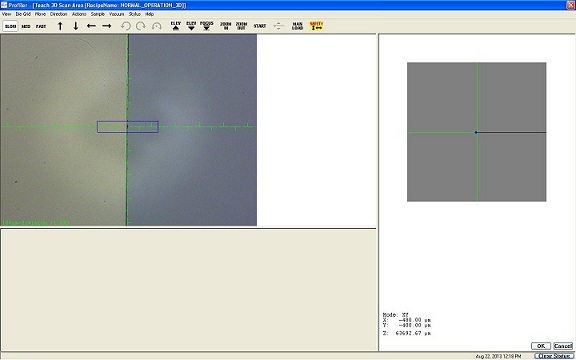
1. Choose "NORMAL OPERATION 3D" from the "Normal Operation" directory.
2. Click the "View/Modify" button.
3. The "Security Information" dialog box appears. Click "OK".
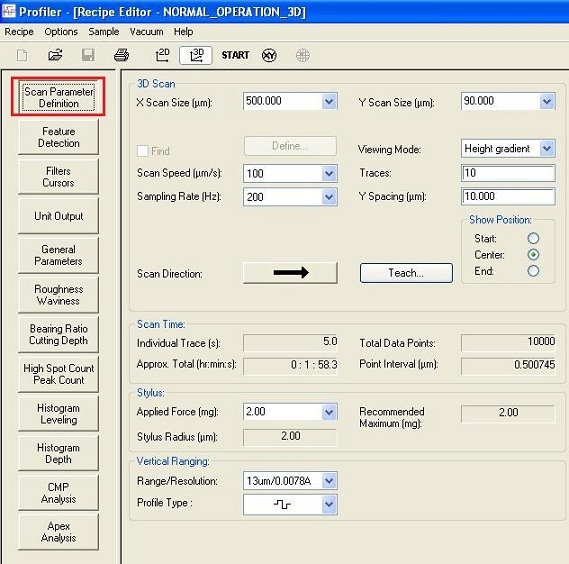
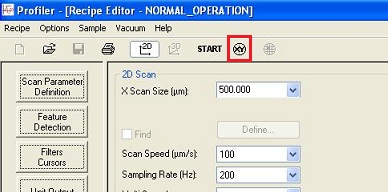
1. The "Recipe Editor" window shows up.
2. Input the parameters, and click the "X/Y view screen" icon.
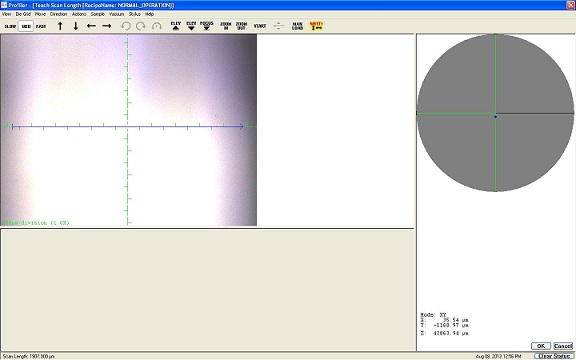
1. The CCD image window ("Teach Scan Length") appears.
2. Click the "FOCUS" icon.
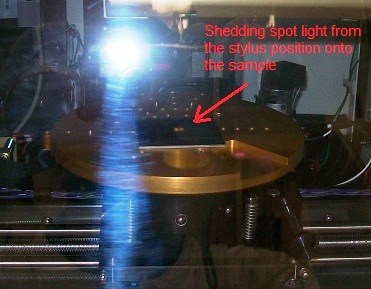
3. The stylus is moved down automatically to focus the image on the surface.
4. You can use arrows in the screen menu or the key board to move the chuck.
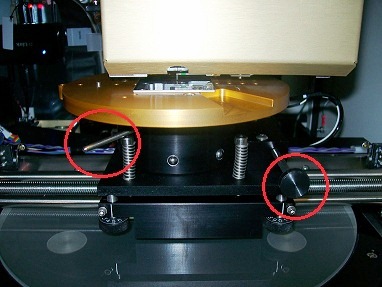
5. You can also rotate the chuck manually, using the bar (coarse adjustment) and knob (fine adjustment) under the chuck.
6. The scan length and location can be changed on the image by the mouse.
1. Start a scan by clicking the "START" button on the "Catalog", "Recipe Editor", or "Teach Scan Length" window.
2. The tip of the stylus is not shown on the CCD image during the scanning.
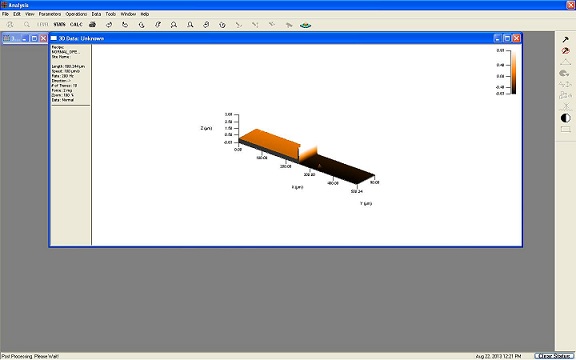
3. The "Analysis" window appears when the scanning ends.
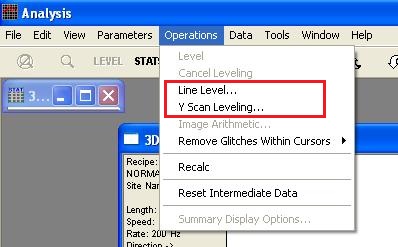
1. Choose "Line Level" or "Y Scan Leveling" from the drop-down menu of Operations.
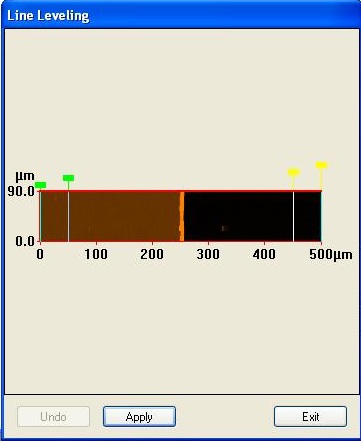
2. If you choose "Line Leveling", then the "Line Leveling" dialog box appears.
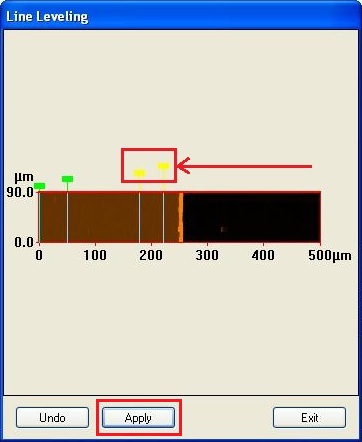
3. Move the cursors in the image to where you want to level. Then, Click the "Apply" button.
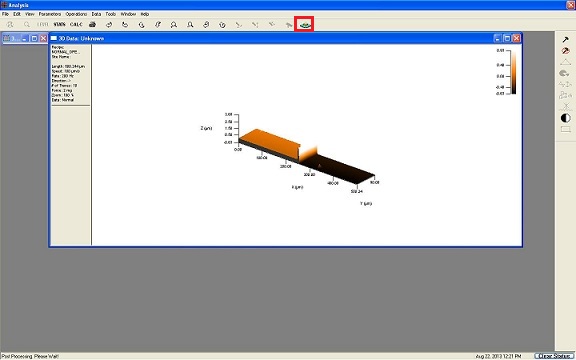
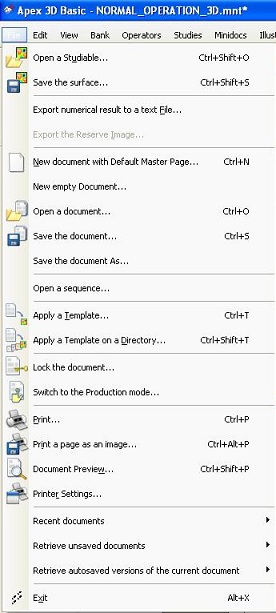
1. Click ![]() icon in the top menu.
icon in the top menu.
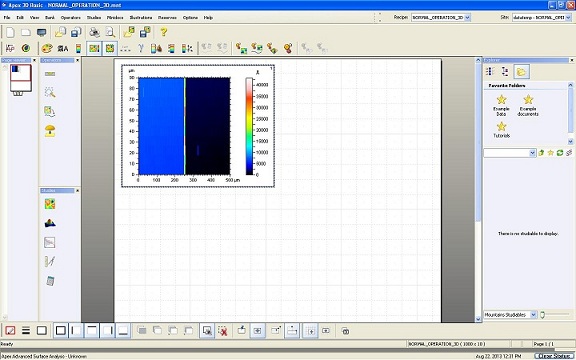
2. Apex application software is opened.
3. You can try several functions on the application.
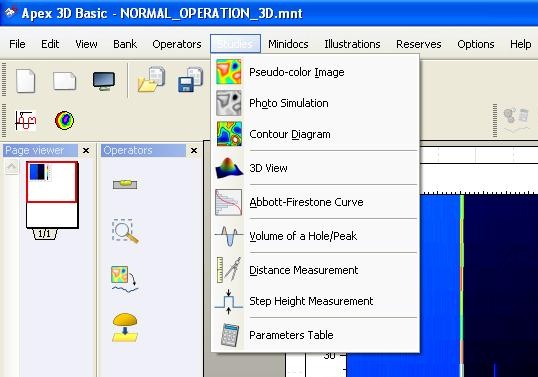
3-1. For example, choose the item from the drop-down menu of "Studies" in the menu.
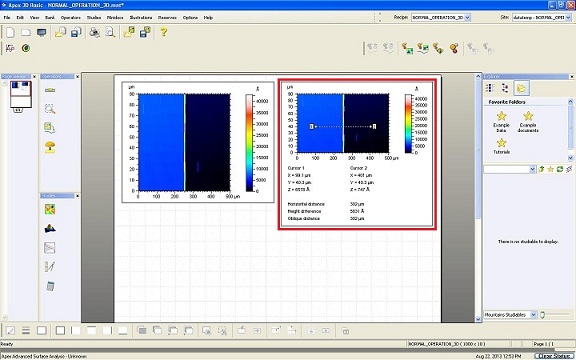
3-2. If you choose "Distance Measurement", then the following result is shown.
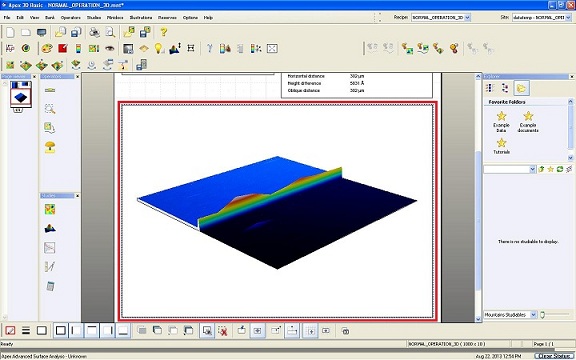
3-3. If you choose "3D View", then the following result is shown.
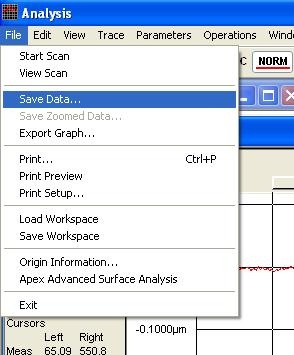
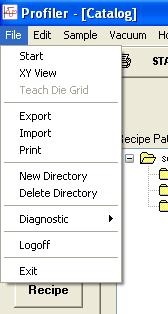
1. Click "File" in the menu to show the drop-down menu, so that you can choose how to output the data.
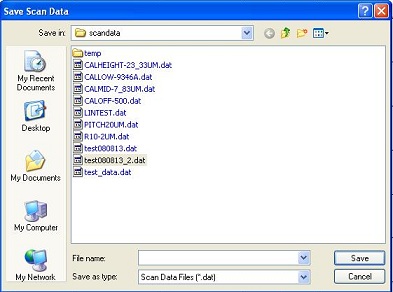
1. Choose and click "Save Data" from the drop-down menu of File in the Menu.
2. The data is saved in the "scandata" directory.
3. You can call your data from the "Scan Data" screen in the "Catalog" window.
1. Click "File" in the menu on the "Scan Data" screen on the "Catalog" window.
2. Choose the data from the right box.
2. Choose how to print or output the data.
1. Choose and click "Manual Load" from the drop-down menu of "Sample" in the Menu.
2. The sample chuck is moved automatically to the loading position.
3. Take out your sample.
4. Close the front door.


