Updated on 10/14/2020
An electrical measurement is carried out using Keithley 2450 Interactive Source Meter.
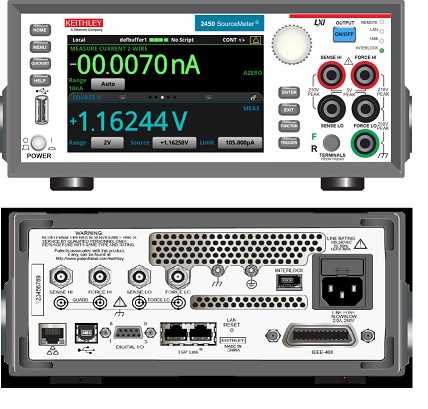
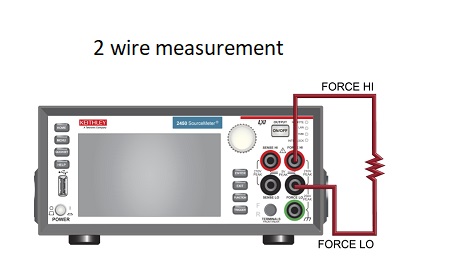
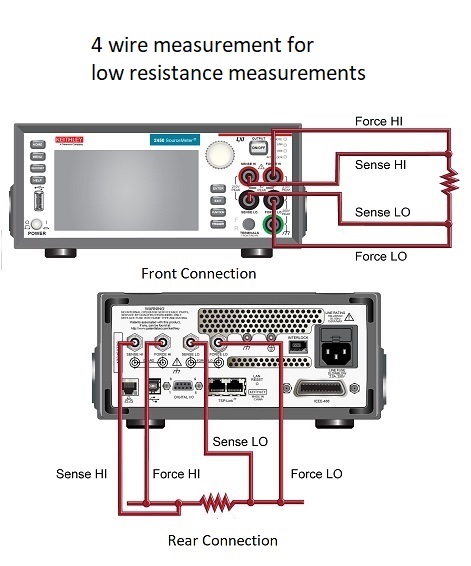
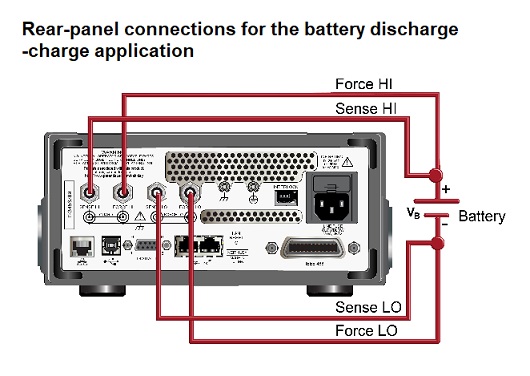
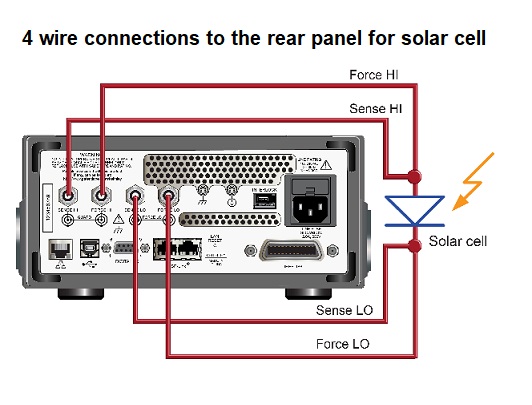
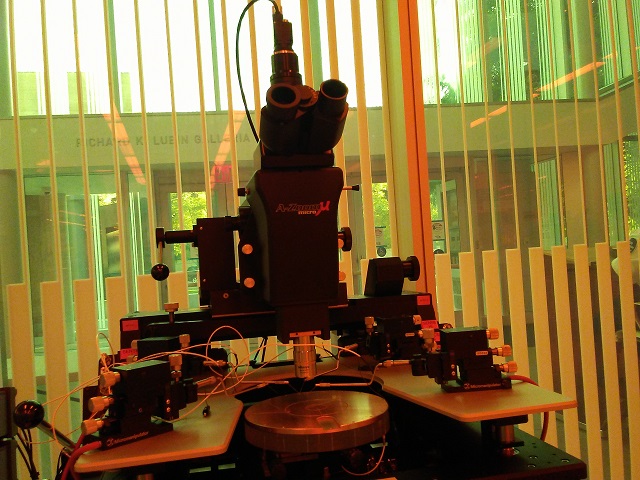
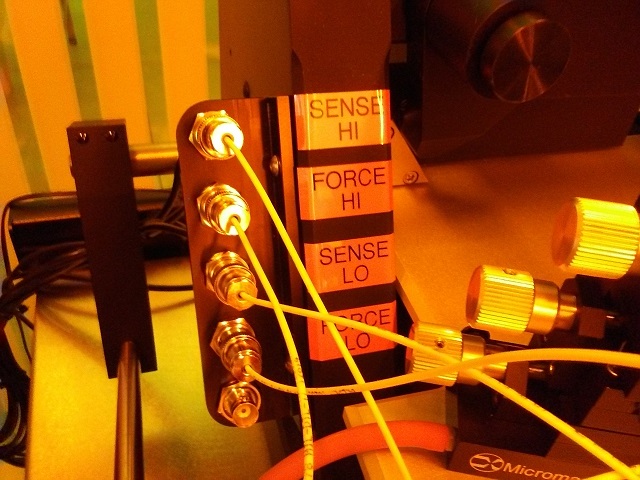
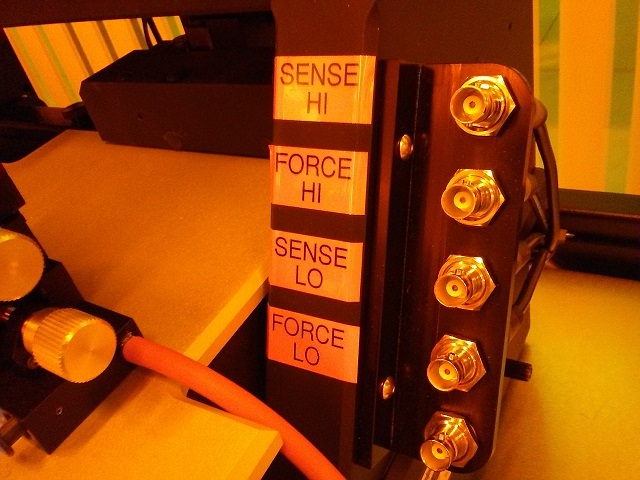
1. Make sure that wires are connected to Force Hi, Lo, Sense Hi, or Lo.
2. Pull the stage out before putting the sample on it, to prevent damaging the probes.
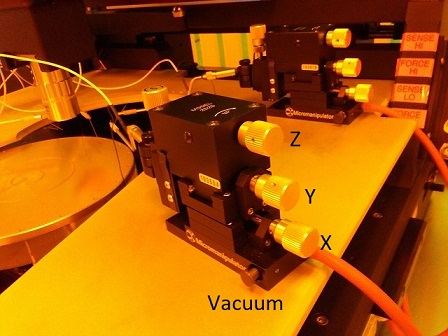
3. Switch on the stage vacuum to prevent the sample from moving.
4. Place the sample on the probe stage.
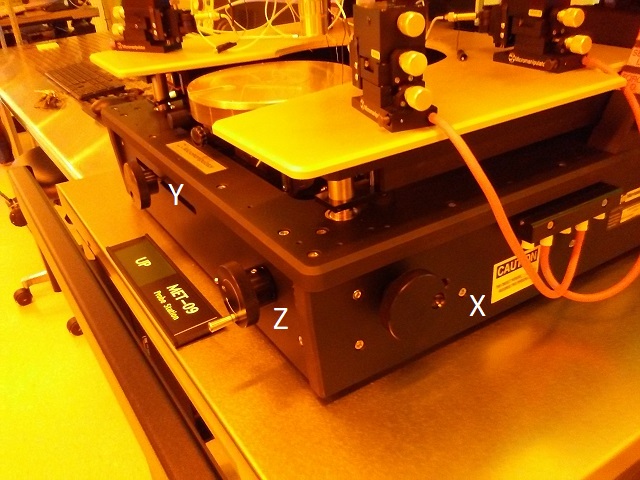
5. Determine the location of the stage, using the adjustment knobs for the x-direction and the rotation.
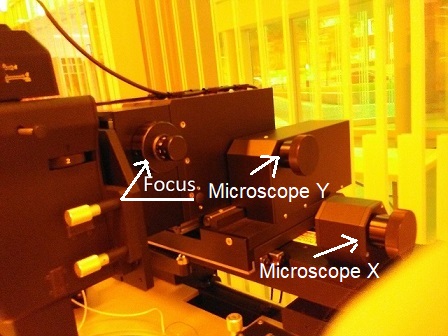
6. Determine the x and y positions of the microscope, using the adjustment knobs for the x- and y-direction.
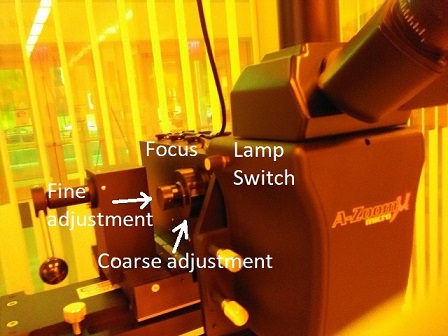
7. Focus the image, using the adjustment knob for the lens.
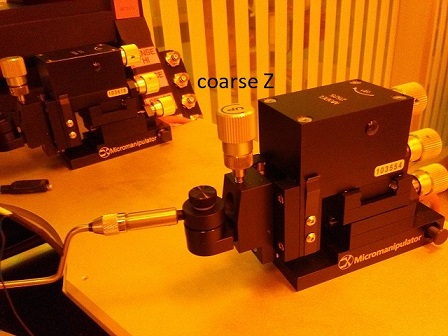
8. Make the probe touch with a particular point on the sample, using the following knobs.
Warning! Pressing the probes on the sample too hard damages the probes as well as the sample.
9. Make sure that wires are connected with the Keithley 2450.
1. A measurement is carried out using the software, KickStart, on the PC.
2. Open KickStart.
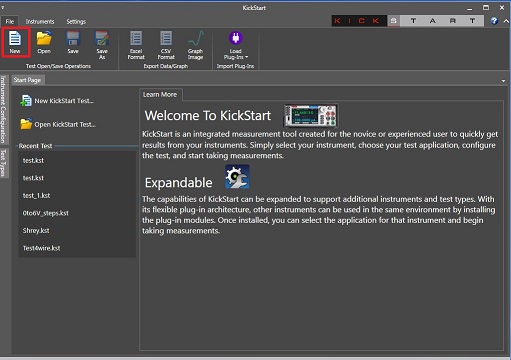
3. Click the "New" in the menu.
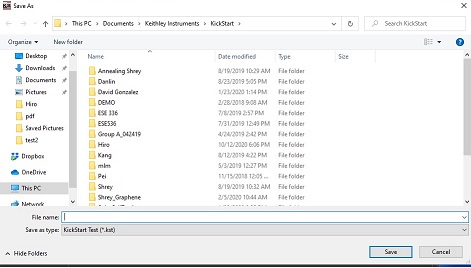
4. Save a file in the pop-up directory.
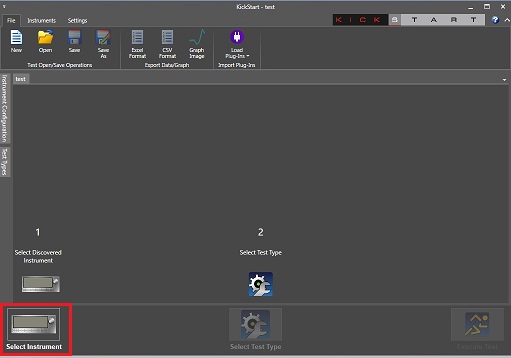
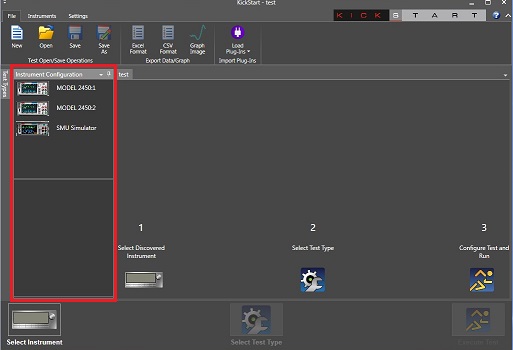
5. The following window appears.
6. Click the "Select Instrument" button.
7. The instruments detected by KickStart are shown.
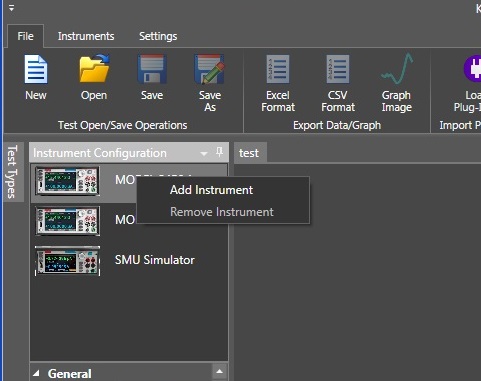
8. Choose one of the instruments, and right-click it.
9. Choose "Add Instrument".
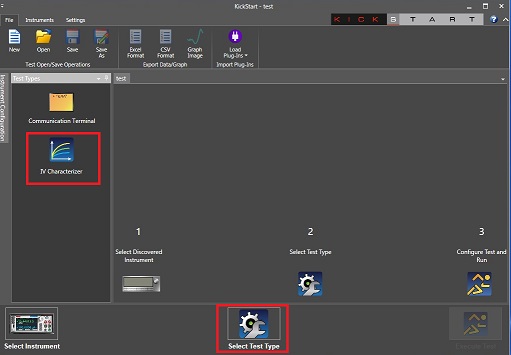
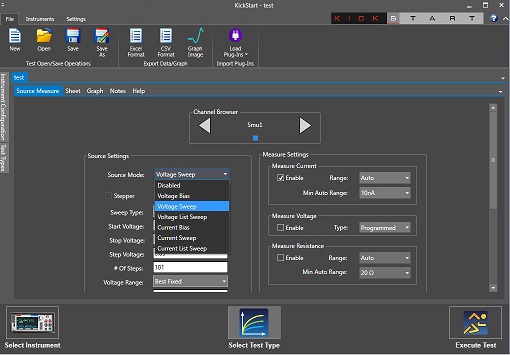
10. Choose "Select Test Type".
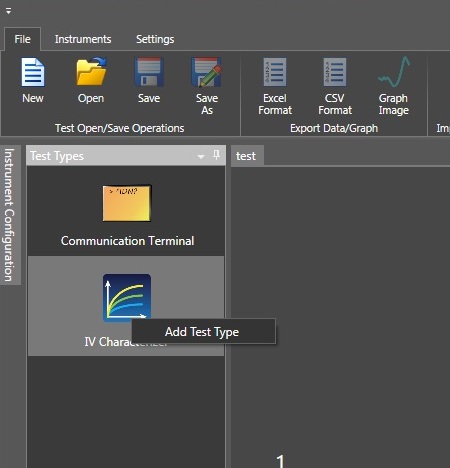
11. Right-click "IV Characterizer"
12. Click "Add Test Type".
13. The following window appears.
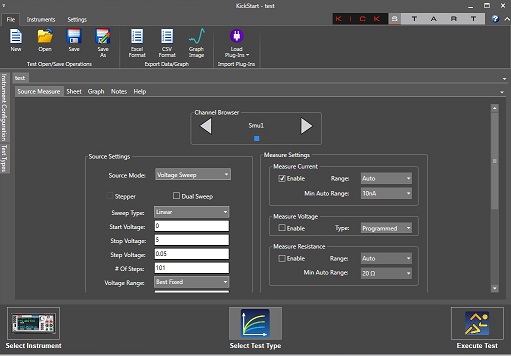
14. Change the settings, if necessary.
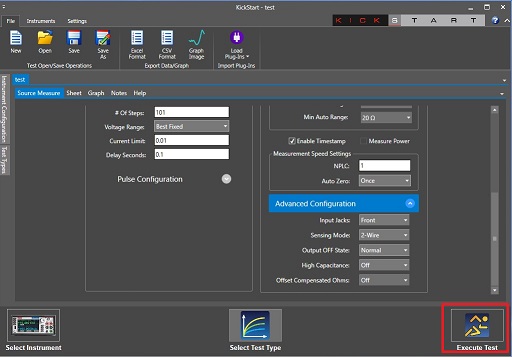
15. Go to "Advanced Configuration" on the bottom.
16. Set "Input Jacks" from "Front" to "Rear".
17. Click "Execute Test", and measurement will start.
18. You can see the result on sheet or Graph, as well.
Note: