Updated on 3/24/2016
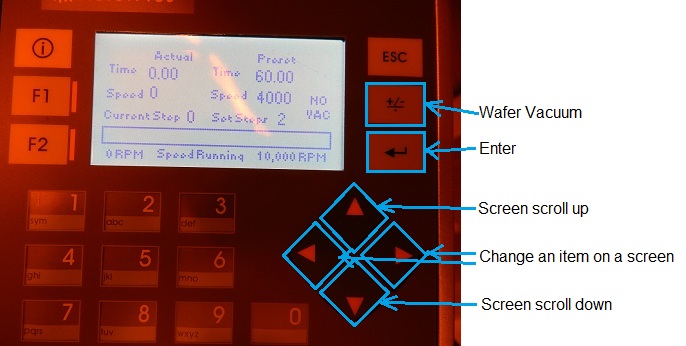
The control panel
1 Check-in
2 Load Sample
3 Edit Process
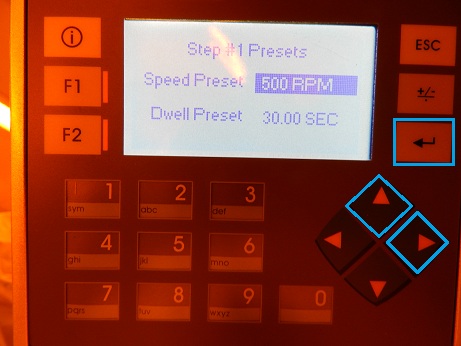
3.1 Set Step Number
3.2 Set Process in Each Step
3.3 Procedure of Spinner for E-beam Resist
4 Run
5 Unload the sample
6 Clean the spinner
7 Finishing up
8 Check-out
1. Login Spinner on the scheduler of the IRIS system before use.
1. Open a lid.
2. Install a wafer chuck.
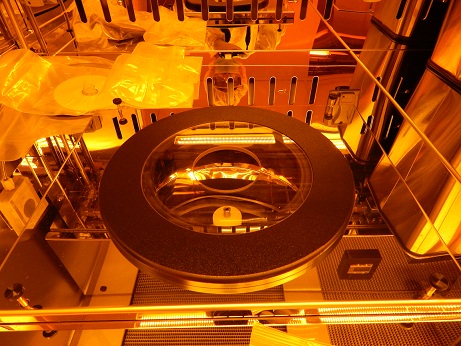
3. Place a wafer (sample) on the chuck.
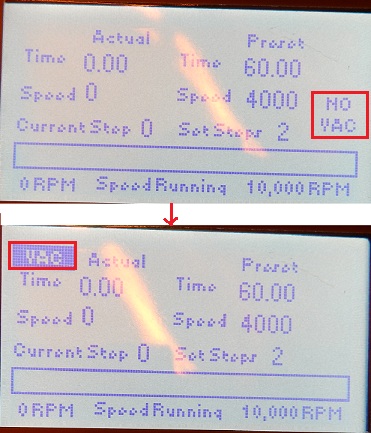
4. Press the "Wafer Vacuum" button on the control panel, and "NO VAC" disappears on the starting screen.
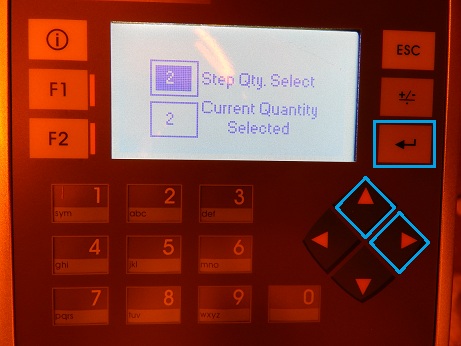
1. Press the "Scroll Up" button.
2. Press the "Change Item" button, and the item will be highlighted.
3. Enter the step number.
4. Press the "Enter" button.
1. Press the "Scroll Up" button.
2. Press the "Change Item" button, and the "Speed Preset" will be highlighted.
3. Enter the spin speed.
4. Press the "Enter" button.
5. Press the "Change Item" button, and the "Dwell Preset" will be highlighted.
6. Enter the spinning time.
7. Press the "Enter" button.
8. Press the "Scroll Up" button to go to the next page.
9. Set up the parameters in the next step.
3.3 Procedure of Spinner for E-beam Resist
Note: Procedure of the spinner for E-beam resist is different from other spinners.
1. Set up parameters in the step(s), as shown above.
2. Set the timers on all other steps, which are not used, to be zero.
3. Press "F2" button to reset the spinner before every run to ensure that spin parameters are correctly set in the system.
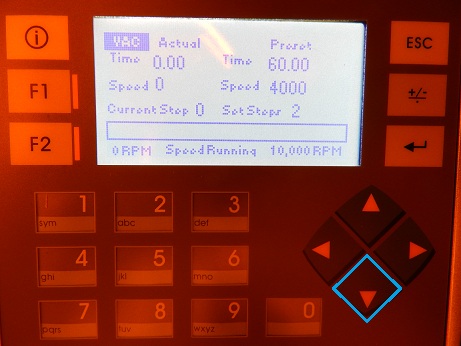
1. Press the "Scroll Down" button to go back to the starting screen.
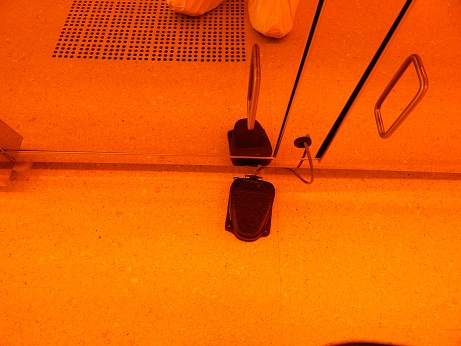
2. Step on the pedal to start the process.
1. Open the lid after the process.
2. Remove the wafer (sample) from the chuck.
1. Clean the spinner.
2. Remove the chuck from the spinner.
1. Close the lid.
1. Logout Spinner on the scheduler of the IRIS system after use.
Revision
3/24/2016, by Hiro, Procedure of Spinner for E-beam Resist was added.