Updated on 5/1/2015
1 Check-in
2 Start
3 Focus on Image
4 3D Image
5 Stitching Image
6 Save Image
7 Stand-by
8 Check-out
1. Log-in on the ISIS scheduler
1. Turn on the PC, if the PC is OFF.
2. Turn on the Smartzoom 5.
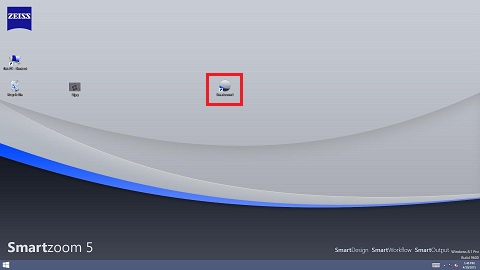
3. The starting screen appears.
4. Click the
icon to open the software.
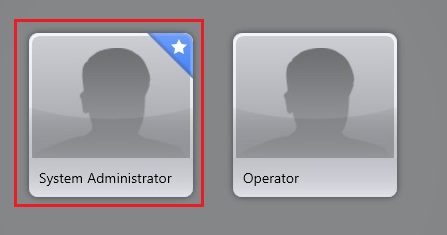
5. The Login window appears.
6. Choose "System Administrator" from the list of icons.
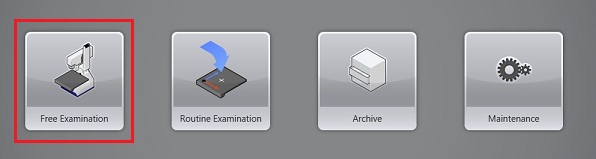
7. The Home window appears.
8. Choose "Free Examination" from the list of icons.
9. The following window shows up.
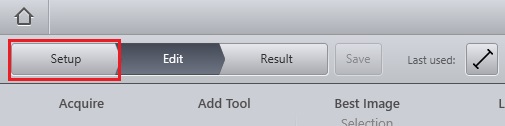
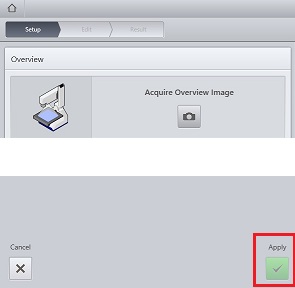
1. Click the "Setup" button.
- The object lens will automatically move to the home position.
- The stage will automatically move beneath the CCD camera.
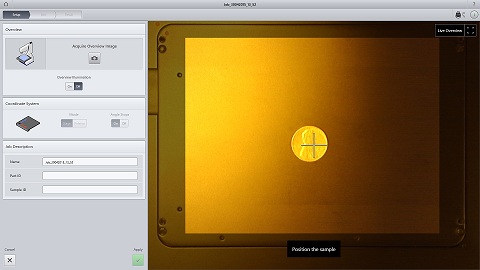
2. Place the sample on the stage.
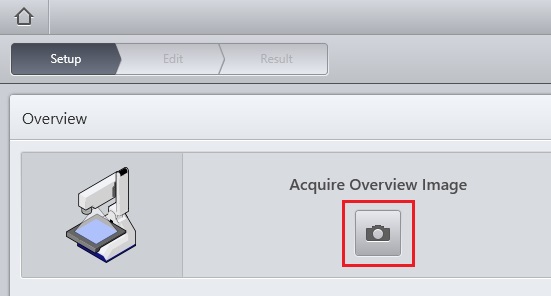
3. Click the "Acquire Overview Image" button.
Note: Do not move the sample after clicking the "Acquire Overview Image" button.
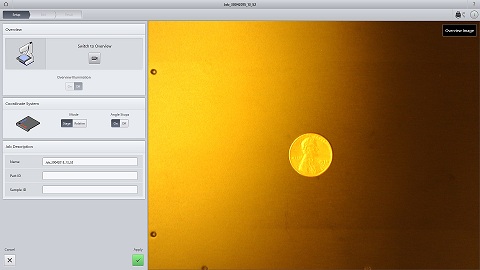
4. Click the "Apply" button.
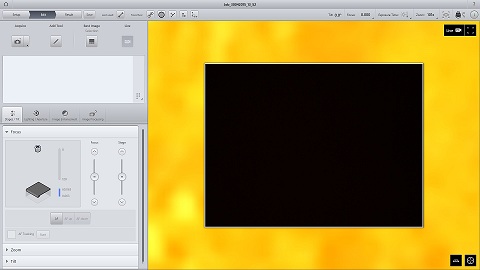
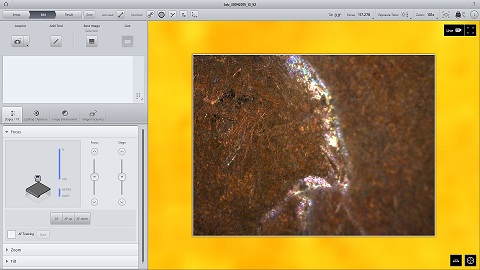
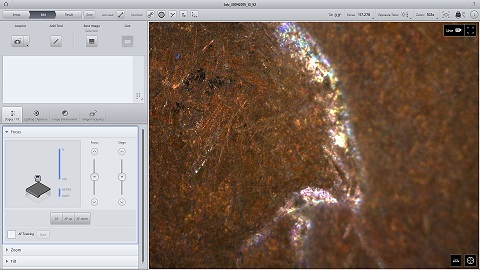
5. The stage will move beneath the object lens.
6. Adjust focus on the image, using the slide control knob on the screen and mouse, or the rotating control knob on the keyboard.
* When you see the image, you can also use the "AF" (auto focus) button.
7. You can zoom-in, using the rotating control knob.
Note: See "Save Image" below, if you want to save the image.
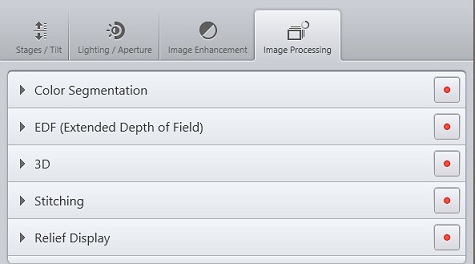
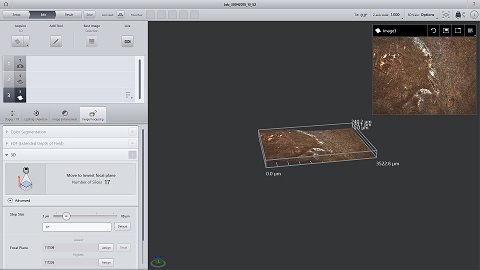
1. Open the "Image Processing" tab.
2. Choose "3D" by clicking the
button.
3. The "3D" tab is opened.
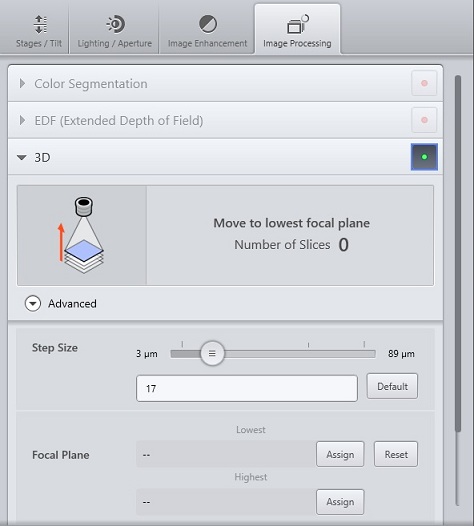
Note: You can change the step size, if necessary.
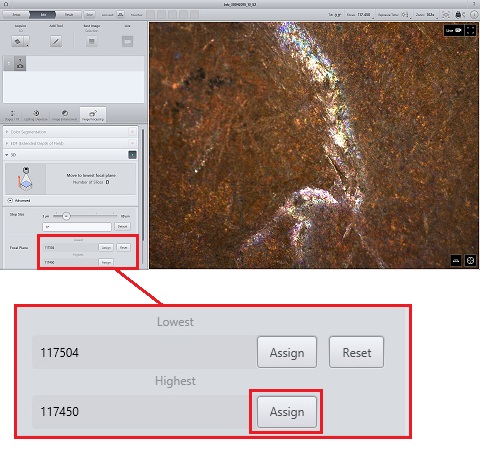
4. Focus on the lowest image.
5. Click the upper "Assign" button, and the focal point will be shown.
6. Focus on the highest image.
7. Click the lower "Assign" button, and the focal point will be shown.
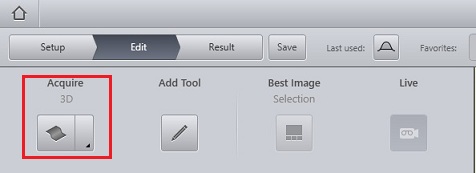
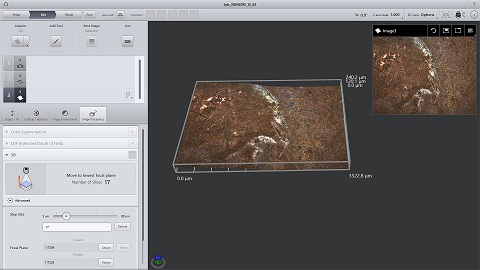
8. Click the "Acquire" button.
9. The 3D image is shown on the screen.
10. Touch the screen if you want to move, expand, and rotate the image.
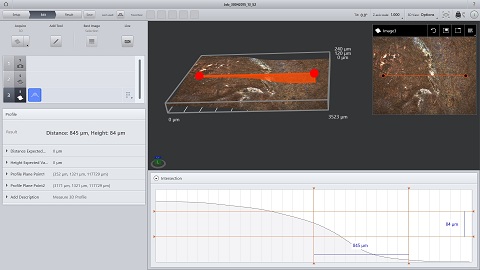
11. Click the
icon to show the cross-section.
Note:
- You can move the both ends of the cross-section, using the mouse.
- See "Save Image" below, if you want to save the image.
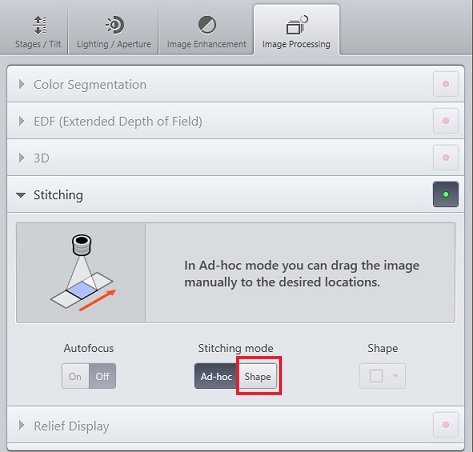
1. Open the "Image Processing" tab.
2. Choose "Stitching" by clicking the
3. The "Stitching" tab is opened.
4. Click the "Shape" button.
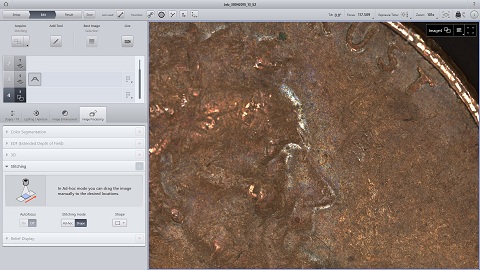
Note: In Ad-hoc mode, you can drag the image manually to the desired locations.
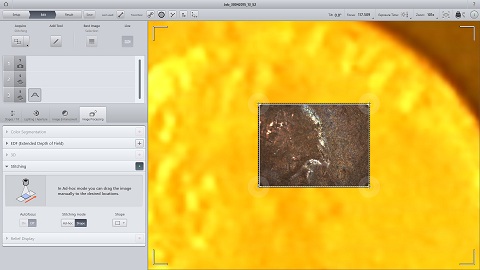
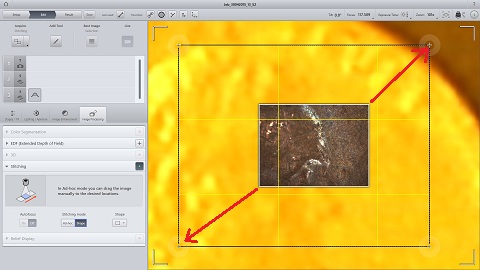
4. The following image is also shown.
5. The stitching area can be expanded by dragging the edge points using the mouse.
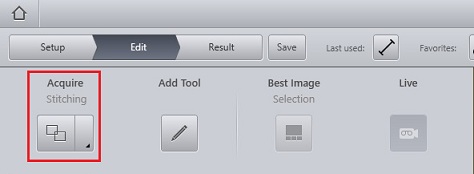
6. Click the "Acquire" button.
7. The image stitched is shown on the screen.
Note: See "Save Image" below, if you want to save the image.
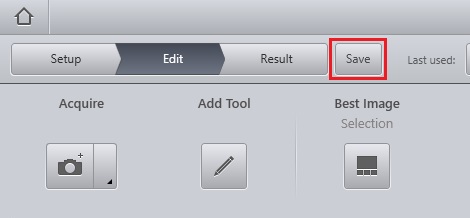
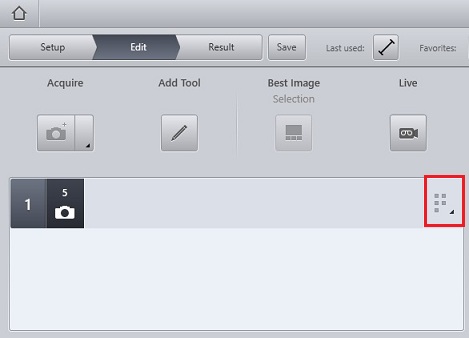
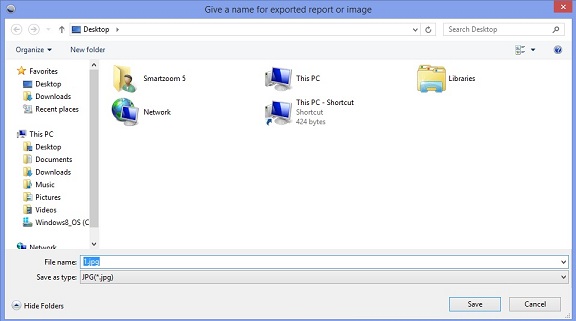
1. Click the "Save" button.
2. The saved image file is shown in the box.
3. Click the
icon in the box.
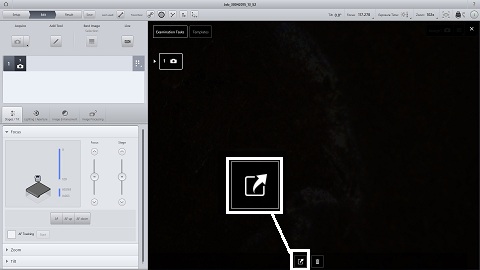
4. The CCD image screen is turned into black.
5. Click the
icon.
6. The following dialog box appears. Save the image in the file directory desired.
1. Click the "Setup" button.
- The object lens will automatically move to the home position.
- The stage will automatically move beneath the CCD camera.
2. Remove the sample from the stage.
3. Turn off the Smartzoom5 to save the lifetime of lamp.
1. Log-out on the ISIS scheduler.