
Updated on 10/14/2014
Note:
Bond Alignment: EVG620 is used if you require alignment between your wafers.
1 Cold Start
2 Load Bond Tool and Wafers
2.1 After Alignment on EVG620
2.2 Without Alignment on EVG 620
3 Log-in
4 System Initialization
5 Load Recipe
6 Run Recipe
7 Save The Process Profile
8 Unload Bond Tool
9 Supplemental Documents
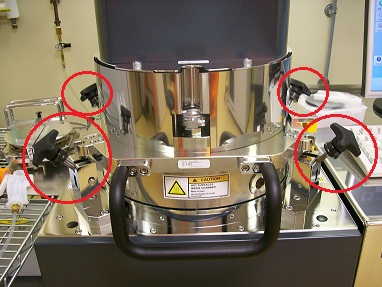
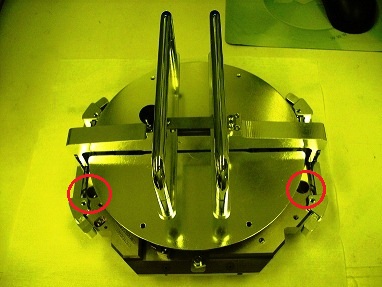
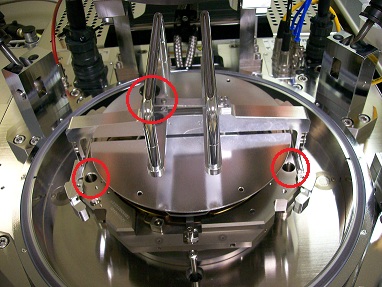
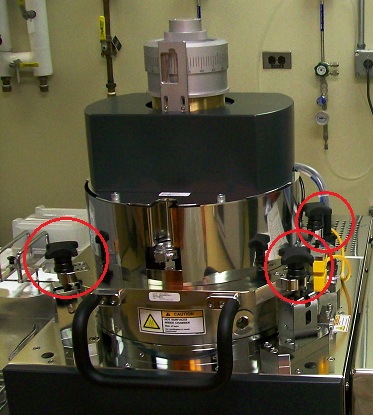
1. Open the four screw caps.
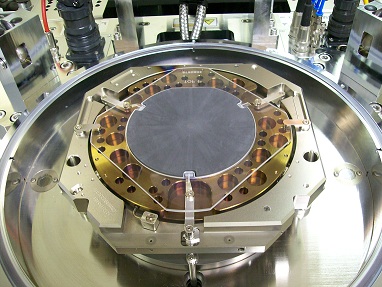
2. Open the bond chamber.
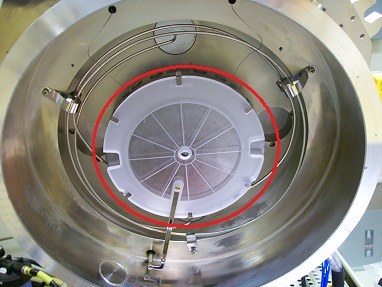
3. Check if the pressure disc on the top side in the chamber is for anodic bonding or for direct/thermo-compression bonding/solder bonding.
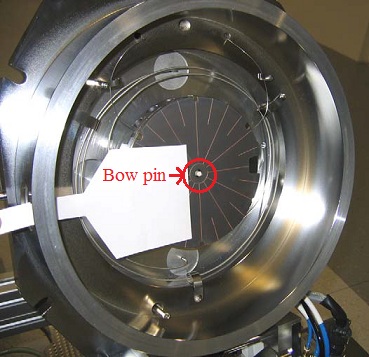
4. If you do vacuum molecular bonding or high alignment accuracy bonding, a bow pin needs to be installed in the center of pressure disc.
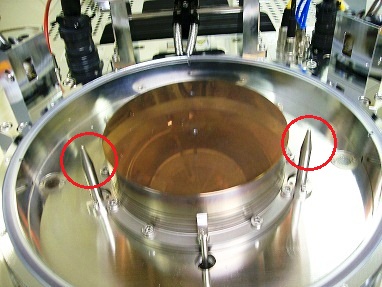
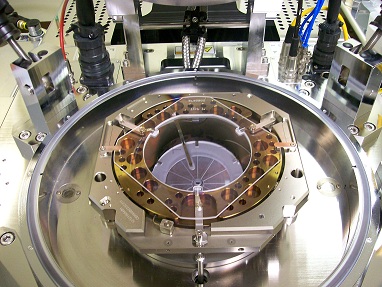
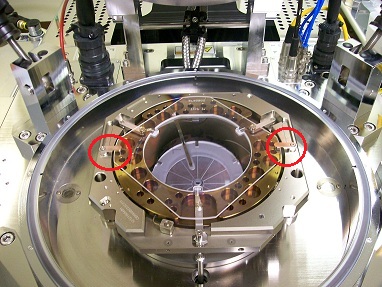
1. Insert the two guide pins into the two holes of the bond tool.
2. Release a clamp of the carrier tool.
3. Put a graphite plate in the Bond glass.
4. Close the chamber and close the four screw caps.
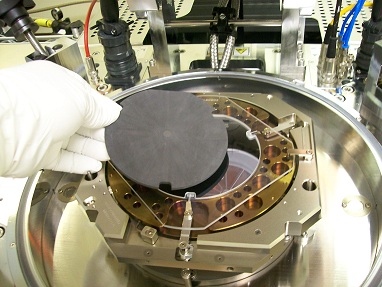
1. Pile the wafers up on the Bond tool, and cover them with the bond glass.
2. Clamp the bond glass.
3. Put a graphite plate in the Bond glass.
4. Close the chamber and close the four screw caps.
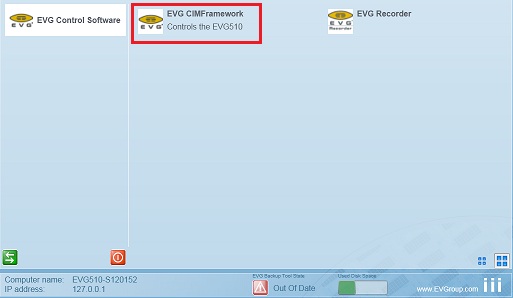
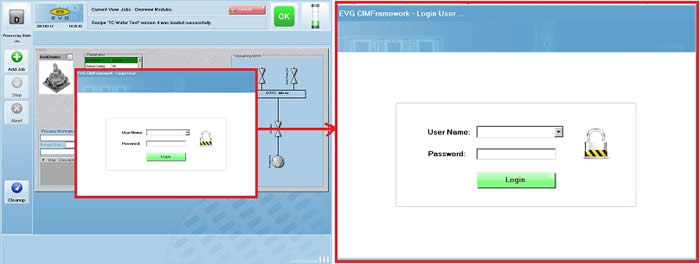
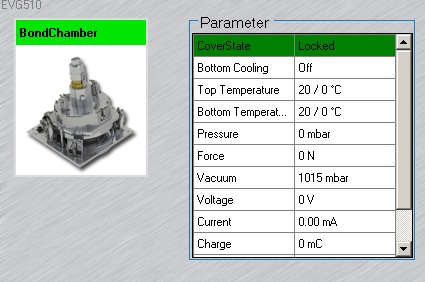
1. Type user name and password, and click the "Login" button.
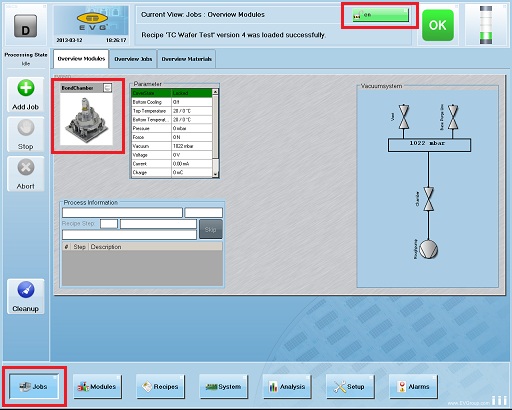
2. The "Jobs" window is opened.
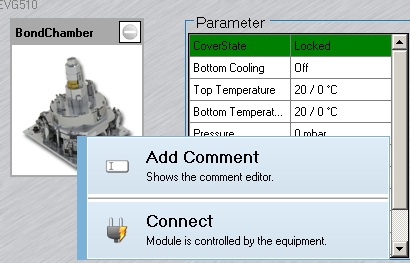
3. Right-click on the "BondChamber" icon to open a drop-down menu.
4. Click the "Connect" button.
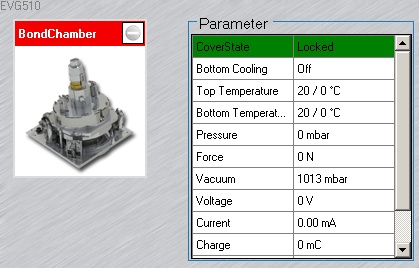
5. The color of the "BondChamber" icon turns into red.
6. Right-click on the "BondChamber" icon to open a drop-down menu.
7. Click the "Enable" button.
8. The color of the "BondChamber" icon turns into green.
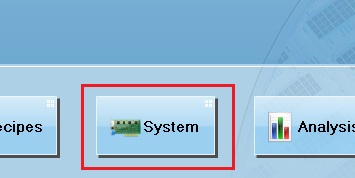
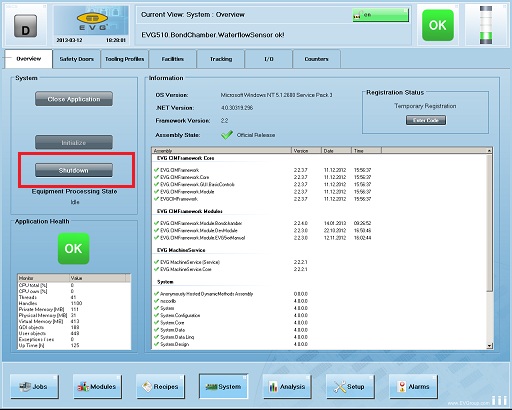
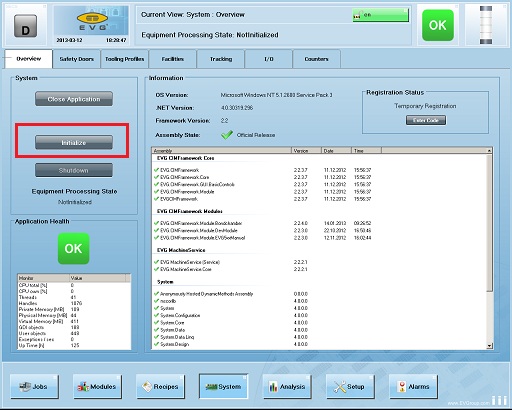
1. Click the "System" button in the bottom menu.
2. Click the "Shutdown" button to highlight the "Initialize" button.
3. Click the "Initialize" button.
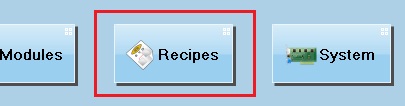
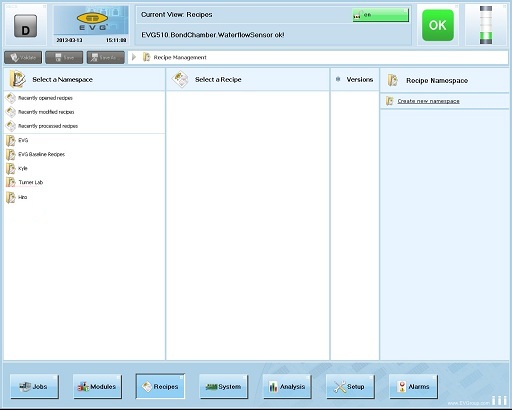
1. Click the "Recipes" button in the bottom menu.
2. The "Recipes" window is opened.
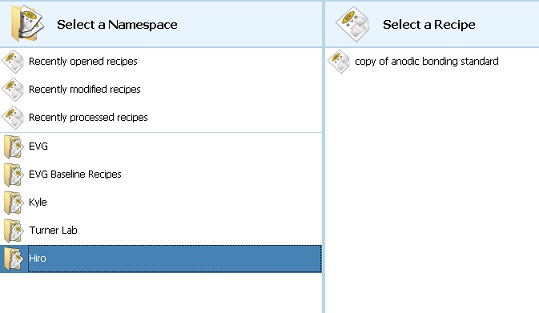
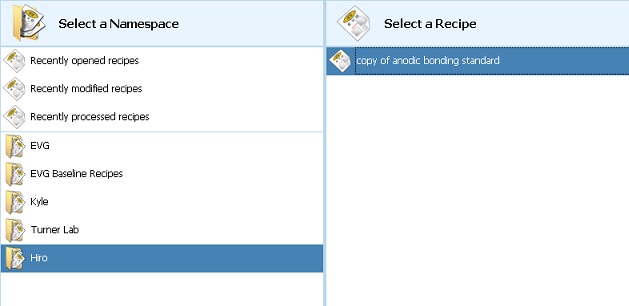
3. Choose your file.
4. Select a recipe.
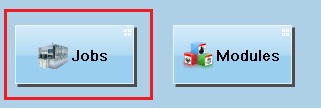
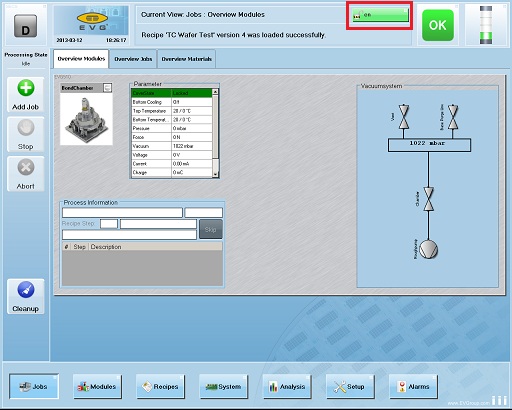
1. Click the "Jobs" button in the bottom menu to open the "Jobs" window.
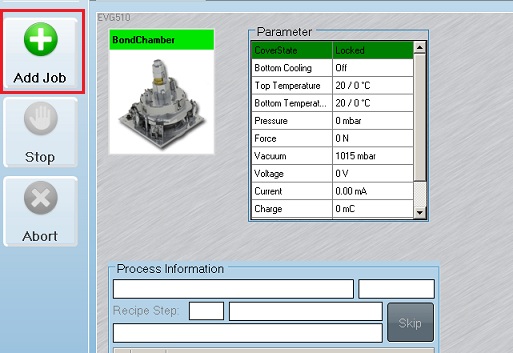
2. Click the "Add Job" button.
3. The "Add Job" dialog box is opened.
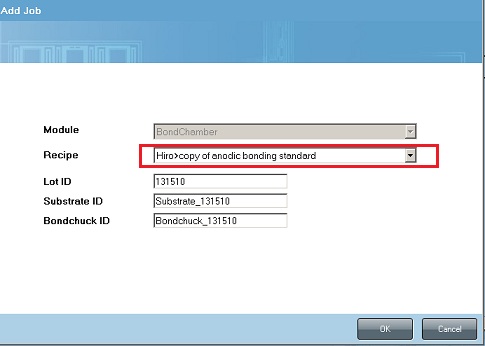
4. Open a drop-down menu from the "Recipe" box.
5. Select the bottom line, which is the recipe selected, from the drop-down menu.
6. Type "Lot ID", "Substrate ID", and "Bondchuck ID" if necessary.
7. Click the "OK" button.
8. The recipe starts.
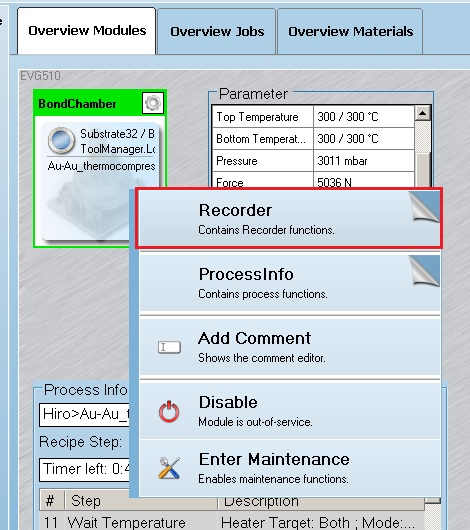
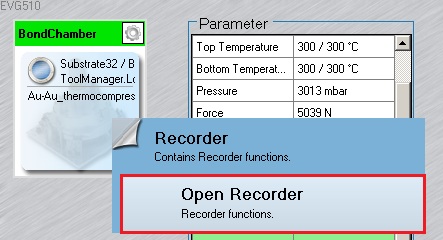
1. When the process starts, right-click on the "BondChamber" icon to open a drop-down menu.
2. Choose the "Recorder" from the drop-down menu.
3. The next drop-down menu is opened. Choose the "Open Recorder".
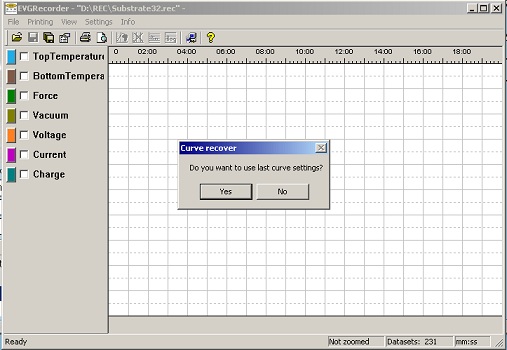
4. EVG Recorder is opened.
5. The process profile starts to be recorded.
1. When the process is finished, wait until the top and bottom temperatures are cooled down.
2. When the top and bottom temperatures are cooled down, release the four screw caps and open the bond chamber.
3. Take the bond tool out of the bond chamber, using the carrier tool.
4. Open the clamps on the bond glass, so that the bond glass and the bonded wafers can be taken out of the bond tool.
5. Put the bond tool back to the bond chamber.
6. Close the bond chamber and close the four screw caps.
7. Right-click on the "BondChamber" icon to open a drop-down menu in the "Jobs" window.
8. Click the "Disable" button.
9. Right-click on the "BondChamber" icon to open a drop-down menu in the "Jobs" window.
10. Click the "Disconnect" button.
11. The color of the "BondChamber" icon turns into grey.
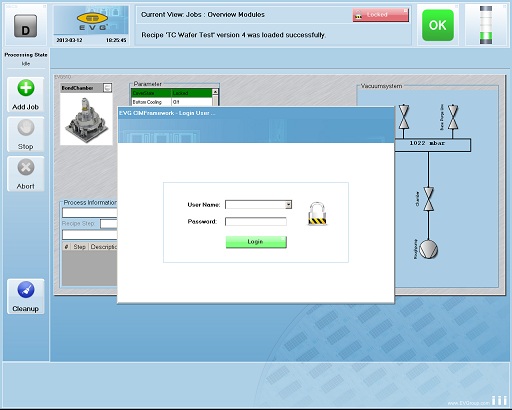
12. Click the green user button.
13. The log-in dialog box is opened.
