Standard Operating Procedure
of
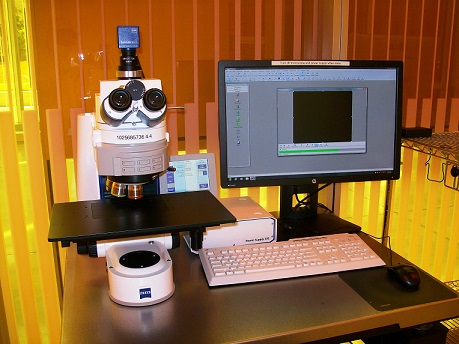
Zeiss Imager-M2m Optical Microscope
Updated on 7/17/2015
Contents
1 Check-in
2 Start
3 Focus on Image
4 Normal Operation
4.1 Live Image
4.2 Image Acquisition and Annotation
4.3 Image Analysis
4.4 Save Image
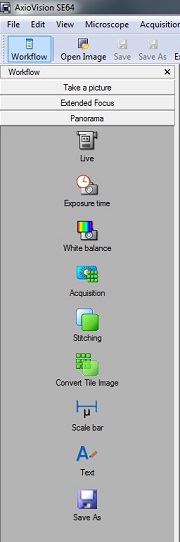
5 Extended Focus
5.1 Live Image
5.2 Z-Stack Acquisition
5.3 Extended Focus
6 Panorama
6.1 Live Image
6.2 Acquisition
6.3 Stitching
6.4 Convert Tile Image
7 Shut Down
8 Check-out
9 Supplemental Documents
1. Check-in
1. Log-in on the ISIS scheduler.
2. Start
-
The following sequence is important because the microscope should be turned on before the software is opened.
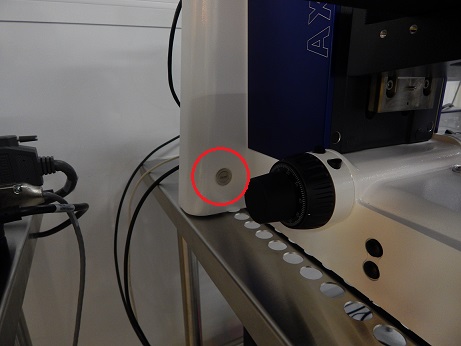
1. Turn on lamp power.
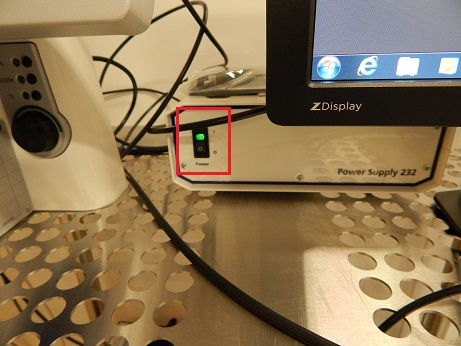
2. Turn on the Image_M2m optical microscope, and the monitor will be turned on.
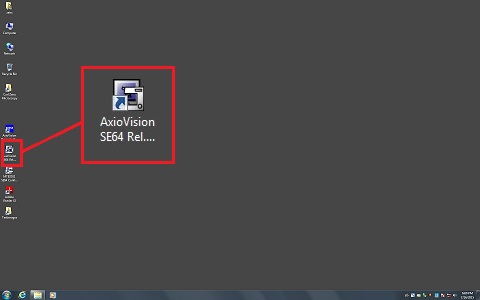
3. Open the AxioVision software.
* The microscope should be turned on before the software is opened.
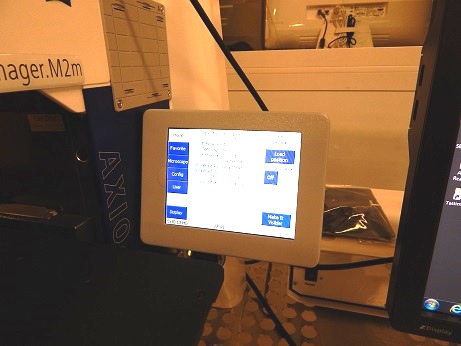
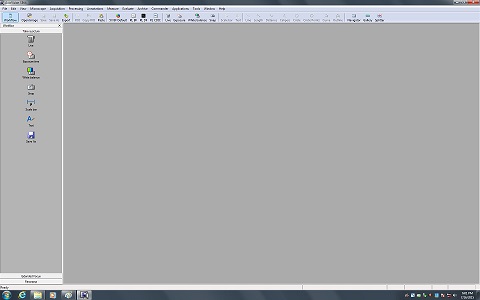
4. The starting screen will appear.
3. Focus on Image
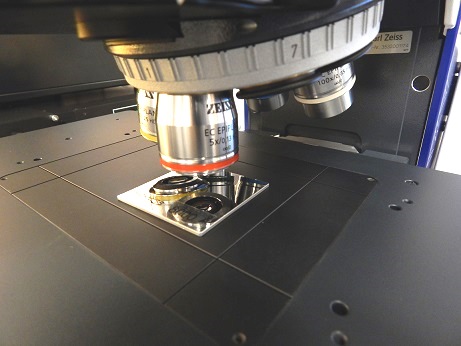
1. Load the sample on the stage.
* Make sure that the 5x object lens is set up.
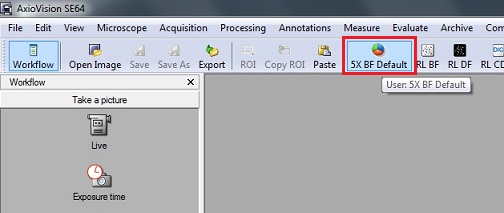
2. Click the "5x BF Default" button in the menu.
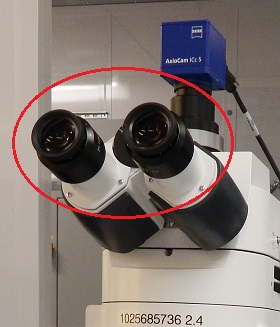
3. Focus on the image through eyepieces.
4. Normal Operation
4.1 Live Image
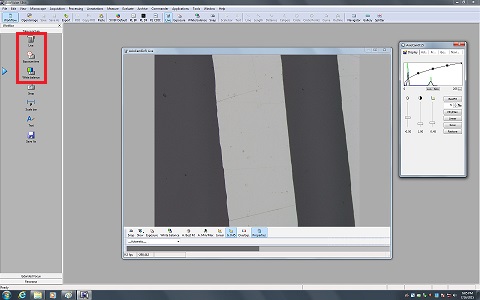
1. Open the "Take a picture" tab in the Workflow box on the left side of the screen.
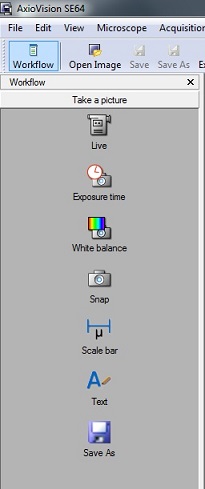
2. Click on the "Live", "Exposure time" and "White balance" icons consectively, and the image will be adjusted automatically.
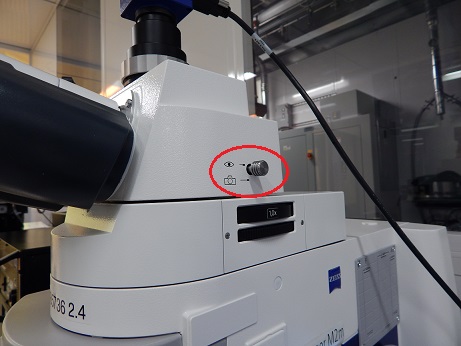
* Make sure that the microscope is switched from the eyepieces to camera.
4.2 Image Acquisition and Annotation
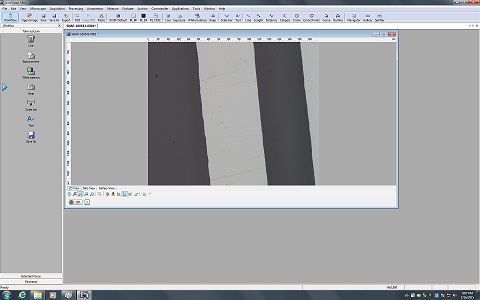
1. Click on the "Snap" icon.

2. Close the live screen, if necessary.
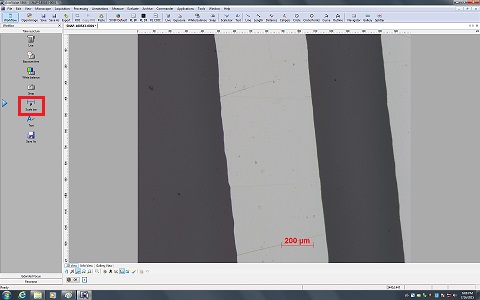
3. Click the "Scale bar" icon, and the scale bar can be shown in the captured image.
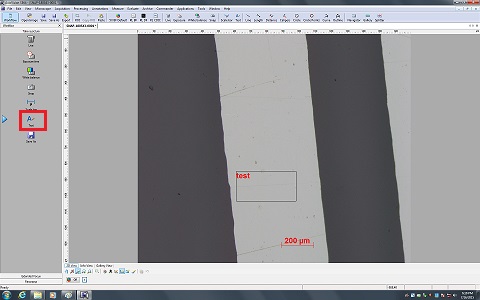
4. Click the "Text" icon, and the text can be written in the captured image.
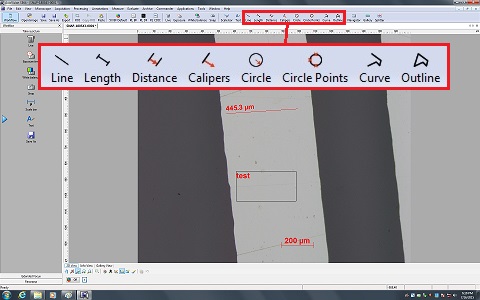
4.3 Image Analysis
1. You can analyze the captured image, by clicking on the analysis icons in the menu.
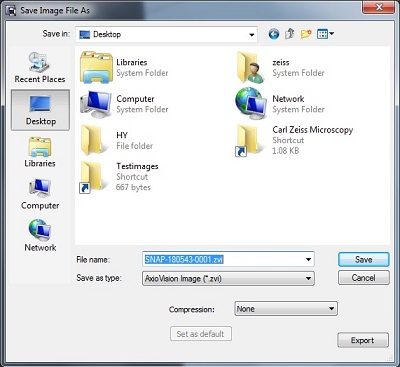
4.4 Save Image
1. Click the "Save As" icon, and the saving dialog box will appear.
2. Save the captured image, if necessary.
5 Extended Focus
-
Several images are acquired at different focus positions.
-
The sharp areas are extracted from each of the images and automatically combined.
-
A sharp 2D image is immediately obtained.
.
5.1 Live Image
1. Open the "Extended Focus" tab in the Workflow box on the left side of the screen.
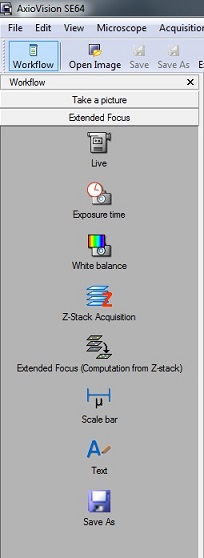
2. Click on the "Live", "Exposure time" and "White balance" icons consectively, and the image will be adjusted automatically.
3. Focus on the top or bottom image.
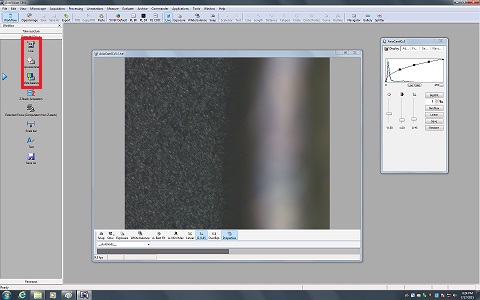
5.2 Z-Stack Acquisition
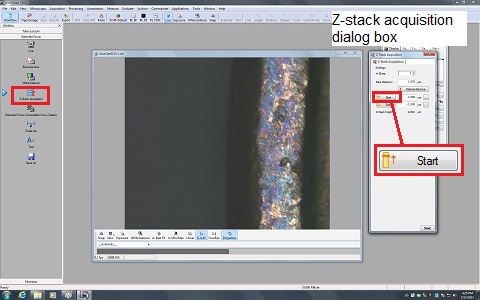
1. Click on the "Z-Stack Acquisition" icon, and the "Z-stack acquisition" dialog box will appear.
2. Focus on the top image.
3. Click the "Start" button in the "Z-stack acquisition" dialog box.
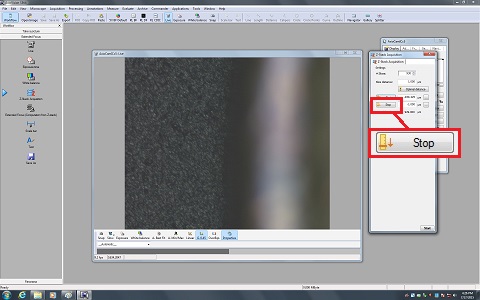
4. Focus on the bottom image.
5. Click the "Stop" button in the "Z-stack acquisition" dialog box.
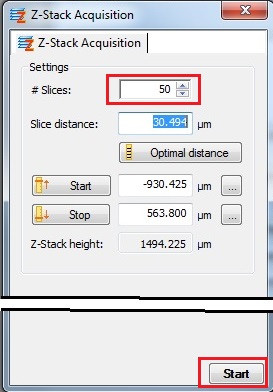
6. Adjust the number of slices.
7. Click the "Start" button.
8. Wait until the process is finished.
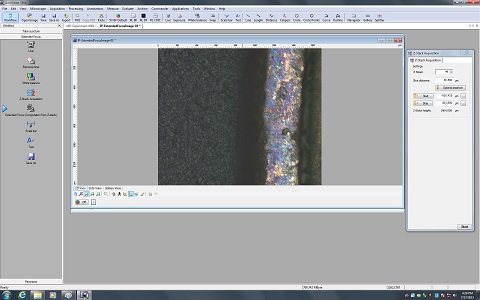
5.3 Extended Focus
1. Click on the "Extended Focus" icon, and the "Extended Focus" dialog box will appear.
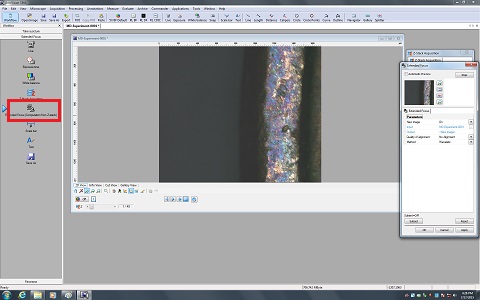
2. Click the "OK" or "Apply" button.
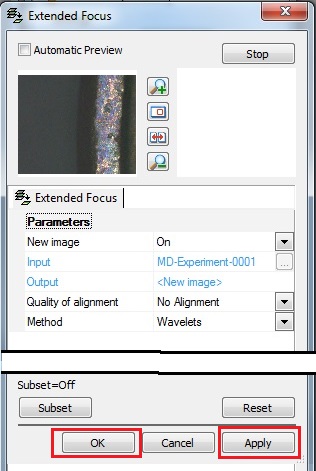
3. The result is shown on the screen.
4. You can do annotation and image analysis, and save the image, if necessary.
6 Panorama
6.1 Live Image
1. Open the "Panorama" tab in the Workflow box on the left side of the screen.
2. Click on the "Live", "Exposure time" and "White balance" icons consectively, and the image will be adjusted automatically.
6.2 Acquisition
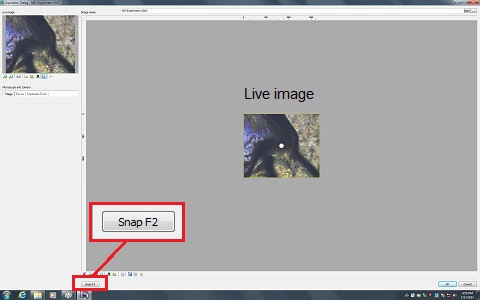
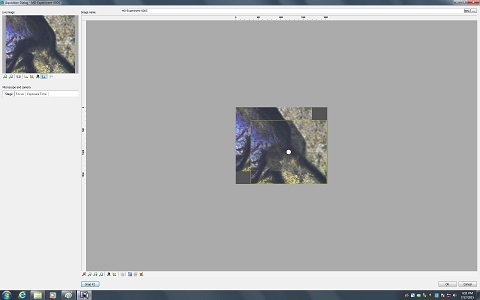
1. Click the "Acquisition" icon, and the following window will appear.
2. Click the "Snap F2" button.
3. The captured image is shown on the screen.
4. Move the live image box next to the captured image with overlap.
5. Move the stage in order to connect between the images.
6. Click the "Snap F2" button.
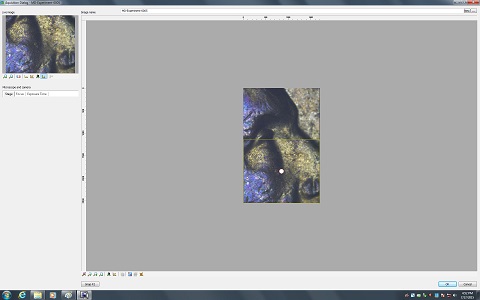
7. Repeat the process as you want.
8. Click the "OK" button.
6.3 Stitching
1. Click the "Stitching" button.
2. The captured images will automatically be stitched.
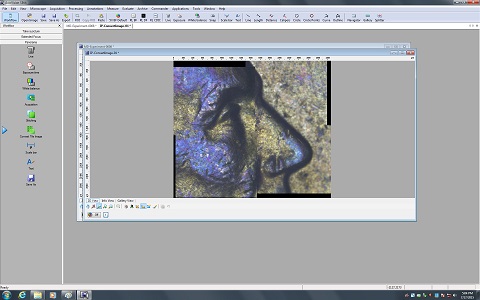
6.4 Convert Tile Image
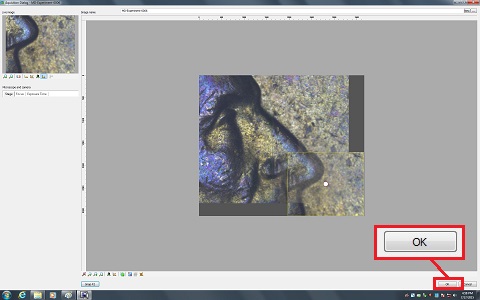
1. Click the "Convert Tile Image" icon, and the following window will appear.
2. Click the "OK" or "Apply" button at the bottom of the screen.
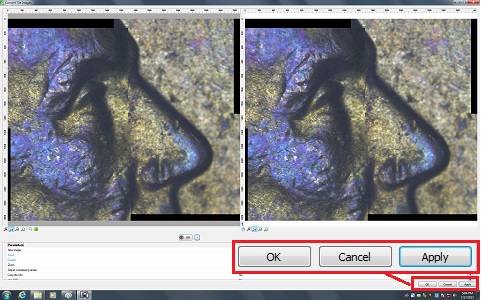
3. The following result is shown on the screen.
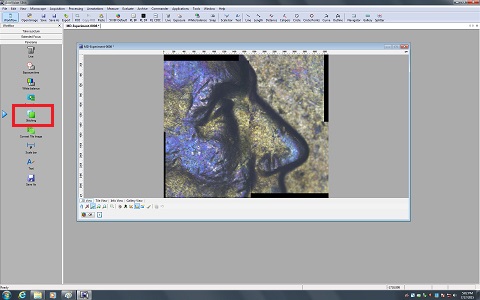
4. You can do annotation and image analysis, and save the image, if necessary.
7. Shut Down
1. Remove the sample from the stage.
2. Close the AxioVision software.
3. Turn on the Image_M2m optical microscope.
4. Turn off lamp power.
8. Check-out
1. Log-off on the ISIS scheduler.
9. Supplemental Documents