1. Back-side Alignment (BSA) microscopes will be active when clicking the "Mask Holder NOT Clamped" button.
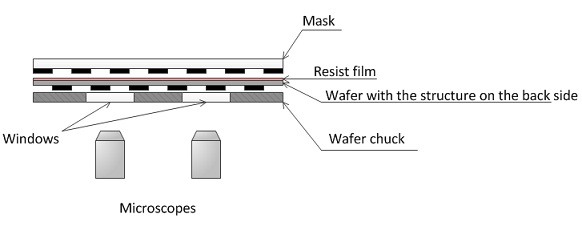
2. The mask image will be shown on the PC screen through the windows of the wafer chuck.
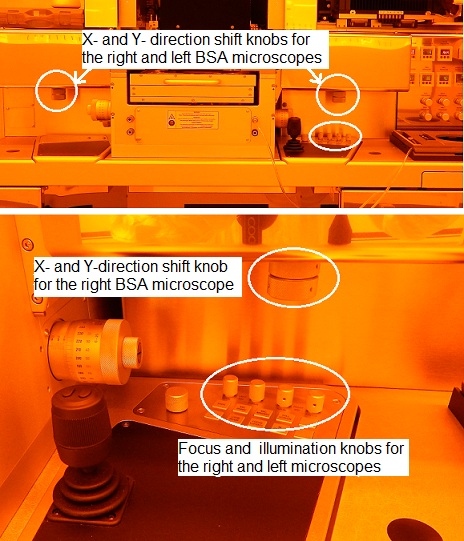
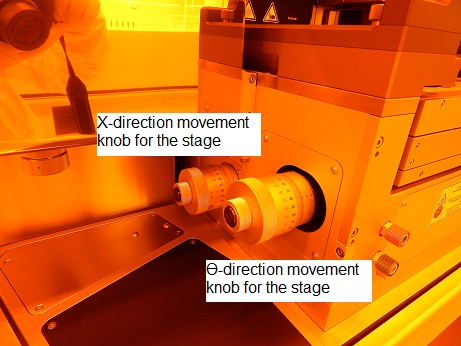
3. Find the alignment marks using the following knobs for the BSA microscopes.
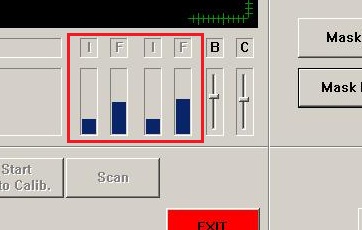
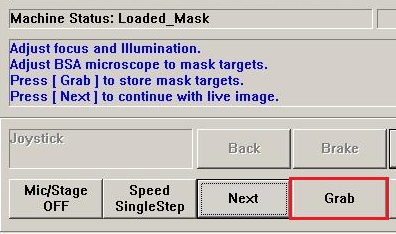
4. Adjust focus and illumination on the mask using the following knobs and indicators.
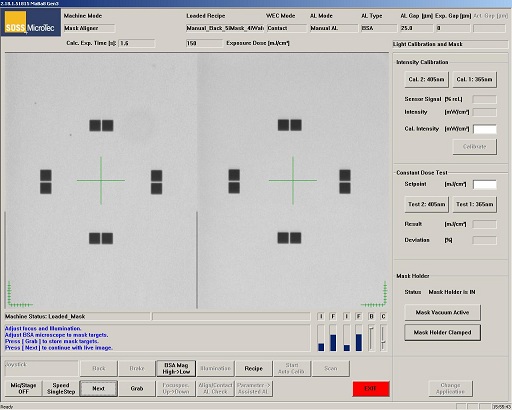
5. Click the "Grab" button to capture the image of mask targets.
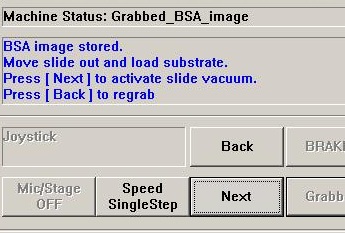
6. The following message appears.
1. Load the 4" wafer chuck and wafer, as shown in Non-Alignment.
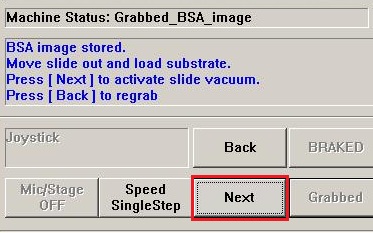
2. Click the "Next" button to turn on wafer vacuum.
3. Move the transport with the sample slide in.
4. Click the "Next" button.
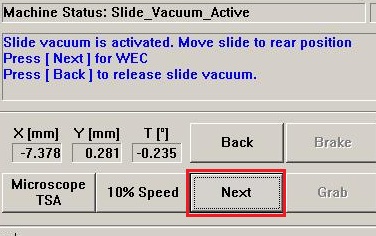
5. The following window appears.
Note:
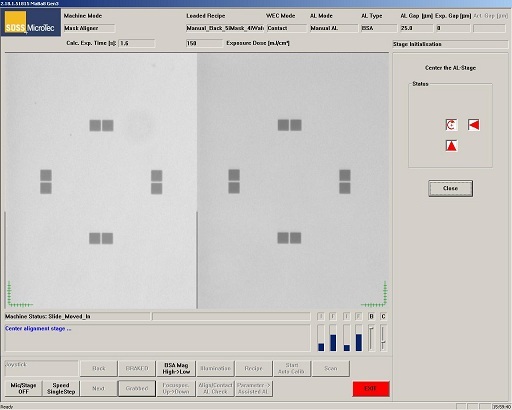
1. The following message appears.
2. Find and focus on the image of the alignment marks of the wafer.
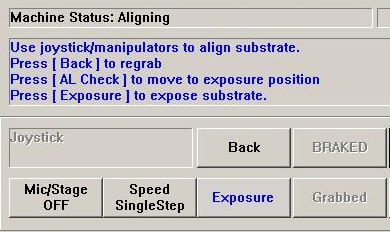
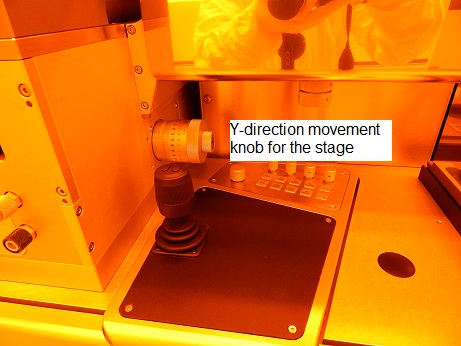
3. Make an alignment between the wafer and mask image captured, using the manipulators.
4. In the manual BSA alignment process, ignore the following messages in the window:
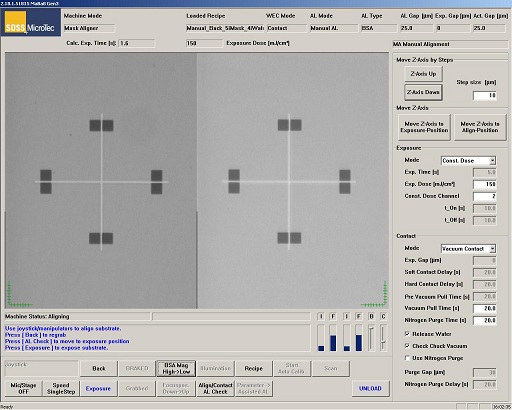
5. Go to the Exposure section below.