Updated on 10/9/2014
1 The "Catalog" Window
2 Load Sample
3 Pre- and Post-Stress measurements
3.1 Pre-measurement
3.2 Post-measurement
4 Calculation of Film Stress
5 Print Data
6 Unload Sample
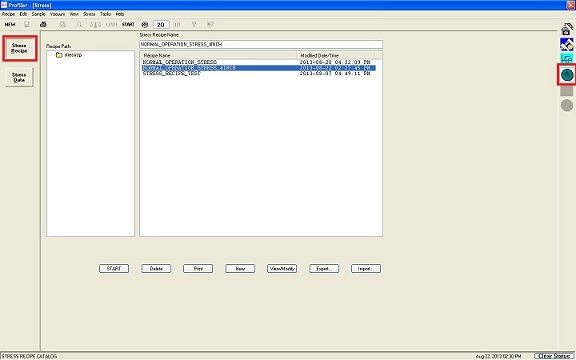
1. You will see the "Catalog" window.
2. Click the light-blue "Stress" icon on the right side, and the "Scan Recipe" button on the left side.
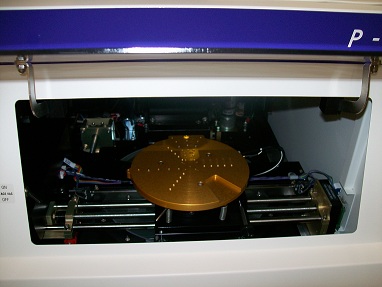
1. Open the front door.
2. Ensure that a sample chuck is in a loading position (close to the window).
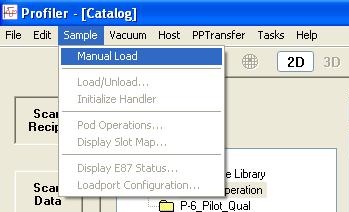
3. If not, choose and click "Manual Load" from the drop-down menu of "Sample" in the Menu.
4. The sample chuck is moved automatically to the loading position.
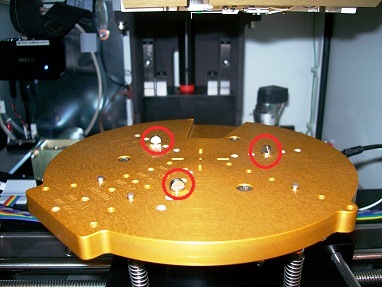
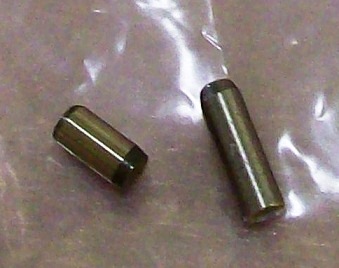
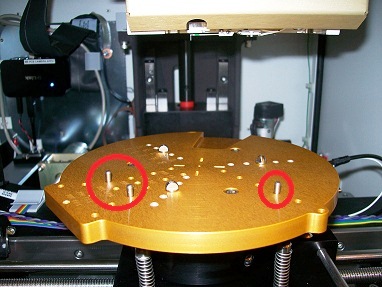
5. Screw three short threaded-rods into the threads on the chuck, according to the size of sample (the size is shown on the chuck).
6. Replace the short three pins in the notches by the long ones.
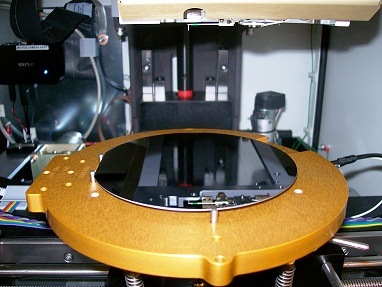
7. Place a wafer on the threaded-rods, and the flat and left side of the wafer are positioned against the long pins.
8. Close the front door.
9. Choose and click "Manual Load" from the drop-down menu of "Sample" in the Menu again.
10. The sample chuck is moved automatically beneath the stylus.
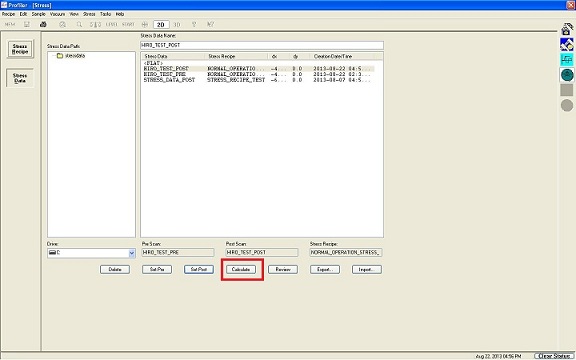
1. Ensure that the pre- and post-scan data is shown in the Pre ans Post Scan box.
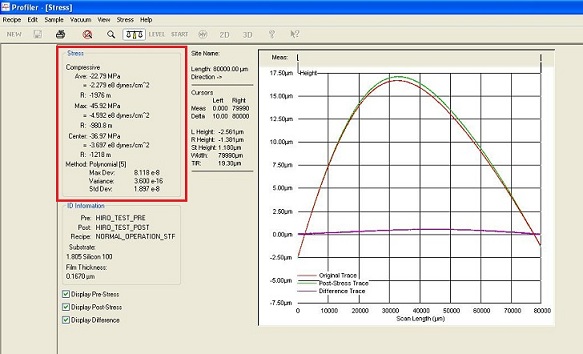
2. Click the "Calculate" button.
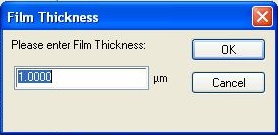
3. The "Film Thickness" dialog box appears. Enter the film thickness.
4. The calculated result is shown.
1. Click the "Printer" icon in the menu on the "Stress" screen.
2. Choose how to print or output the data.
1. Choose and click "Manual Load" from the drop-down menu of "Sample" in the Menu.
2. The sample chuck is moved automatically to the loading position.
3. Take out your sample.
4. Remove the three threaded-rods and pins from the chuck.
5. Insert the short pins into the notches.
6. Close the front door.
