Updated on 3/13/2018
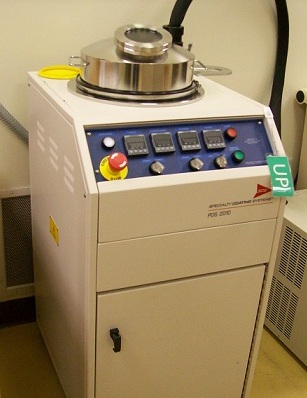
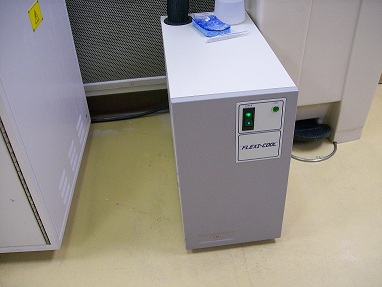
1 Turn on the tool
2 Vent the chamber and prepare parylene deposition
3 Pump down the chamber
4 Deposition of parylene
5 Unload the sample
6 Clean the cold finger
7 Pump down and the chamber stand-by
8 Supplemental Documents
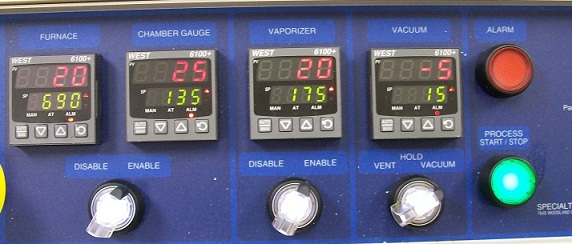
1. Make sure the furnace/chamber gauge and the vaporizer are DISABLED.
2. Deactivate the EMERGENCY STOP by turning clockwise
3. Press MAIN POWER button on the console.
1. Turn the vacuum switch from HOLD to VENT.
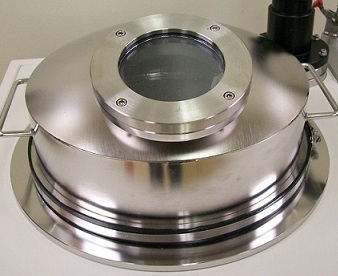
2. Upon venting, remove the chamber lid and place it on the 2~3 wipers on the bench.
3. Make an Aluminum foil boat (see Parylene Coater Recipes) and put the proper amount of parylene dimer in it.
4. Insert the boat with parylene into the vaporization chamber in the cabinet of the tool. Only push the boat into the vaporization chamber as far as is necessary to close the door. This will keep the parylene as far away from the high-temperature furnace heating element as possible.
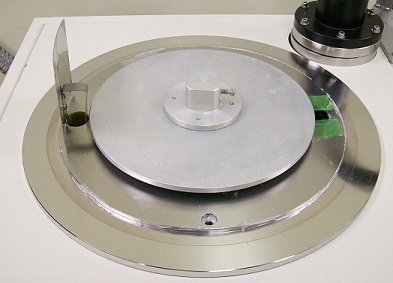
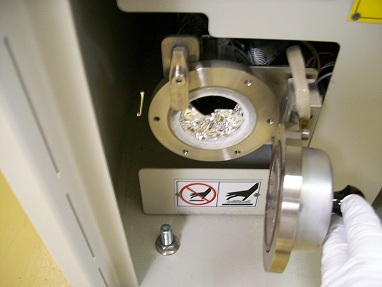
5. Place your sample(s) on the platform.
1. Make sure the o-ring on the chamber lid and its coupling surface is clean; use DI water (do not use IPA)!) and cleanroom wipers to clean if needed.
2. Place the chamber lid back on top of the chamber.
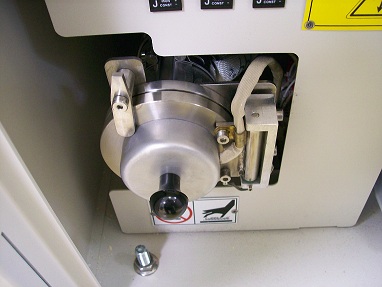
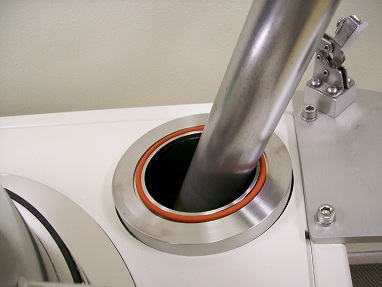
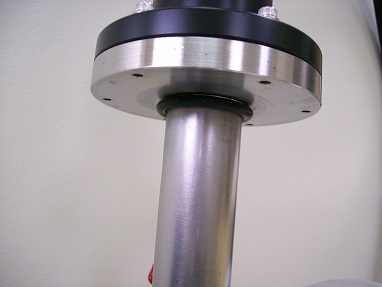
3. Make sure the o-ring on the cold trap is clean as well as the coupling surface on the cold finger; use DI water (do not use IPA)!) and cleanroom wipers to clean if needed.
4. Put the cold finger back into the cold trap.
5. Turn the vacuum switch clockwise to VACUUM.
5. Wait until the vacuum indicator is below 15.
6. Turn the chiller ON.
7. Wait until the vacuum indicator displays a negative value.
1. Turn both the FURNACE and VAPORIZER switch to ENABLE.
2. Press the green PROCESS START/STOP switch to turn on the heaters.
3. Temperatures of Furnace, Chamber Gauge, and Vaporizer start to increase. Wait until the temperatures of Furnace and Chamber Gauge reach to the set point, 690 and 135 ºC, and the Vacuum to ~14.
4. Count the time (see Parylene Coater Recipes).
5. Press the green PROCESS START/STOP button again to turn off the heaters.
6. Wait for ~3 hours until the furnace temperature reaches below 100 ºC.
7. Turn the FURNACE and VAPORIZER switches to DISABLE.
8. Turn OFF the chiller.
1. Place the vacuum switch into the HOLD, count to ten, then turn the switch to VENT.
2. Allow the cold finger to warm up for 15 minutes
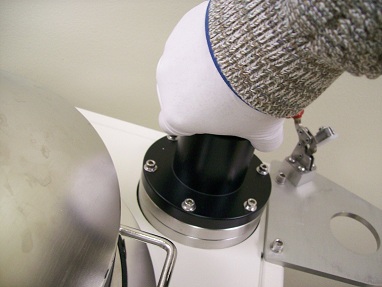
3. Remove the cold finger from the tool and place it in the outer holder and secure with clip.
4. Cover the cold trap port with the metal blank.
5. Remove the chamber lid and place it on the wipers on the bench.
6. Remove your samples.
1. After the frost has completely melted from the cold finger, wipe off the cold finger using 2% Microsoap solution and the dust-free wipers, to remove any residual polymer or debris from the cold finger.
1. Place the chamber lid back on top of the chamber.
2. Turn the vacuum switch clockwise to VACUUM.
3. Wait until the vacuum indicator is below 15 units.
4. Turn the vacuum switch to the HOLD position.
5. Depress the EMERGENCY STOP button.
6. Sign out of the logbook.
Revisions
3/13/2018, by Jarrett, revised the unload process.
6/2/2016, by Hiro, added Material properties for Parylene N, C, and D

 --->
--->
 --->
--->