Updated on 5/1/2017
Note:
1. Reactive Ion Etch using SF6
2. Coating a film using C4F8 (Octafluorocyclobutane) gas, ending up with a substance similar to Teflon, in order to prevent lateral etching.
1 Check-in
2 Vent Load Lock
3 Prelot Process
4 Load Wafer
5 Edit or Prepare Recipe
6 Run Recipe
7 Unload Wafer
8 Pump Down Load Lock
9 Check-out
10 Supplemental Documents
11 Troubleshooting
1. Log-in on the ISIS scheduler. Otherwise, you cannot use SPTS Si DRIE.
2. Log-in on the PC.
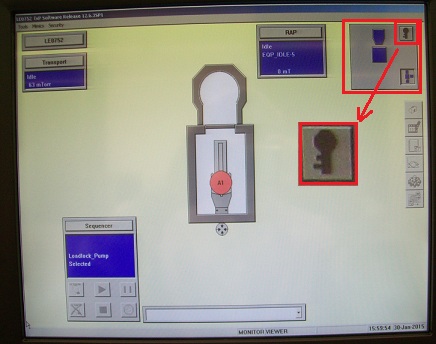
2-1. Click on the "key" icon in the box of the right top corner of the screen
.
.
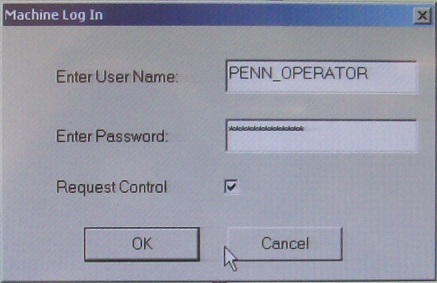
2-2. Type User Name and Password.
User Name: PENN_OPERATORPassword: PENN_OPERATOR
2-3. Click the "OK" button.
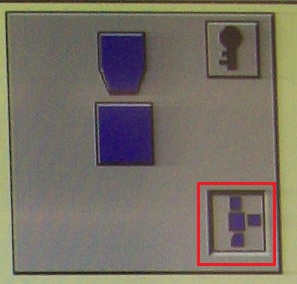
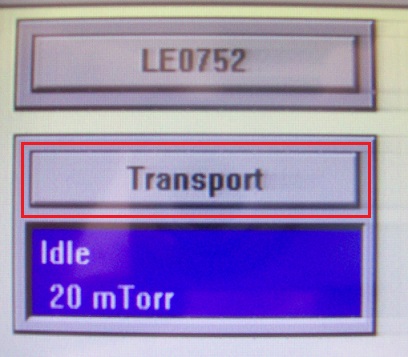
1. Make sure that the following icon is clicked.
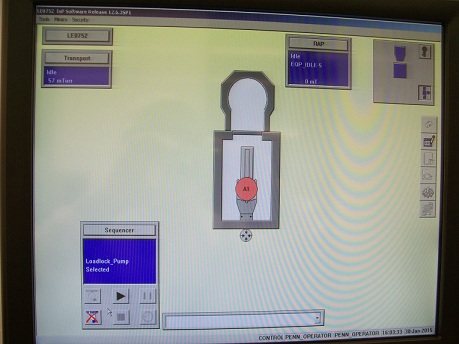
2. The following screen appears.
3. Click the "Transport" button on the upper left side of the screen.
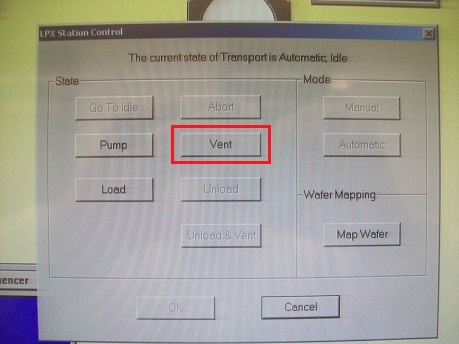
4. The "Station Control" dialog box appears.
5. Click the "Vent" button.
6. Click the "OK" button.
7. Venting procesure will start.
1. Click the "RAP" button on the upper right side of the screen.
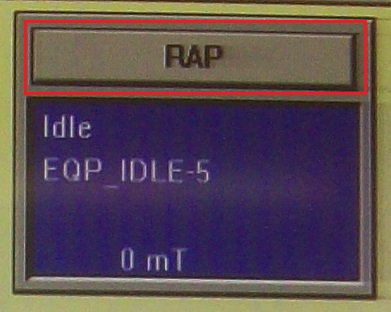
2. The "State Control" dialog box appears.
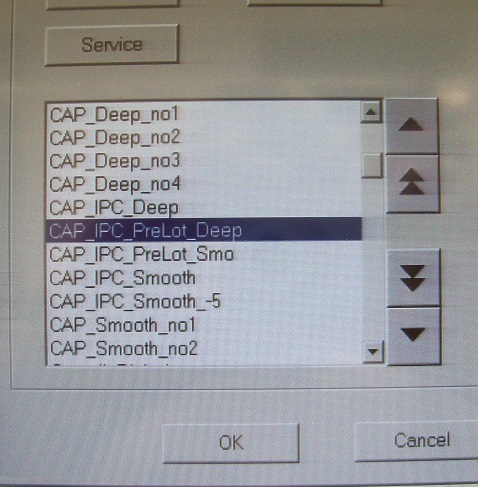
3. Click the "Process" button, and several processes will be listed in the box.
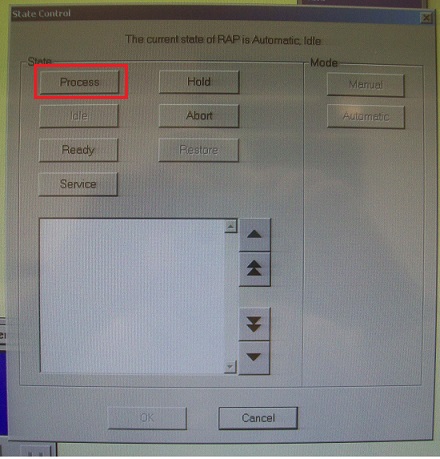
4. Choose "CAP_IPC_Prelot_Deep" for standard etch or "CAP_IPC_Prelot_Smo" for smooth etch from the list.
5. Click the "OK" button.
6. When the process finishes, the RAP chamber needs to be returned to the idle condition.
7. Click the "RAP" button on the right top of the screen., as shown above.
8. Click the "Idle" button in the "State Control" dialog box.
9. Choose "EQP_Idle-5" from the list.
10. Click the "OK" button.
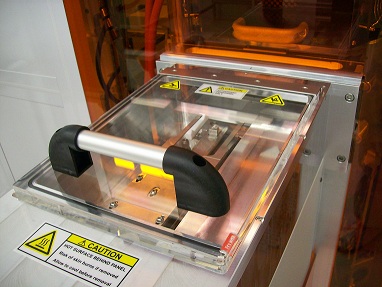
1. Open the load lock.
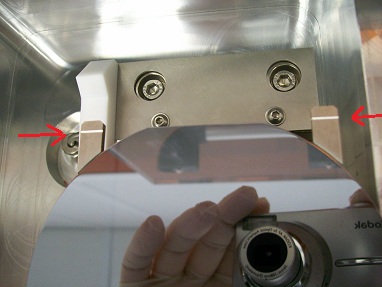
2. Place a wafer on the arm.
Note: If you want to etch a piece of Si wafer, then bond the piece on the Si wafer, using "Crystalbond". Ask the staff for it.
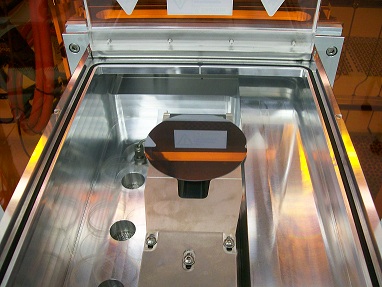
Note: Make sure that the flat of the wafer is aligned with the markers of the arm.
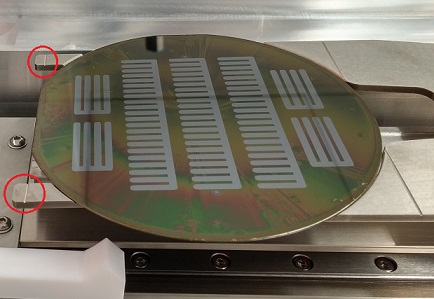
3. Close the load lock.
1. Click the ![]() icon on the right side of the screen.
icon on the right side of the screen.
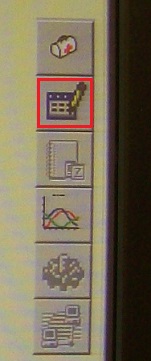
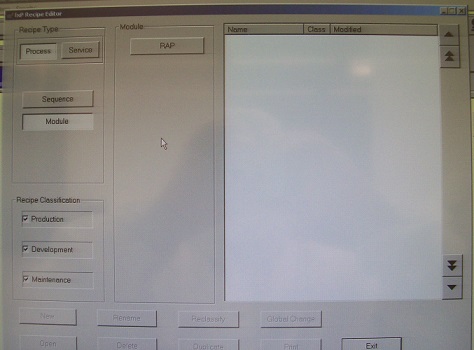
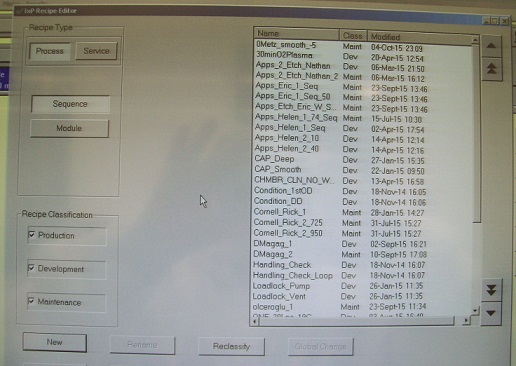
2. The "Recipe Editer" dialog box appears.
3. Click the "Module" button, followed by the "RAP" button.
4. Choose your module recipe from the list.
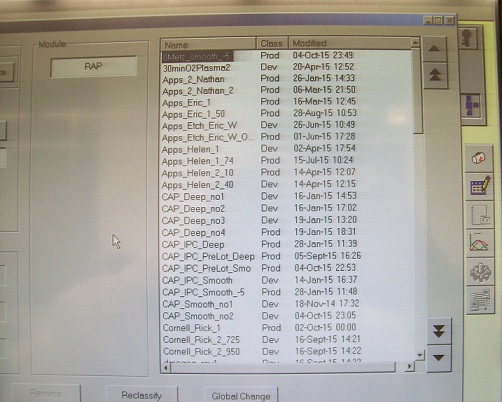
5. If you want to run your recipe, as it is, then make sure that the class is "Prod" (Production).
6. If you want to modify your recipe, then reclassify the class to "Dev" (click the "Reclassify" button, followed by the "Development").
7. Double-click your recipe, and the following window will appear.

8. If you want to change the number of loop, roll down the box screen, and change the number.
9. Click the "Save" and "Exit" button.
10. Make sure that the class of module recipe is put back to "Prod", using the "Reclassify" button.
11. Click the "Sequence" button, and the sequence recipes will be listed in the box.
12. Choose your sequence recipe from the list.
13. Change the class to "Prod", using the "Reclassify" button, if necessary.
Note: If you want to create your own recipe, contact Meredith Metzler about it.
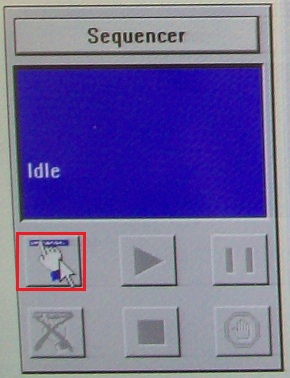
1. If the "Sequencer" panel on the lower left side of the screen shows the following, click the ![]() icon.
icon.

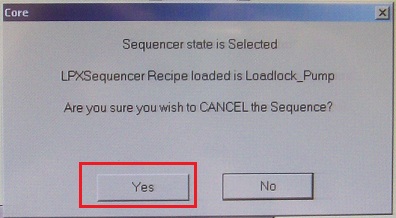
2. The following dialog box appears.
3. Click the "Yes" button.
4. Click the "hand" icon on the "Sequencer" panel.
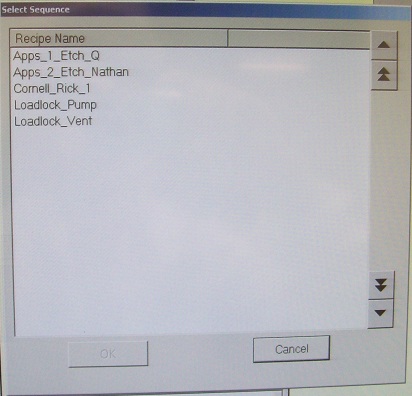
5. The list of sequences appears.
6. Choose your sequence recipe from the list.
7. Click the "OK" button.
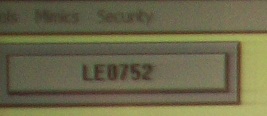
8. Click the "LE0752" button on the upper left side of the screen.
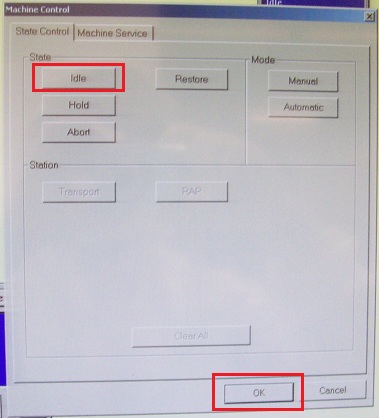
9. The following dialog box appears.
10. Click the "Idle" button.
11. Click the "OK" button.
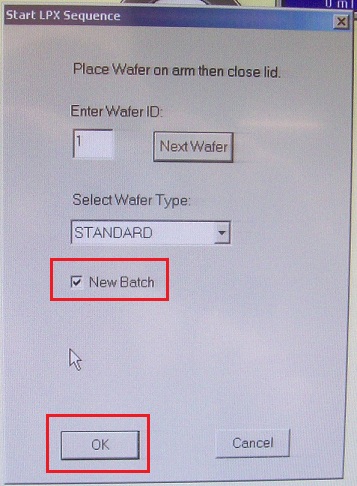
15. The following dialog box appears.
16. Check the box for New Batch.
17. Enter Wafer ID, if necessary.
18. Click the "OK" button.
18. Click the ![]() icon on the "Sequencer" panel.
icon on the "Sequencer" panel.
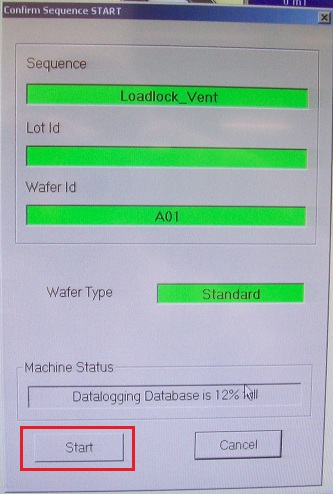
19. The following dialog box appears.
20. Click the "Start" button to start the recipe.
21. The load lock will be pumped down automatically.
1. After the etching process, the wafer will automatically be transferred from the chamber to the load lock, and the load lock will be vented, although the sequence containing cleaning recipe is not finished yet.
2. Unload the wafer from the load lock.
3. You have to wait until the sequence is finished.
Example: after transferring the wafer to the load lock, the sequence is still running.

The sequence is finished.
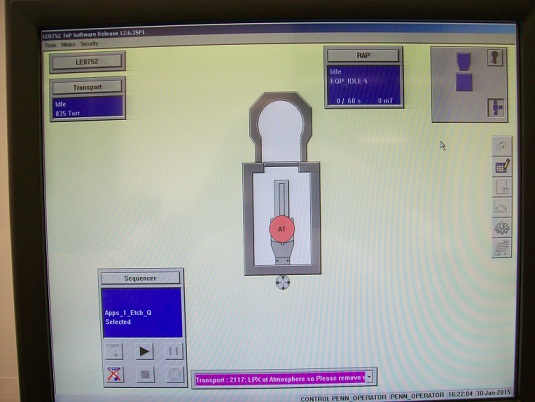
1. Click the "Transport" button on the upper left side of the screen, as shown above.
2. The "Station Control" dialog box appears.
3. Click the "Pump" button.
4. Click the "OK" button.
5. Pumping down procesure will start.
1. Log-out on the PC.
1-1. Click on the "key" icon in the box of the right top corner of the screen
.
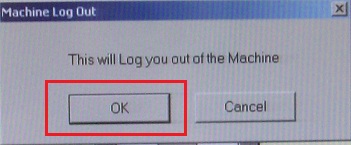
1-2. The following dialog box appears.
1-3. Click the "OK" button.
2. Log-out on the ISIS scheduler.
a) Backside Hellium error:
This happened due to accumulation of polymer on the sample chuck without a wafer during the cleaning. So, the wafer must be placed on the chuck for the cleaning process.
Revision
5/1/2017, by Hiro, added troubleshooting.