
2. Setup and Walk-through
Warning
Make sure to stop your Amazon instances! We only have $150 of credits and we need it to last through Homework 7. You may need to take a long break during a homework, or you might take longer to read about something on google/stackoverflow; remember to stop your instance and restart it when you are ready to continue.
2.1. Hardware Acceleration
To implement a hardware function, it will ultimately be necessary to perform low-level placement and routing of the hardware onto the FPGA substrate. That is, the tools must decide which particular instance of each primitive is used (placement) or which wires to use for connections (routing). These tasks are typically much slower (at least 20 minutes, can take hours) than the compilation time for software (a few minutes). This means you will need to plan your time carefully for this lab and for subsequent labs. One way to optimize our development time is to be careful about when we invoke low-level placement and routing and when we can avoid it. This lab and next will show you a few techniques that allow you to reduce the number of times you need to invoke low-level placement and routing and introduce simulation and emulation you can use validate your design before invoking low-level placement and routing.
2.2. Getting Started with Vitis on Amazon F1 Instance
2.2.1. Pre-requisites
Make sure you complete the following pre-requisites before continuing with this homework:
You have an AWS account and know how to create AWS instances. Check Getting Started on Amazon EC2 for a refresher.
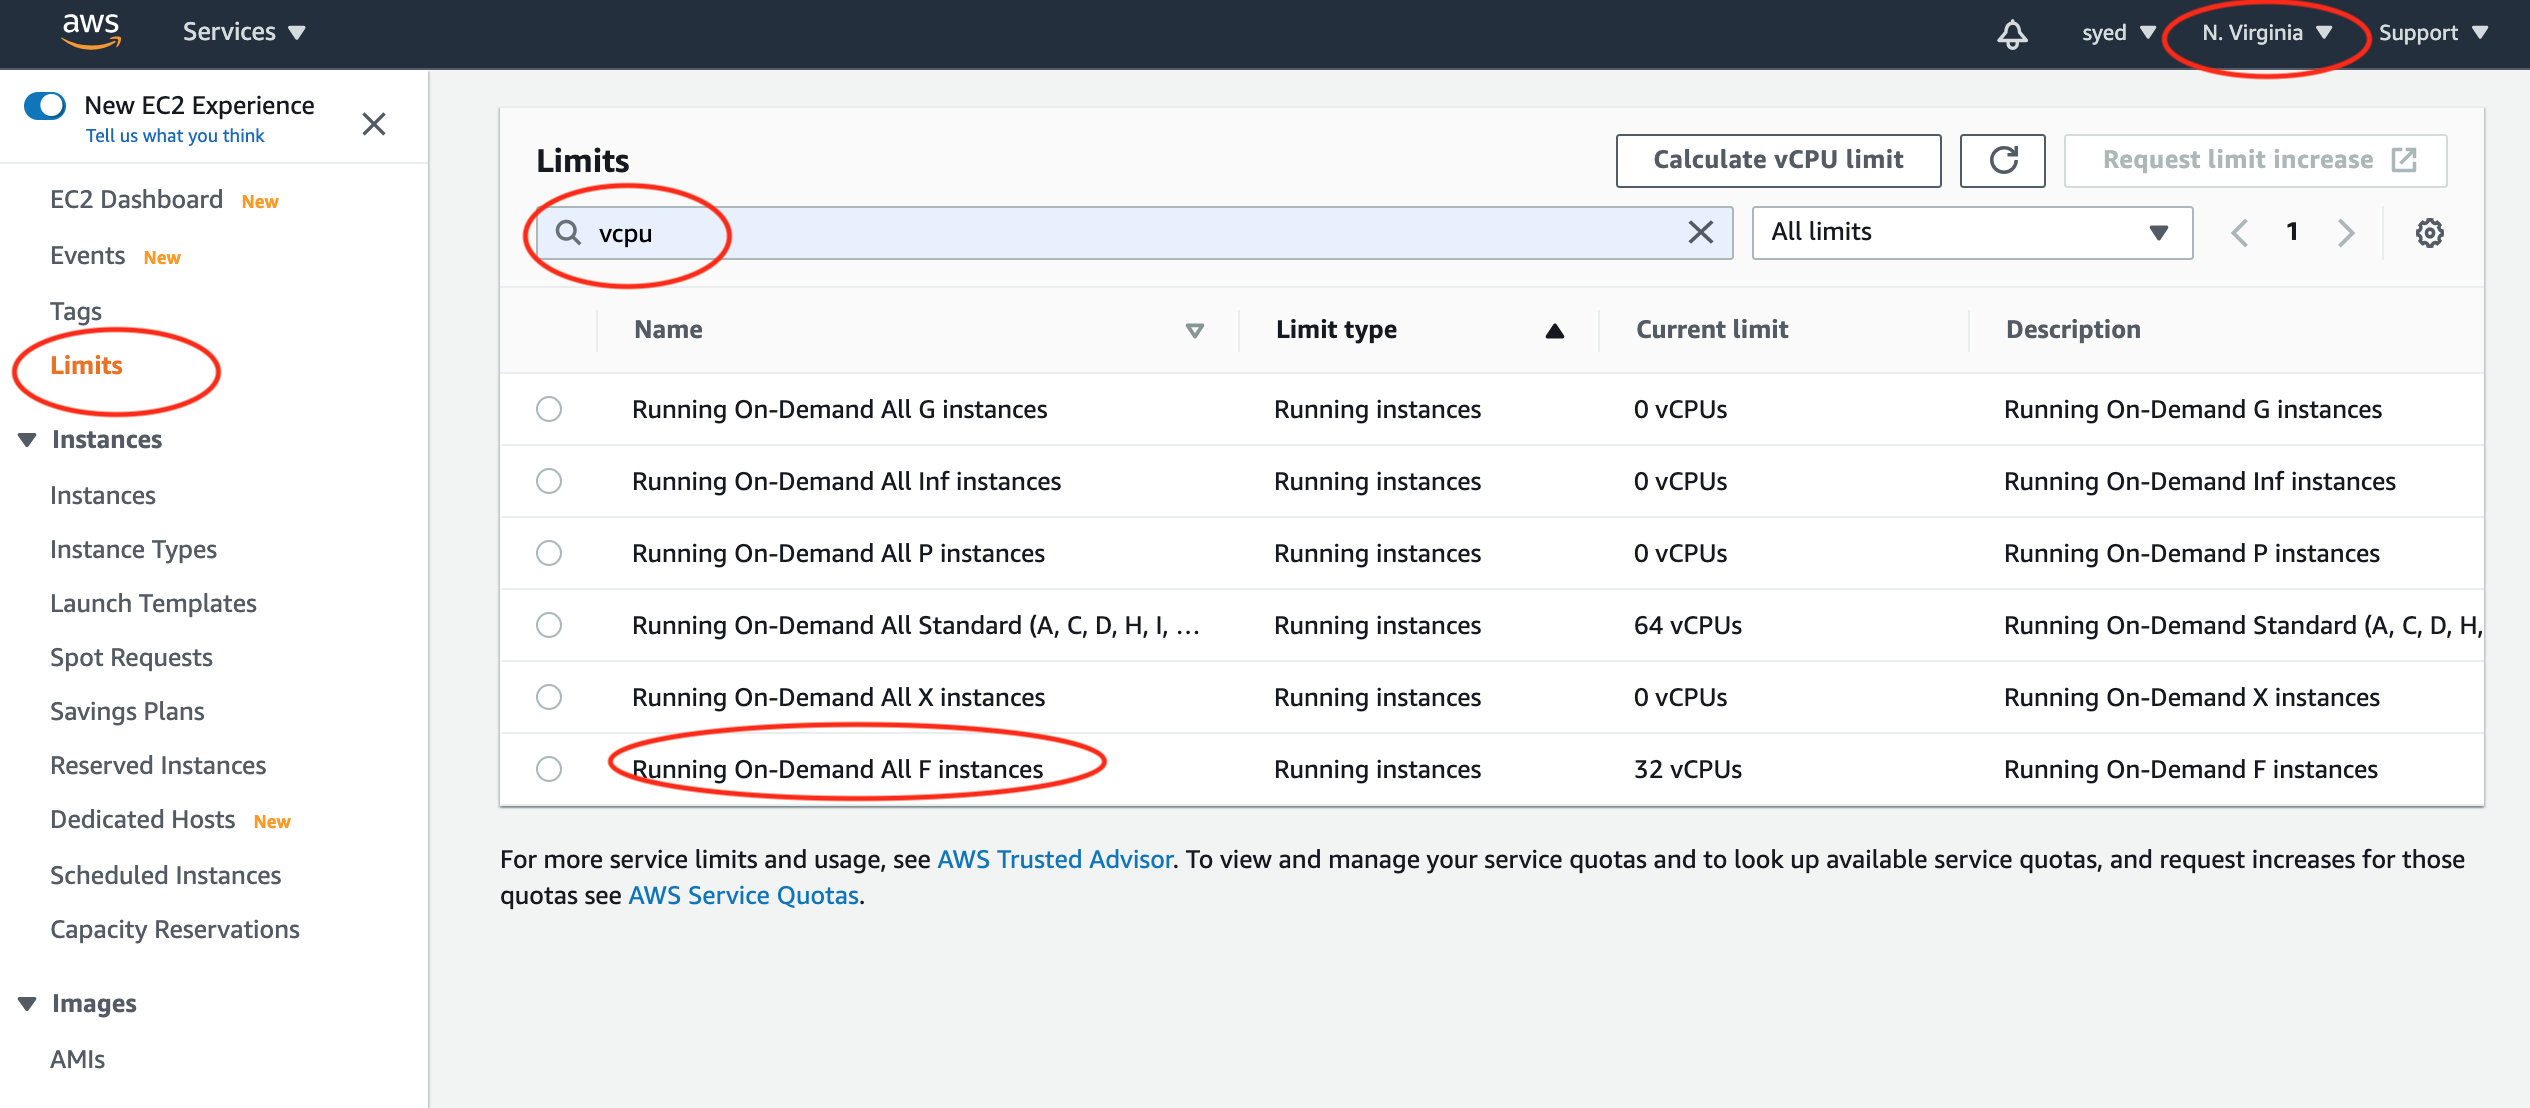
You have access to F1 instances. You can find out if you have access by going to the Limits tab in your AWS console homepage and then checking for the F1 vCPUs limit as follows. You should see at least 8 vCPUs limit for F1 instance. If you see 0, contact the course staff as soon as possible.
Read about Vitis from here.
In this homework, we will use two instances:
z1d.2xlargereferred to as the build instance where we will compile and build our fpga binary. It costs \(0.744\)/hr. You can create this instance in any AWS region.f1.2xlargereferred to as the runtime instance where we will run our fpga binary. It costs \(1.65\)/hr. We can only useus-east-1(N. Virginia) for this instance.
2.2.2. Launch the build instance
Navigate to the AWS Marketplace
Click on Continue to Subscribe
Accept the EULA and click Continue to Configuration
Select version v1.9.0 and US East (N.Virginia)
Click on Continue to Launch
Select Launch through EC2 in the Choose Action drop-down and click Launch
Select z1d.2xlarge Instance type
At the top of the console, click on 6. Configure Security Groups
Click Add Rule ( Note : Add a new rule dont modify existing rule )
Select Custom TCP Rule from the Type pull-down menu
Type
8443in the Port Range fieldSelect Anywhere from the Source pull-down
Click Review and Launch. This brings up the review page.
Click Launch to launch your instance.
Select a valid key pair and check the acknowledge box at the bottom of the dialog
Select Launch Instances. This brings up the launch status page
When ready, select View Instances at the bottom of the page
Login to your build instance by doing:
ssh -i <AWS key pairs.pem> centos@<IPv4 Public IP of EC2 instance>
Note
The default user is centos.
2.2.3. Setup remote desktop
We will use NICE DCV as our remote desktop server on Amazon. We will use the remote desktop to work with several Vitis GUI utilities.
Attach NICE DCV license to your
z1d.2xlargeinstance by doing the following:Sign in to the AWS Management Console and open the IAM console at https://console.aws.amazon.com/iam/.
In the navigation pane of the IAM console, choose Roles, and then choose Create role.
For Select type of trusted entity, choose AWS service.
For Choose a use case, select EC2 and then click Next: Permissions.
Click on Next: Tags to move forward.
Click on Next: Review to move forward.
Enter a name, e.g. “DCVLicenseAccessRole” and click Create role.
Click on Policies in the left menu.
Click on Create policy.
Click on the JSON tab and paste the following:
{
    "Version": "2012-10-17",
    "Statement": [
        {
            "Effect": "Allow",
            "Action": "s3:GetObject",
            "Resource": "arn:aws:s3:::dcv-license.us-east-1/*"
        }
    ]
}
Note
Change
us-east-1to the region you are using (if different).Enter a name, e.g. “DCVLicensePolicy” and click Create policy.
Search for your new policy and click on it to open it.
Click on Policy usage and then on Attach.
Enter your DCV role name, select the role and click on Attach policy.
Go to your console home page and click on Instances.
Right-click on your `z1d.2xlarge instance and click on Instance settings and then Modify IAM role.
From the drop-down menu, select your DCV role name and click save. Your instance will now be able to use the server.
Login to your
z1d.2xlargeinstance and install NICE DCV pre-requisitessudo yum -y install kernel-devel sudo yum -y groupinstall "GNOME Desktop" sudo yum -y install glx-utils
Install NICE DCV Server
sudo rpm --import https://s3-eu-west-1.amazonaws.com/nice-dcv-publish/NICE-GPG-KEY
wget https://d1uj6qtbmh3dt5.cloudfront.net/2019.0/Servers/nice-dcv-2019.0-7318-el7.tgz
tar xvf nice-dcv-2019.0-7318-el7.tgz
cd nice-dcv-2019.0-7318-el7
sudo yum -y install nice-dcv-server-2019.0.7318-1.el7.x86_64.rpm
sudo yum -y install nice-xdcv-2019.0.224-1.el7.x86_64.rpm
cd ~

sudo systemctl enable dcvserver
sudo systemctl start dcvserver
Setup a password
sudo passwd centos
Change firewall settings
Disable firewalld to allow all connections
sudo systemctl stop firewalld
sudo systemctl disable firewalld
Create a virtual session to connect to
Note
You will have to create a new session if you restart your instance. Put this in your
~/.bashrcso that you automatically create a session on login.dcv create-session --type virtual --user centos centos
Connect to the DCV Remote Desktop session
Download and install the DCV Client in your computer.
Use the Public IP address to connect
Logging in should show you your new GUI Desktop
2.2.4. Setup AWS CLI
Go to https://console.aws.amazon.com and then from the top right, select your account name, and then My Security Credentials.
Click on Access Keys and Create New Access Key.
Note down your Access Key ID and Secret Access Key.
Login to your
z1d.2xlargeinstance and issue the following command:aws configure
Enter your access key, add us-east-1 as region and output to be json.
2.2.5. Obtaining and Running the Code
In this homework, we will first run a matrix multiplication function on the cpu and then run the same matrix multiplication function on the FPGA.
Login to your z1d.2xlarge instance and initialize your environment as follows:
tmux
git clone https://github.com/aws/aws-fpga.git $AWS_FPGA_REPO_DIR
source $AWS_FPGA_REPO_DIR/vitis_setup.sh
export PLATFORM_REPO_PATHS=$(dirname $AWS_PLATFORM)
Caution
Make sure to run under tmux! It will save you hours.
Clone the ese532_code repository using the following command:
git clone https://github.com/icgrp/ese532_code.git
If you already have it cloned, pull in the latest changes using:
cd ese532_code/
git pull origin master
The code you will use for homework submission
is in the hw5 directory. The directory structure looks like this:
hw5/
    Makefile
    design.cfg
    xrt.ini
    common/
        Constants.h
        EventTimer.h
        EventTimer.cpp
        Utilities.cpp
        Utilities.h
    hls/
        export_hls_kernel.sh
        run_hls.tcl
        MatrixMultiplication.h
        MatrixMultiplication.cpp
        Testbench.cpp
    Host.cpp
There are 5 targets in the Makefile. Use
make helpto learn about them.design.cfgdefines several options for the v++ compiler. Learn more about it here.xrt.inidefines the options necessary for Vitis Analyzer.The
commonfolder has header files and helper functions.You will mostly be working with the code in the
hlsfolder. Thehls/MatrixMultiplication.cppfile has the function that gets compiled to a hardware function (known as a kernel in Vitis). TheHost.cppfile has the “driver” code that transfers the data to the fpga, runs the kernel, fetches back the result from the kernel and then verifies it for correctness.Read this to learn about the syntax of the code in
hls/MatrixMultiplication.cpp.Read this to learn about how the hardware function is utilized in
Host.cppRead this to learn about simple memory allocation and OpenCL execution.
Read this to learn about aligned memory allocation with OpenCL.
Run the matrix multiplication on the cpu by doing:
# compile
source $AWS_FPGA_REPO_DIR/vitis_setup.sh
export PLATFORM_REPO_PATHS=$(dirname $AWS_PLATFORM)
make all TARGET=sw_emu

# run
source $AWS_FPGA_REPO_DIR/vitis_runtime_setup.sh
export XCL_EMULATION_MODE=sw_emu
./host mmult.xclbin
We will now use Vitis Analyzer to view the trace of our matrix multiplication on cpu and find out how long each API call took.
Read about how to use Vitis Analyzer from here.
Open a remote desktop session on your
z1d.2xlargeinstance.Run
vitis_analyzer ./xclbin.run_summaryto open Vitis Analyzer and try to associate the api calls with the code inHost.cpp.Hover over an API call to find out long it took.
We are now going to start working on the Homework Submission where we will follow a bottom-up approach and optimize our hardware function using Vitis HLS IDE first and then re-compile it and run it on the FPGA in the end. Scroll to Using Vitis HLS to learn about how to use Vitis HLS.
2.2.6. Using Vitis HLS
Creating a new project in Vitis HLS is explained here. Make sure you enter the top-level function during the creation of the project (although you can also change it later). The top-level function is the function that will be called by the part of your application that runs in software. Vitis HLS needs it for synthesis. You can also indicate which files you want to create. It is wise to add a testbench file too, while you are creating the project.
We have provided a testbench in Vitis HLS to debug the hardware.
The requirements for testbenches are not any different from other
software applications written in C. Similar to them, testbenches
have a main function that is invoked. To the main function you can
add any functionality needed to test your function. That includes calling
the top function that you would like to test. When the testbench is
satisfied that the function is correct, it should return 0. Otherwise, it
should return another value.
You can run the testbench by selecting Project \(\rightarrow\) Run C Simulation from the menu. A window should pop up. The default settings of the dialog should be fine. You can dismiss the dialog by pressing OK. You can see in the Console whether your test has passed. If your test fails, you can run the test in debug mode. This can be done by repeating the same procedure, except that you should check the box in front of Launch Debugger this time before you dismiss the dialog. This will take you to the Debug perspective, where you can set breakpoints and use the step into/step over buttons to debug. You can go back to the original perspective by pressing the Synthesis button in the top, right corner.
To rebuild the code, you should go back to Synthesis mode, and click Run C Simulation again to rebuild the code.
Once you are satisfied with your code, you can run Solution \(\rightarrow\) Run C Synthesis \(\rightarrow\) Active Solution from the menu to synthesize your design. You can also verify the synthesized version of your accelerator in your testbench. If you choose to do so, Vitis HLS will run your accelerator in a simulator, so this method is called C/RTL Cosimulation. The employed cycle-level simulation is much slower than realtime execution, so this method may not be practical for every testbench. It avoids needing to run low level-placement and routing and will give you more visibility into the behavior of your design. Anyway, you can start it by choosing Solution \(\rightarrow\) Run C/RTL Cosimulation from the menu.
The hardware implementation that Vitis HLS selects can be controlled
by including pragmas, e.g. #pragma HLS inline, in your code.
The different pragmas that you can use in your functions are listed in Vitis HLS User Guide.
When you have obtained a satisfying hardware description in Vitis HLS, you will Export Vitis Kernel, i.e. a Xilinx object file (.xo). We will then use this object file/kernel and link it together in our existing Vitis application.
Note
We are using the GUI mode of Vitis HLS so that we can see the HLS schedule. In this class, our preferred method of compiling is using the command line and we’ll only use GUI when it’s required.
If your remote desktop connection is lagging, you can run Vitis HLS
from the command line using the script, export_hls_kernel.sh,
in the hw5/hls directory. This script runs the TCL script, run_hls.tcl,
with Vitis HLS. Vitis HLS GUI actually calls the commands in this TCL script.
If you look inside the TCL script, you can relate it to the GUI steps
we mentioned above. Additionally, you can learn more about the TCL commands
from:
https://www.xilinx.com/html_docs/xilinx2020_1/vitis_doc/tre1585063528538.html
https://www.xilinx.com/html_docs/xilinx2020_1/vitis_doc/nfj1539734250759.html
Note that the only way to see the HLS schedule is through the GUI. So collaborate with your partner if you are unable to use the GUI in AWS or try to install Vitis toolchain locally.
2.2.7. Run on the FPGA
Once you have 3h completed from the Homework Submission, continue with the following.
2.2.7.1. Compile a hardware function
Start building the hardware function by doing
make afi EMAIL=<your email>, substituting your email. This build will take about 1 hour 20 minutes and in the end it will wait for you to confirm a subscription from your email account; open your email and confirm the subscription and wait to receive an email that your Amazon FPGA Image (AFI) is available (takes about 30 minutes to an hour).
2.2.7.2. Set up a runtime instance
Follow the steps from Launch the build instance, but instead of choosing a
z1d.2xlargeinstance, choosef1.2xlarge.
2.2.7.3. Copy binaries to the runtime instance
Create a github repository and clone it in your
z1d.2xlargeinstance.Add the
host,mmult.awsxclbinandxrt.inifiles to the repository; commit and push.Git clone the updated repository in your
f1.2xlargeinstance.
2.2.7.4. Run the application on the FPGA
Execute the following commands in your
f1.2xlargeinstance to run your application:source $AWS_FPGA_REPO_DIR/vitis_runtime_setup.sh # Wait till the MPD service has initialized. Check systemctl status mpd ./host ./mmult.awsxclbin
You should see the following files generated when you ran:
profile_summary.csv
timeline_trace.csv
xclbin.run_summary
Add, commit and push these files in the repository you created and then shutdown your F1 instance.
Caution
Make sure to shut down your F1 instance! It costs 1.65$/hr
This concludes a top-down walk-through of the steps involved in running a hardware function on the AWS FPGA.
2.3. Reference
https://github.com/Xilinx/Vitis-AWS-F1-Developer-Labs/blob/master/setup/instructions.md
https://docs.aws.amazon.com/IAM/latest/UserGuide/id_roles_create_for-service.html
https://www.ni-sp.com/setting-up-access-to-the-nice-dcv-license-in-ec2/
https://github.com/aws/aws-fpga/blob/master/Vitis/docs/Setup_AWS_CLI_and_S3_Bucket.md
https://github.com/Xilinx/Vitis-In-Depth-Tutorial/tree/master/Getting_Started
https://github.com/Xilinx/Vitis-Tutorials/blob/master/docs/Pathway3/BuildingAnApplication.md