MA6 Standard Operating Procedure
Updated on 9/27/2021
Contents
1 Check-in
2 UV Lamp Power
3 Open Software
4 365 nm fiter setting for SU-8
5 Load Mask
6 Setting Recipe
6.1 Alignment Tab
6.2 Exposure Tab
7 Mask Alignment
8Exposure
9 Unload Mask and Sample
10 Check-out
11 Supplemental Documents
12 Troubleshooting
1. Check-in
1. Move a keyboard slide out of the tool.
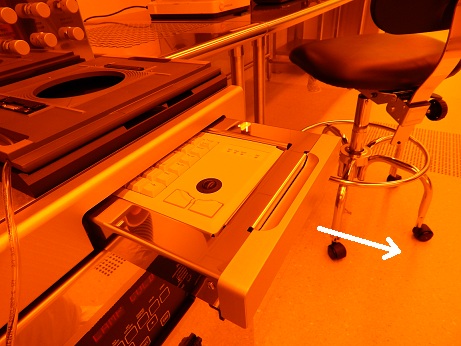
2. Log-in on the ISIS scheduler.
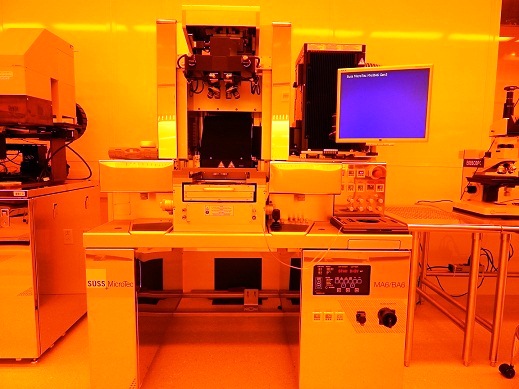
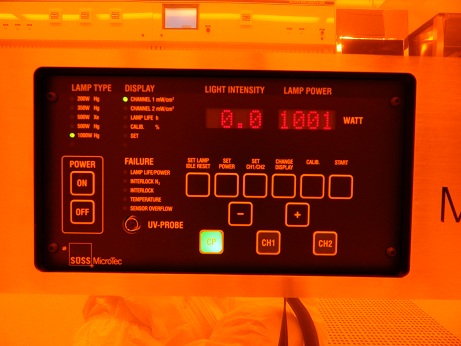
2. UV Lamp Power
1. UV lamp power is always turned on 24/7.
- Warning: You must not turn the lamp power off.
- The UV lamp power is always in the CP (Constant Power) mode.
- You must not press the CH1 or CH2 button. The software will take care of it upon exposure, depending on the recipe.
- The power is set to be 1000 W.
3. Open Software
1. If the software is closed, then click the following icon on the desktop screen.
- If the software is already opened, then skip to "Setting Recipe".

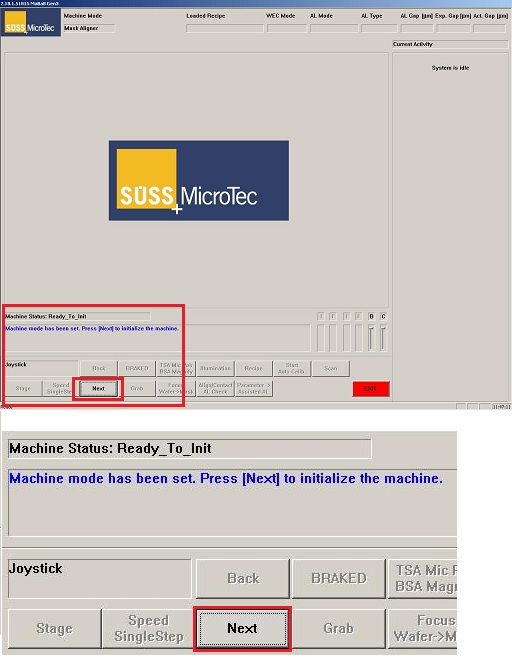
2. The starting window appears.
3. Click the "Next" button to initialize the system.
4. 365 nm filter setting for SU-8
Note: You need to be trained on setting a 365 nm filter if you plan to use it.
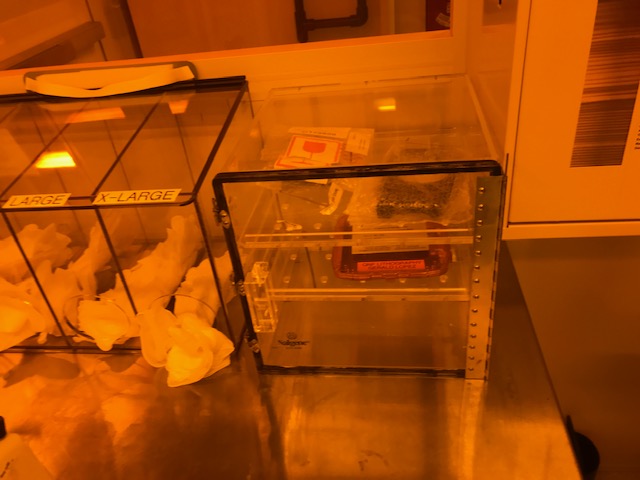
1. Take out the 365 nm filter out of the box.
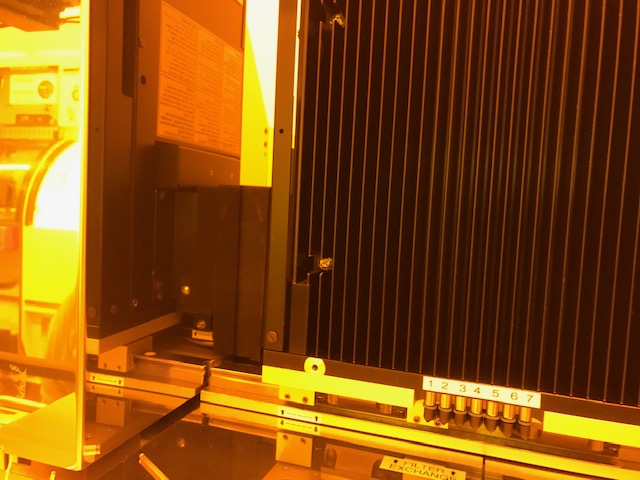
2. Loose the hex bolt of UV lamp compartment.

3. Separate UV lamp compartment from MA-06 aligner.
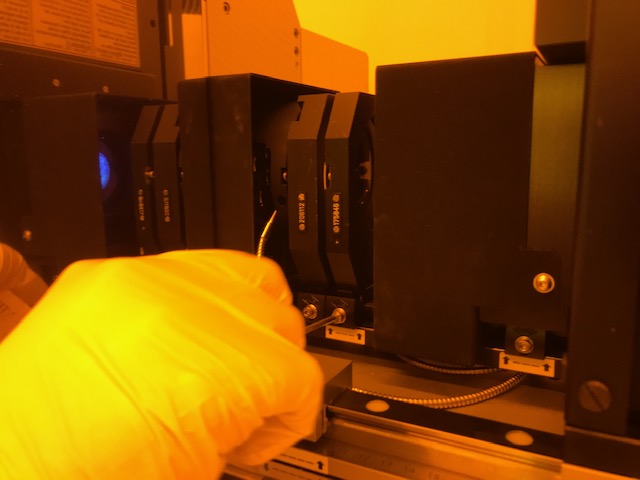
4. Put a 365 nm filter into the setting.

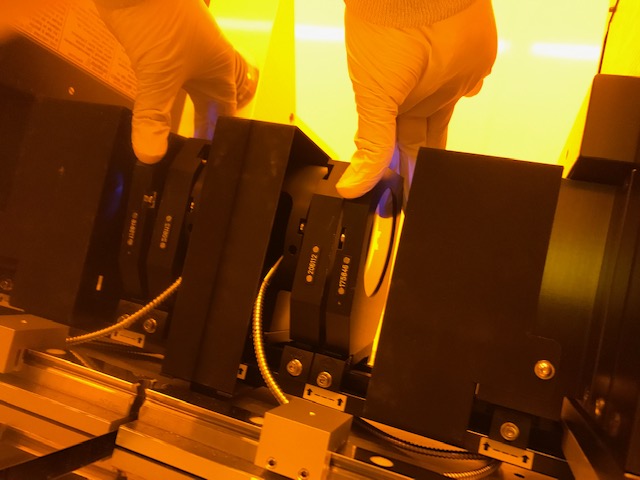
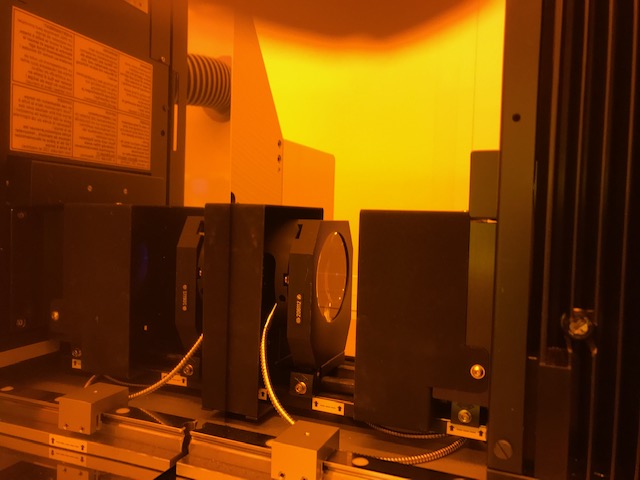
5. Close the UV lamp compartment.
6. Tighten the hex bolts of the UV lamp compartment.
5. Load Mask
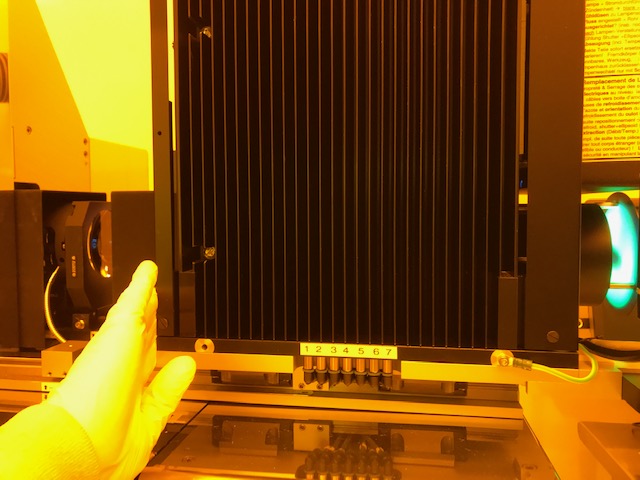
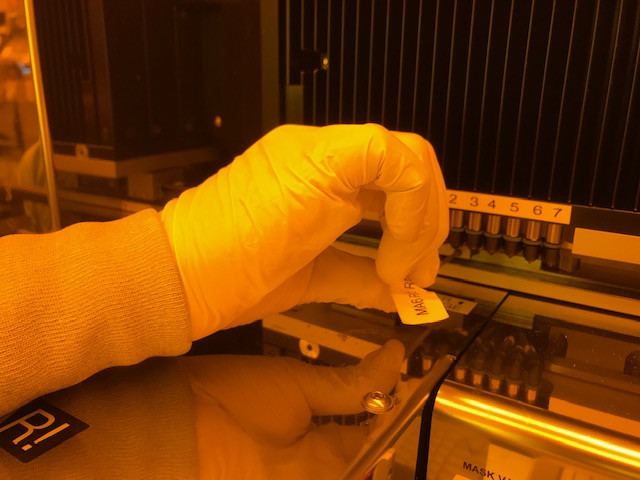
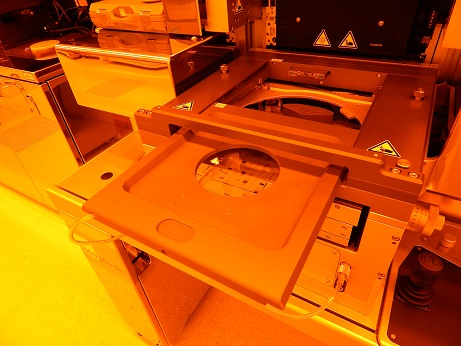
1. Load a photomask on the mask holder on the right side.
- The following shows the 5" x 5 " mask and mask holder.
- Make sure that the mask is set up at the three stoppers.
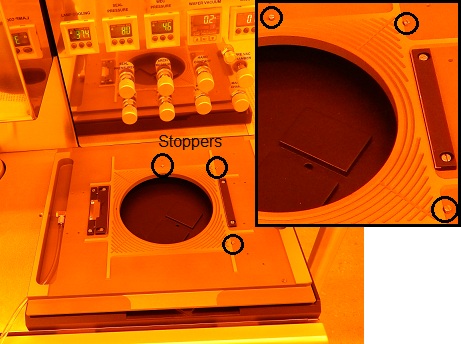
Note: A smaller size of the mask holder is also available in the accessories drawer on the left side.
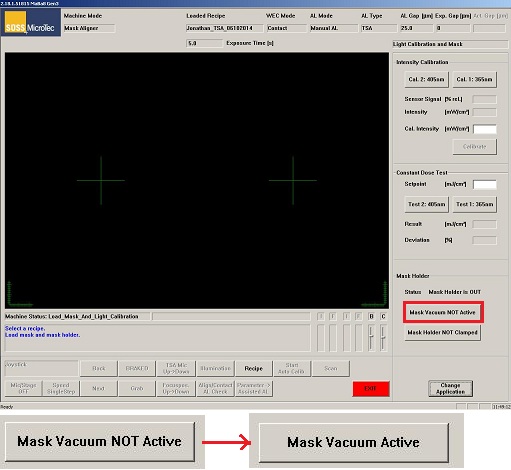
2. Click the "Mask Vacuum NOT Active" button to turn on the mask vacuum, or the mask vacuum will be turned on automatically when the recipe window is closed.
- It turns into the "Mask Vacuum Active".
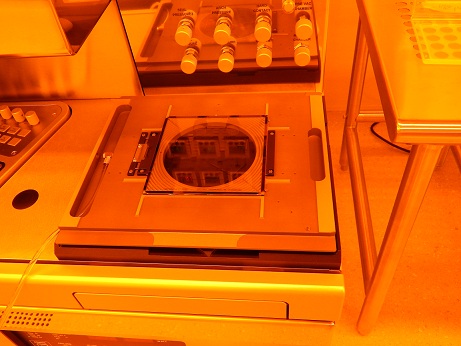
3. Load the mask holder into the stage.
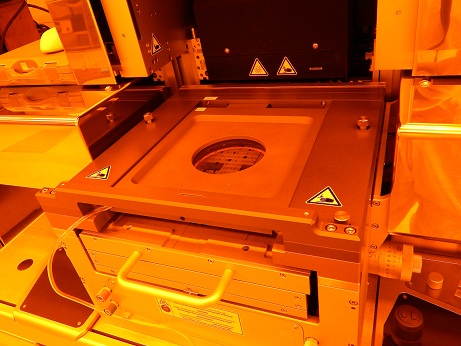
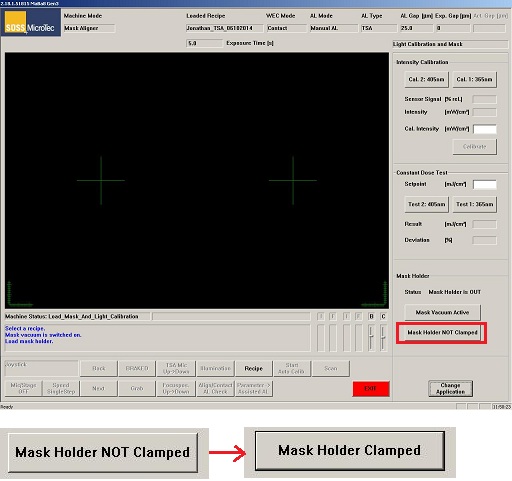
4. Click the "Mask Holder NOT Clamped" button to hold the mask chuck.
- It turns into the "Mask Holder Clamped".
6. Setting Recipe
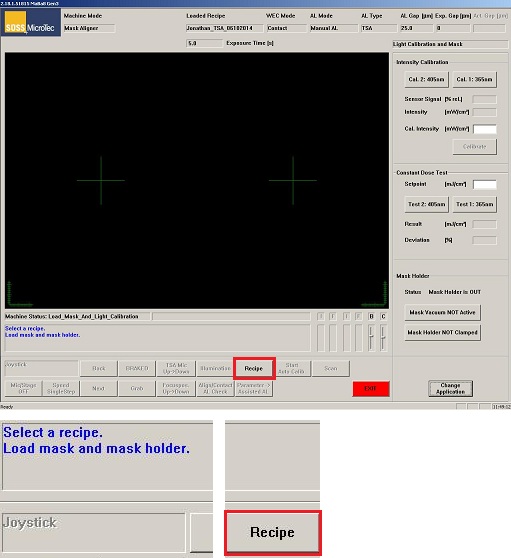
1. The following window appears.
2. Click the "Recipe" button.
3. The Recipe Editor window appears.
- In the manual alignment, you need to edit the Alignment and Exposure tabs.
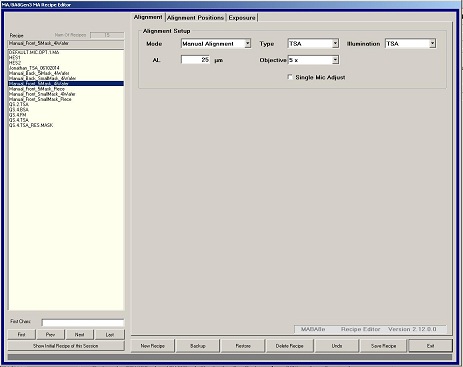
4. Set up the recipe using the parameters shown below.
- If you create your own recipe,
- Click the "New Recipe" button
- Change the parameters
- Click the "Save Recipe" button
- Click the "Exit" button
- The detail is also described in MA6 Recipe.
6.1 Alignment Tab
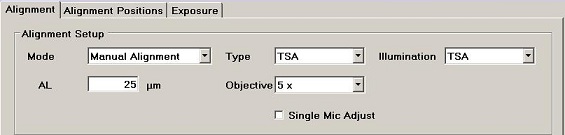
- Mode:
- First Mask: No alignment
- Manual Alignment: Alignment
- Assisted Alignment: Tool assisted alignment (not avalable)
- Auto AL (not available)
- Flood Exposure: provide large amont exposure to the resist
- Test Exposure (for staff only)
- Type:
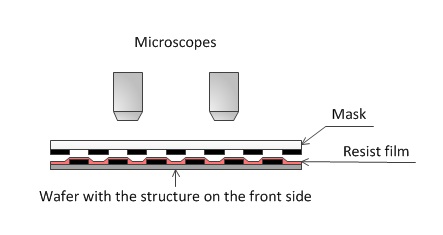
- TSA, Top-Side Alignment
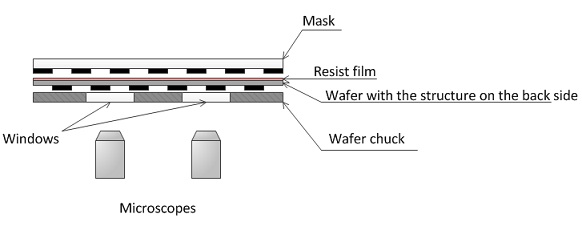
- BSA, Back-Side Alignment
- Illumination: Microscope illumination
- TSA, Top-Side Alignment
- BSA, Back-Side Alignment
- ext. TSA
- ext. BSA
- AL: Alignment Gap
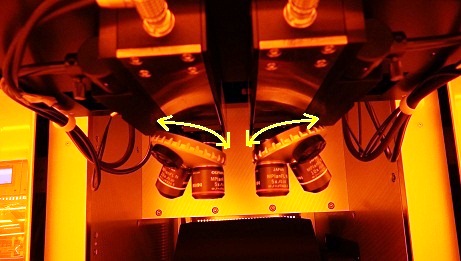
- Objective: Objective lens of microscope
- 5x and 10x object lenses are available
- Choose and move the object lens manually if top-side (front-side) alignment is carried out, according to the recipe set up.
6.2 Exposure Tab
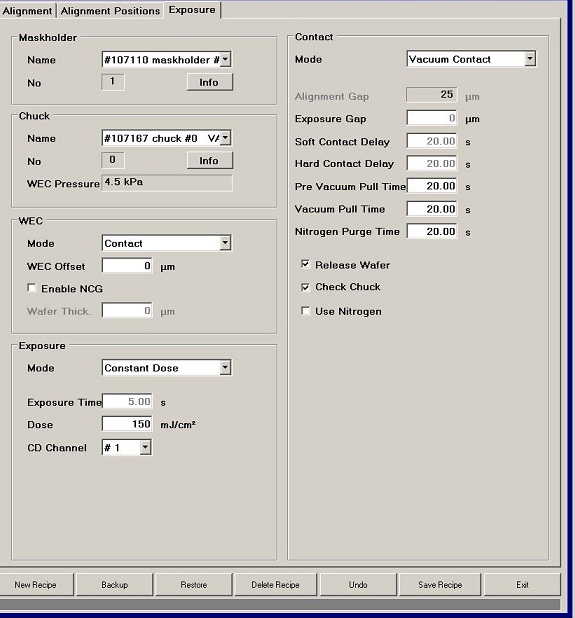
- Maskholder:
- 157288 maskholder: Various sizes of mask holder
- 107110 maskholder: 5" x 5" mask holder
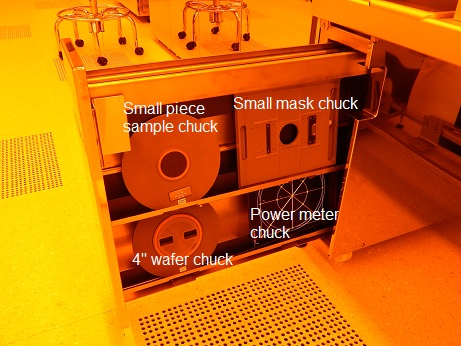
- Chuck:
- 107167 chuck: 4" wafer chuck
- 200664 chuck: A small size of sample chuck
- WEC:
- Contact for contact lithography
- Proximity for proximity lithography
- Exposure:
- Constant Power: mW/cm2
- Dose:
S18xx series: 150 mJ/cm2, (https://amolf.nl/wp-content/uploads/2016/09/datasheets_S1800.pdf)
* 436 nm (g-line) is recommended by Shipley, but 405 nm (h-line) is working
SPR220: i-line (365 nm) (https://static1.squarespace.com/static/57b26cc76b8f5b7524bf9ed2/t/5b02febc0e2e72164d99295b/1526922940515/SPR_220_Photoresist.pdf)
Thickness (µm): Dose (mJ/cm2)
1.2 160
3.0 310
5.0 380
SU-8: i-line (365 nm) (https://kayakuam.com/wp-content/uploads/2019/09/SU-82000DataSheet2000_5thru2015Ver4-2.pdf)
Thickness (µm): Dose (mJ/cm2)
0.5-2 60-80
3-5 90-105
6-15 110-140
16-25 140-150
26-40 150-160
- Constant Dose: mJ/cm2
- CD Channel: Constant Dose Channel
- #1: i-line (365 nm)
- #2: h-line (405 nm)
- Contact:
- Mode:
- Proximity
- Soft Contact
- Hard Contact (recommended)
- Vacuum Contact (not working)
- Exposure Gap
- Soft Contact Delay
- Hard Contact Delay
- Pre Vacuum Pull Time
- Nitrogen Purge Time
7. Mask Alignment
- "First Mask" mode in the recipe
- "Manual Alignment" mode in the recipe
- "Manual Alignment" mode in the recipe
- The COGNEX® software continuously measures the achieved accuracy, and reports it to the operator during the manual alignment process.
- The assisted alignment requires target training to enable the
system to identify the fiducials.
- To ensure an
optimal performance, a dedicated target design is
recommended.
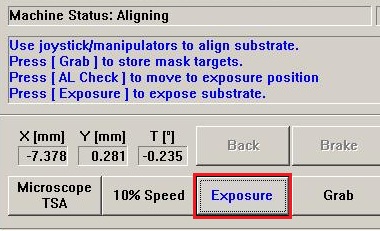
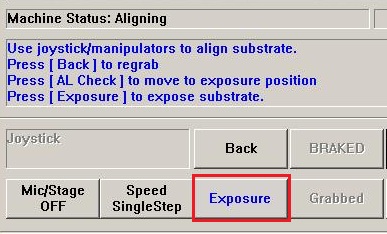
8. Exposure
1. Click the "Exposure" button.
- If no alignment is carried out using "First Mask" mode, the exposure will start automatically by clicking the "Next" button after setting the wafer into the stage (see above).
- Contact between mask and sample (wafer) will be done automatically, according to the recipe set up.
- The case of TSA
9. Unload Mask and Sample
1. The following message is shown in the window after the exposure.
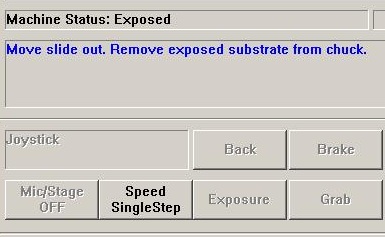
2. Move the transport slide out, and the following message is shown in the case of TSA.
- The message for BSA is similar to that for TSA.

3. Remove the sample (wafer) from the chuck.
- The wafer vacuum is turned off automatically.
4. If another sample (wafer) is exposed, then place it on the chuck.
5. Repeat the exposure process.
6. If you finish the exposure, then click the "Mask Holder Clamped" button on the right side of the window.
7. The "Mask Holder Clamped" button turns into the "Mask Holder NOT Clamped" button.
8. Move the mask holder slide out of the stage, and place it on the mask holder station on the right side.
9. Click the "Mask Vacuum Activated" button.
10. The "Mask Vacuum Activated" button turns into the "Mask Vacuum NOT Activated" button.
11. Remove the mask from the mask holder.
10. Log-out Tool
1. Log-out on the ISIS scheduler.
2. Never turn the UV lamp off.
11. Supplemental Documents
12. Troubleshooting
a) A blue PC screen due to the computer crash.
-> The PC needs to be rebooted. Since the re-boot switch is in the cabinet, consult the staff.
b) Lamp Life/Power failure light on UV lamp power is blinking.
-> UV light bulb needs to be replaced. Consult the staff.
Revision
5/1/2017, by Hiro, added troubleshooting.
9/27/2021, by Hiro, revised
