Updated on 3/2/2021
Note:

1 Check-in
2 Convert File
2.1 Convert File Using BEAMER
2.1.1 Conversion on BEAMER
2.1.2 Save File on Heidelberg PC
3 Load Sample
3.1 Replace Sample Chuck
3.2 Load Sample
4 Exposure
4.1 Photomask Making
4.1.1 Log-in Basic Account
4.1.2 Setup Exposure Parameters
4.1.3 Exposure
4.2 Direct Writing
- See the link
5. Unload Sample
6. Check-out
7. Supplemental Documents
8. Troubleshooting
1. Log-in on the IRIS scheduler.
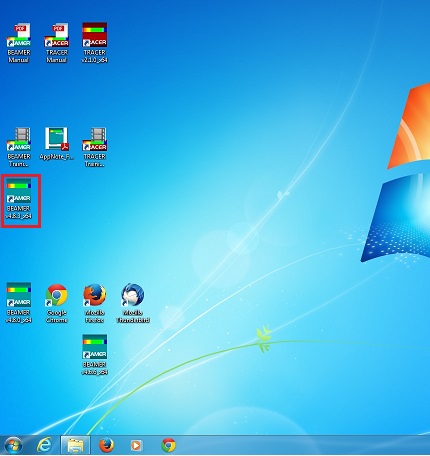
1. Click the ![]() icon on the desk top screen of the workstation in Bay 1 to open BEAMER (ver.4.8.3).
icon on the desk top screen of the workstation in Bay 1 to open BEAMER (ver.4.8.3).
Note: Please request for advanced training in IRIS system for BEAMER, if you want.
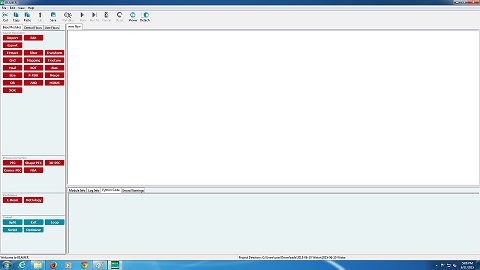
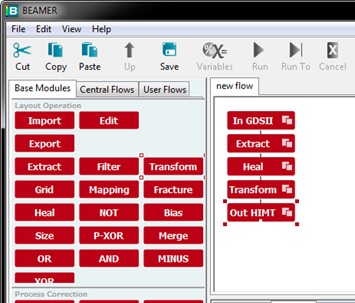
2. The starting window opens.
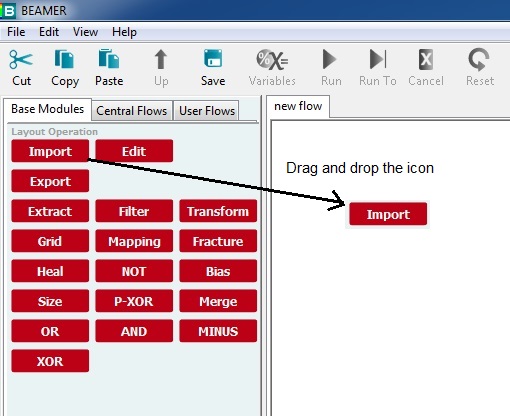
3. Drag and drop the "Import" commnad icon from the left onto the blank "new flow" field on the right to create a work flow diagram, using the mouse.
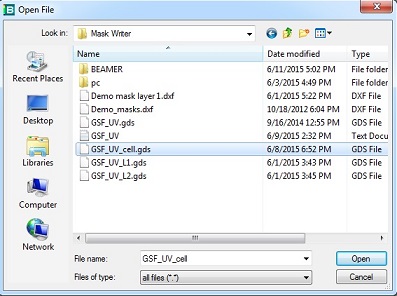
4. The Open File dialog box appears.
5. Open your file from the list of your USB memory.
Note:
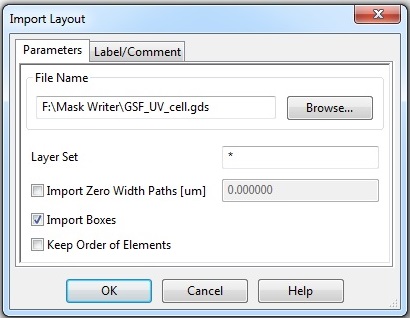
6. The following dialog box appears.
7. Click the "OK" button.
8. Create the following work flow diagram by dragging and dropping the command icons, as shown above.
Note:
9. When all the modules have been set, click the "Out HIMT" icon and run the flow.
10. The following describes the detail of the commands of the work flow diagram:
Extract:
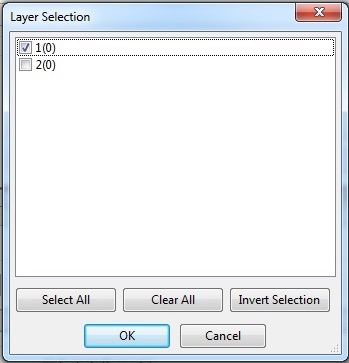
1. When the "Extract" command icon is dropped, the following dialog box appears.
2. Click the button for Layer(s).
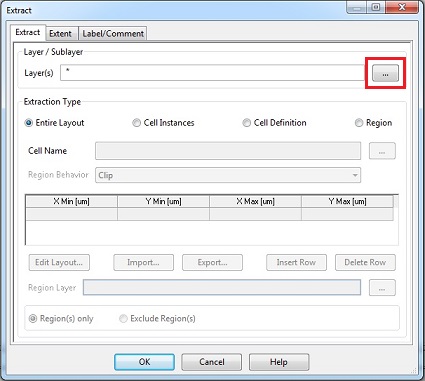
3. Select the layer desired.
4. Click the "OK" button.
Heal:
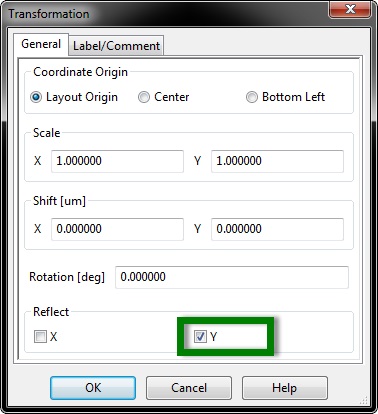
Transform:
Export:
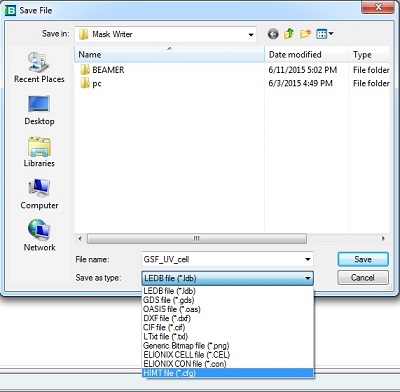
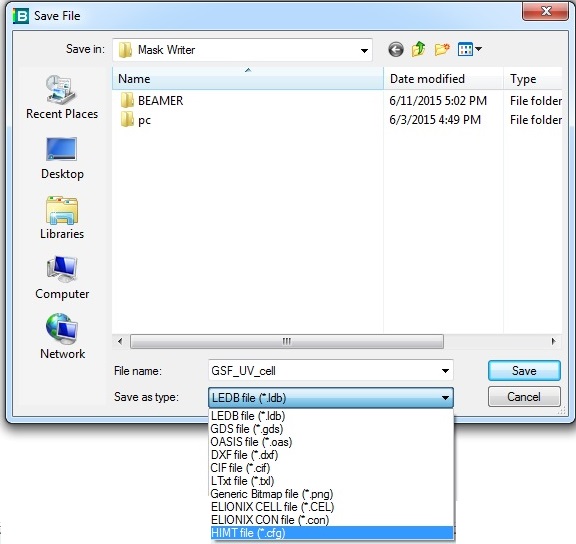
1. When the "Export " command icon is dropped, the "Save File" dialog box appears.
2. Choose the "HIMT" file as type of the file.
3. Click the "Save" button.
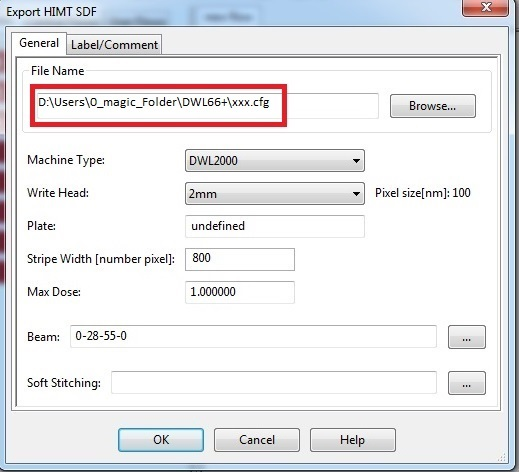
4. The following dialog box appears.
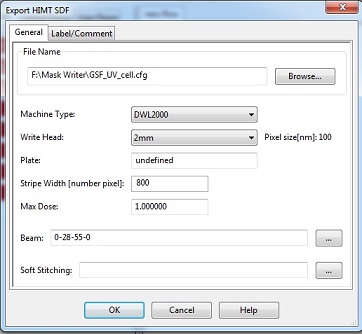
5. Input the following parameters, depending on write lens desired:
6. Click the "OK" button.
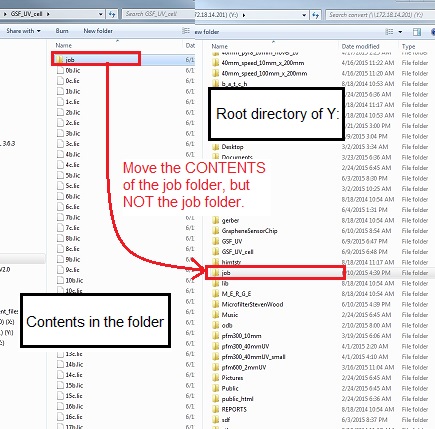
1. Drop the folder at the root directory of the Y: drive in the Heidelberg system.
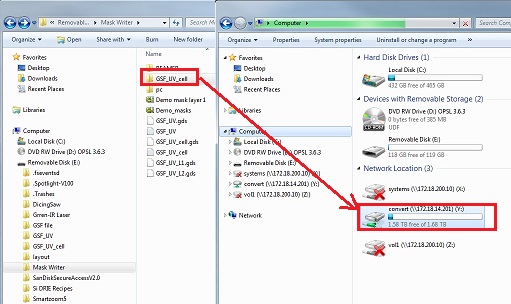
2. The converted file folder contains the job folder and files. Move the CONTENTS of the job folder in your pattern directory to the job directory in the Y: root directory.
WARNING!: DO NOT move the job folder itself.
1. When the "Export " command icon is dropped, the "Save File" dialog box appears. Make sure that a your file is exported to D:\Users|0_magic_Folder_DWL66
2. Other parameters should be changed, as shown above.
3. Choose the "HIMT" file as type of the file.
4. Click the "Save" button.
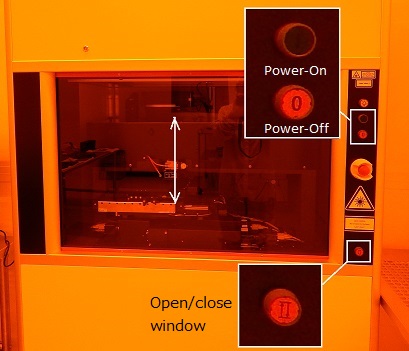
1. Open the flow box window by pressing the lower right button.
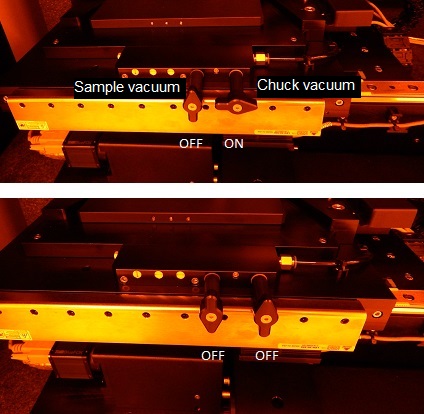
2. Turn off the chuck vacuum.
3. Remove the sample chuck.

4. Install the sample chuck desired.
Note: Be careful about the direction of the chuck.
5. Turn on the chuck vacuum.
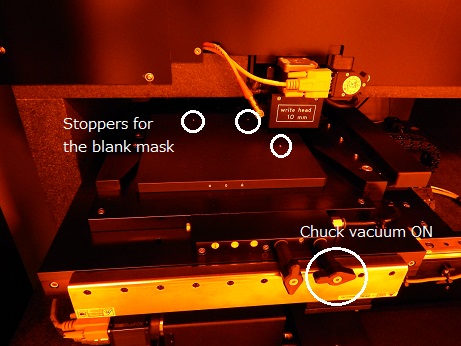
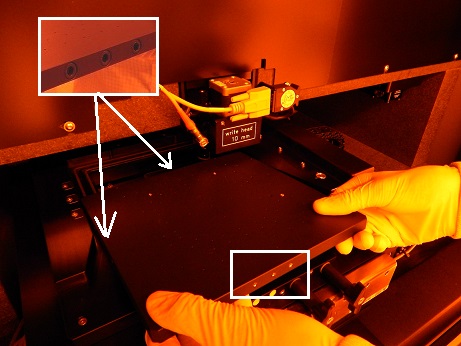
1. Load the blank mask.
Note: Make sure that the blank mask is placed at the three stoppers.
2. Turn on the sample vacuum.
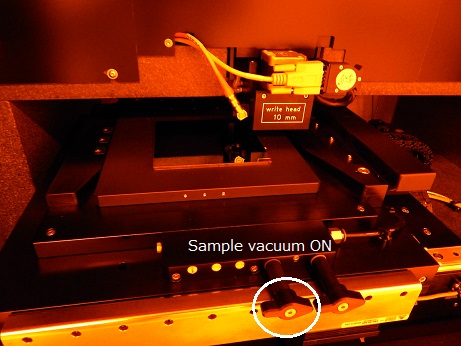
3. Close the flow box window by pressing the lower right button.
1. Click the ![]() icon to open the exposure program.
icon to open the exposure program.
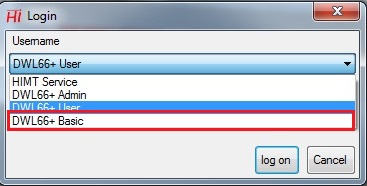
2. The log-in dialog box appears.
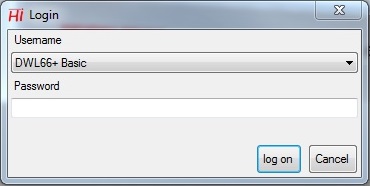
3. Choose "DWL66+ Basic" from the drop-down menu.
4. Type "dwl66" in password
5. Click the "log on" button.
6. The follwoing window appears.
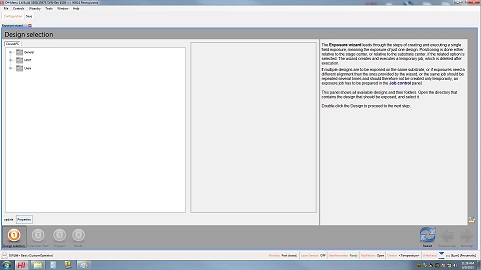
1. Click your file to highlight it.
2. Click the "Next step" button.
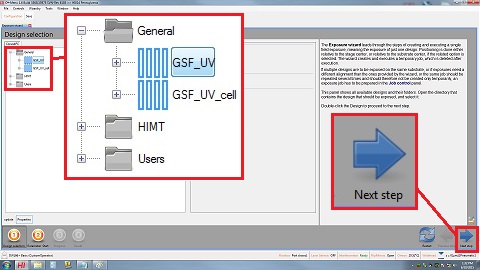
3. The following window appears.
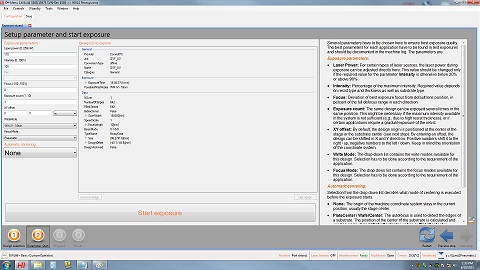
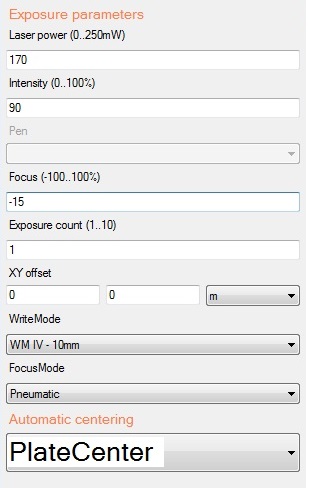
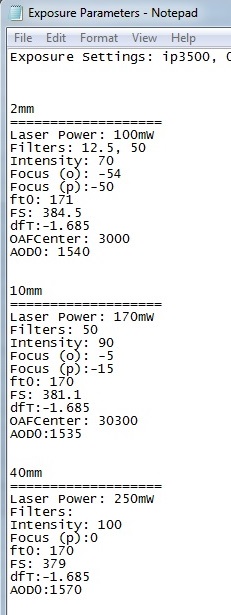
4. Set up the exposure parameters, according to the "Exposure Parameters" file posted on the right side of the desk top screen (see below).
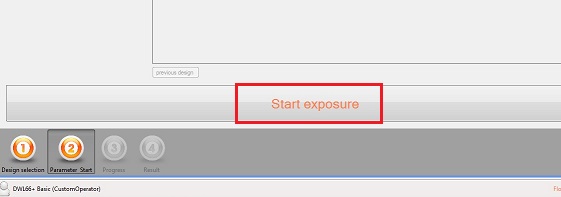
1. Click the "Start exposure" button.
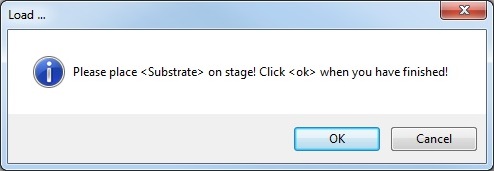
2. The following dialog box appears.
3. Click the "OK" button.
4. The exposure starts.
5. The following window appears when the exposure is completed.
6. Click the "OK" button in the dialog box.

1. Open the flow box window.
2. Tuen off the sample vacuum.
3. Remove the substrate exposed from the tool.
4. Close the flow box window
5. Close the exposure software program.
1. Log-out on the IRIS scheduler.
No trouble has been reported so far.
Revision
5/1/2017, by Hiro, added troubleshooting.
3/2/2021, by Hiro, according to Dave's request