Updated on 10/14/2014
Note:
1 Log-in
2 Open Recipe
3 Start Process
4 Load Bond Tool
5 Load Top Wafer
6 Alignment Process
6.1 Crosshair Process Mode
6.2 Overlay Process Mode
6.3 Transparent Process Mode
7 Unload Bond Tool
8 Stand By
9 Take Bond Tool to EVG510
10 Supplemental Documents
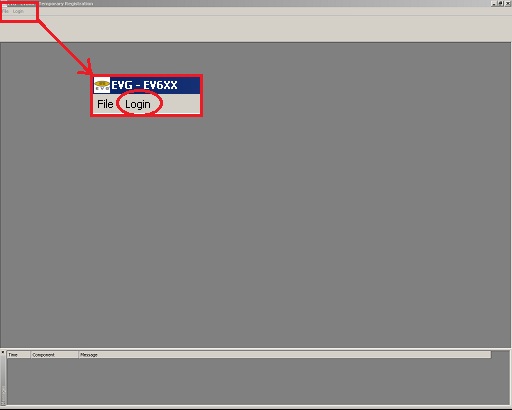
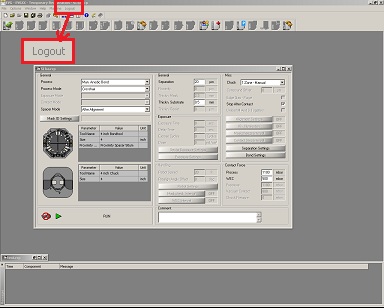
1. Click "Login" in the menu
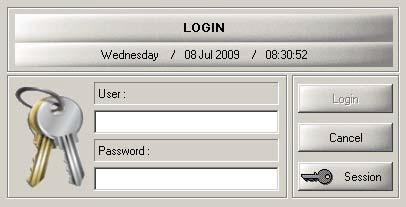
2. Log-in dialog box shows up.
3. Type user name and password, and click the "Login" button.
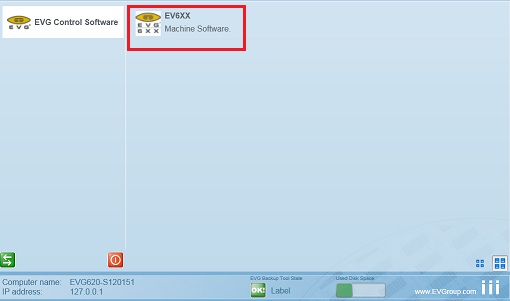
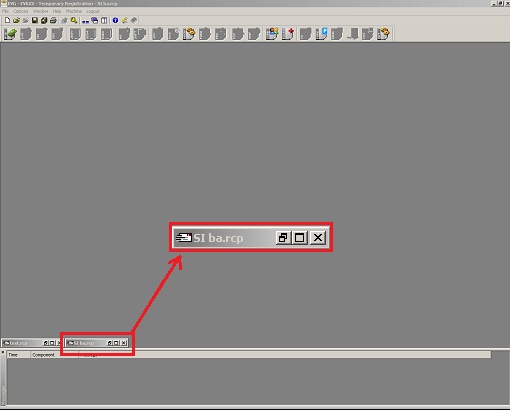
1. The following window shows up.
2. Open the "SI ba.rcp" window.
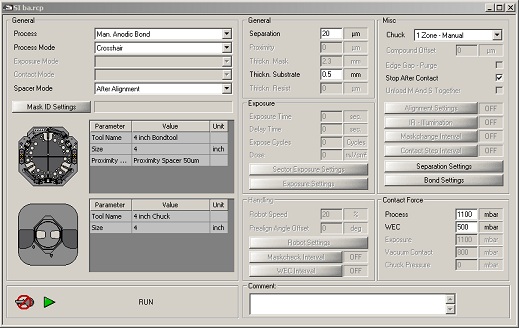
3. Set the parameters in the "SI ba.rcp" window.
1. Choose the process mode (Crosshair, Overlay, or Transparent) in the recipe window.
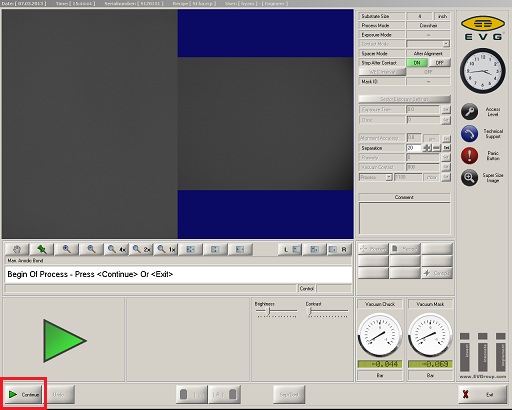
2. Click the "RUN" button in the recipe window.
3. The process window is opened.
4. Click the "Continue" button on the bottom side.
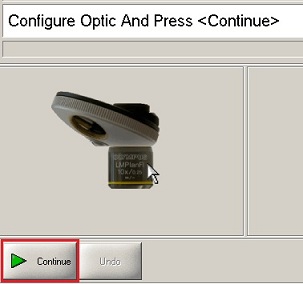
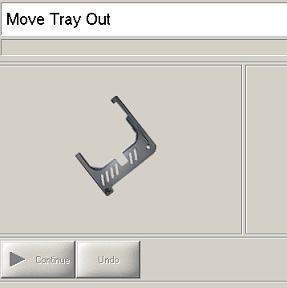
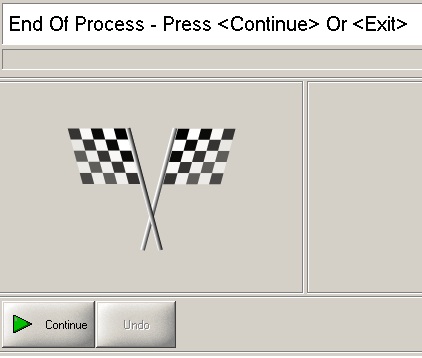
5. The message and the picture on the bottom side change in the following:
6. Click the "Continue" button on the bottom side.
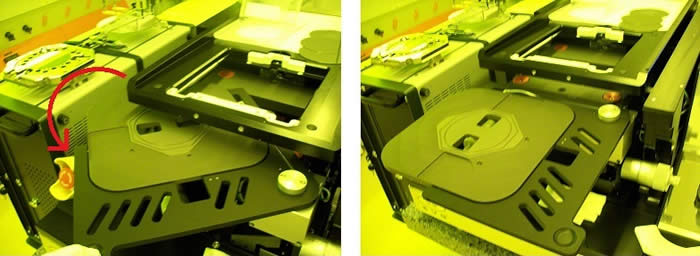
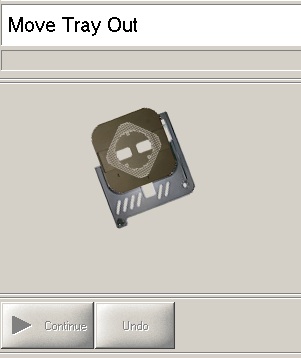
7. Move the tray out manually.
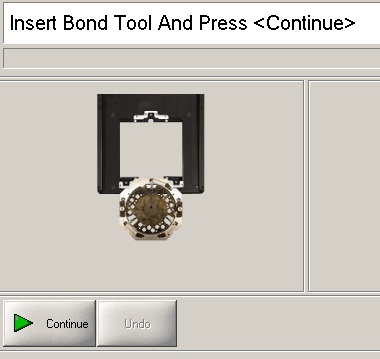
1. When the tray is in position, the next message shows up.
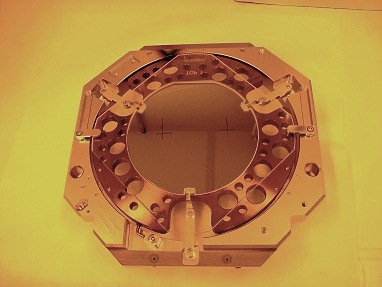
2. Insert the bond tool, which is also used on EVG510 wafer bonder, onto the EVG620 bond aligner.
3. Click the "Continue" button.
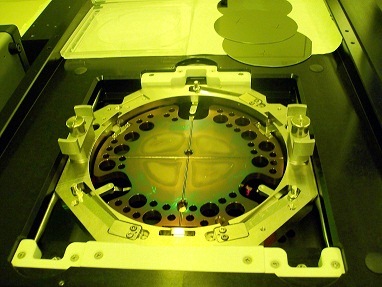
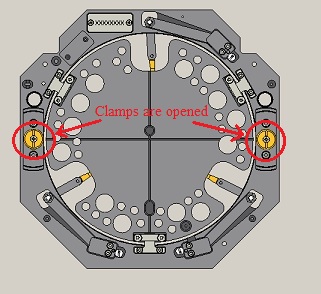
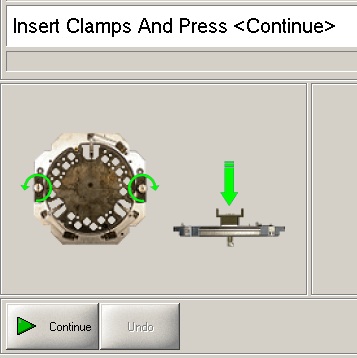
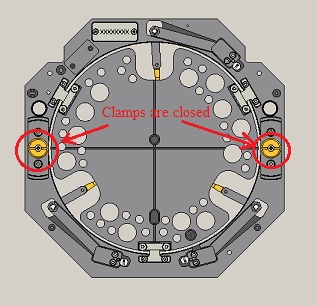
4. Ensure that the clamp positions are opened.
5. Click the "Continue" button.
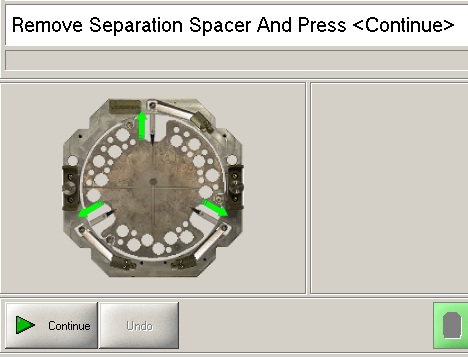
6. The spacers are set to be in the out-position.
7. Click the "Continue" button.
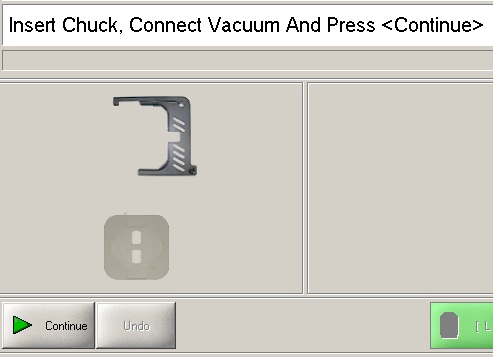
8. Since the chuck is inserted and the vacuum is connected already, as a default setting, click the "Continue" button.
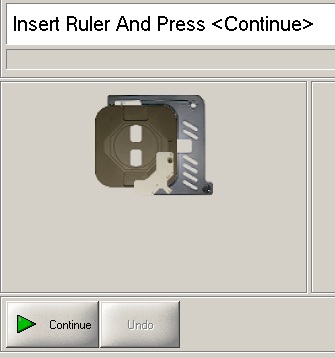
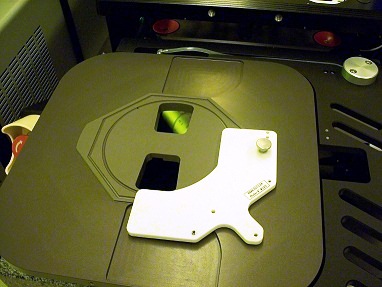
1. Insert the ruler, and click the "Continue" button.
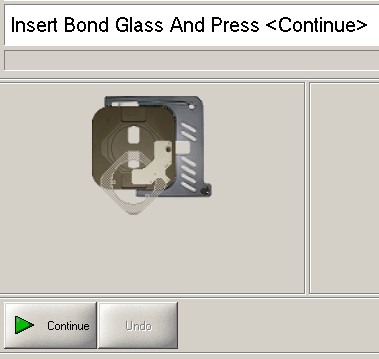
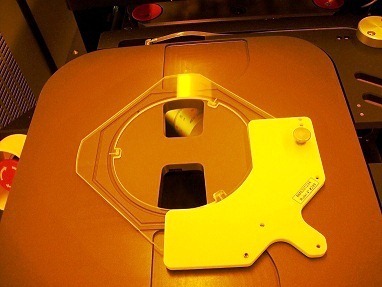
2. Insert the bond glass template, and click the "Continue" button.
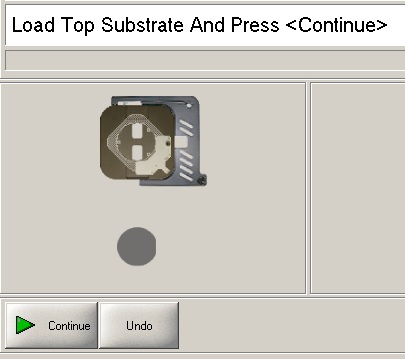
3. Load a top wafer on the template, and click the "Continue" button.
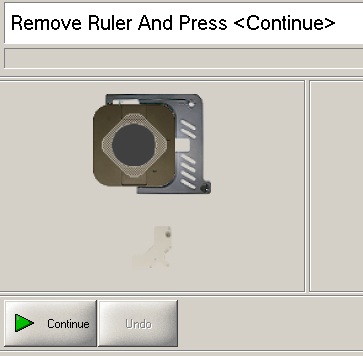
4. Remove the ruler, and click the "Continue" button.
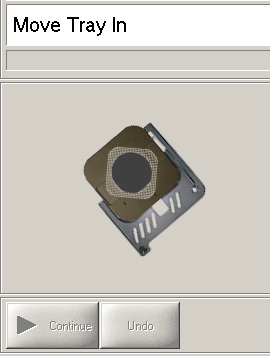
5. Move the tray in manually.
6. When the tray is in position, the next message shows up.
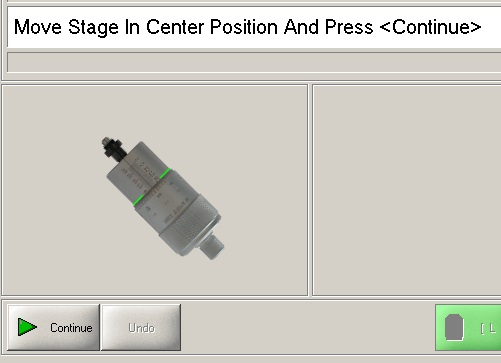
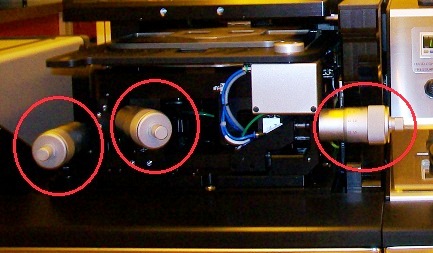
7. Move three X-, Y-, and theta-stage moving micrometers to the position of 5.0 mm, and click the "Continue" button.
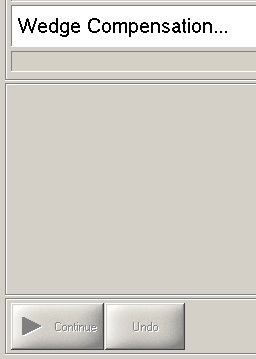
8. Wait until wadge compensation is done.
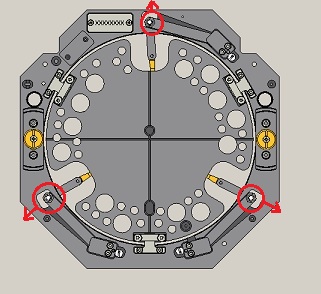
1. Close the clamp positions.
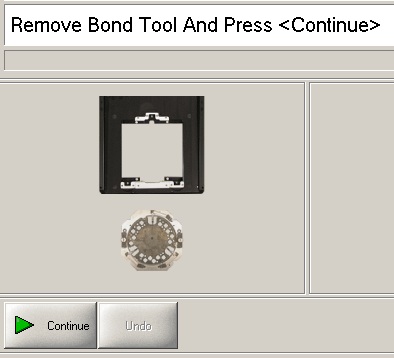
2. Remove Bond tool, and click the "Continue" button.
3. Flip over the bond tool, and put it on the bench.
4. Move the tray out manually.
5. When the tray is in position, the message of "End of Process" shows up.
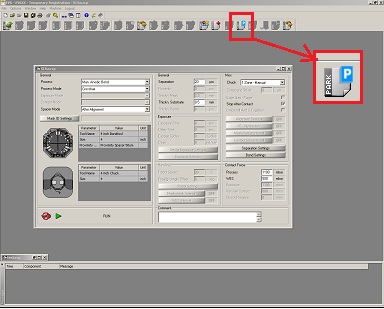
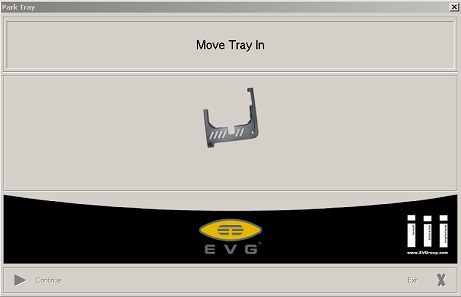
1. Click the "Park" icon in the menu.
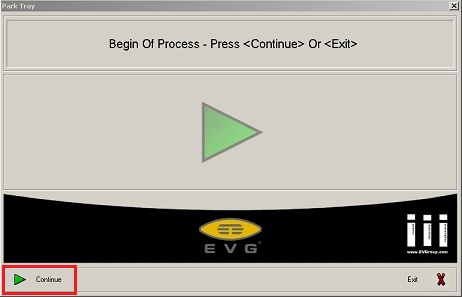
2. The "Park Tray" dialog box shows up. Click the "Continue" button on the bottom side.
3. Move the tray in manually.
4. The dialog box is automatically closed after the tray is in position.
5. Log-out.
1. The carrier tool is attached with the bond tool.
2. Take the Bond tool clamping the wafers to EVG510 wafer bonder.

